Mid-Century Modern End Tables
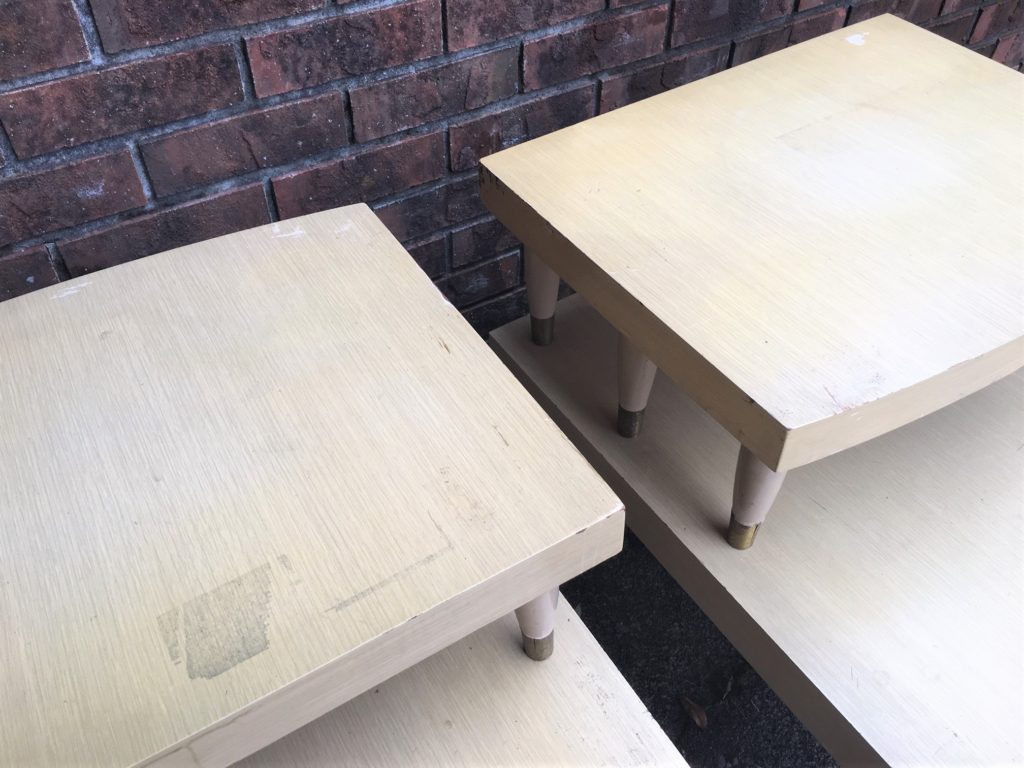
When I think of my favorite furniture style, I can’t deny my love for antique wood pieces that scream farmhouse and county. They are worn, distressed, and filled with character. I have a confession though. There is a style that always entices me – mid-century modern! Something about the clean lines, the iconic tapered legs, and the simplicity of them always catches my eye.
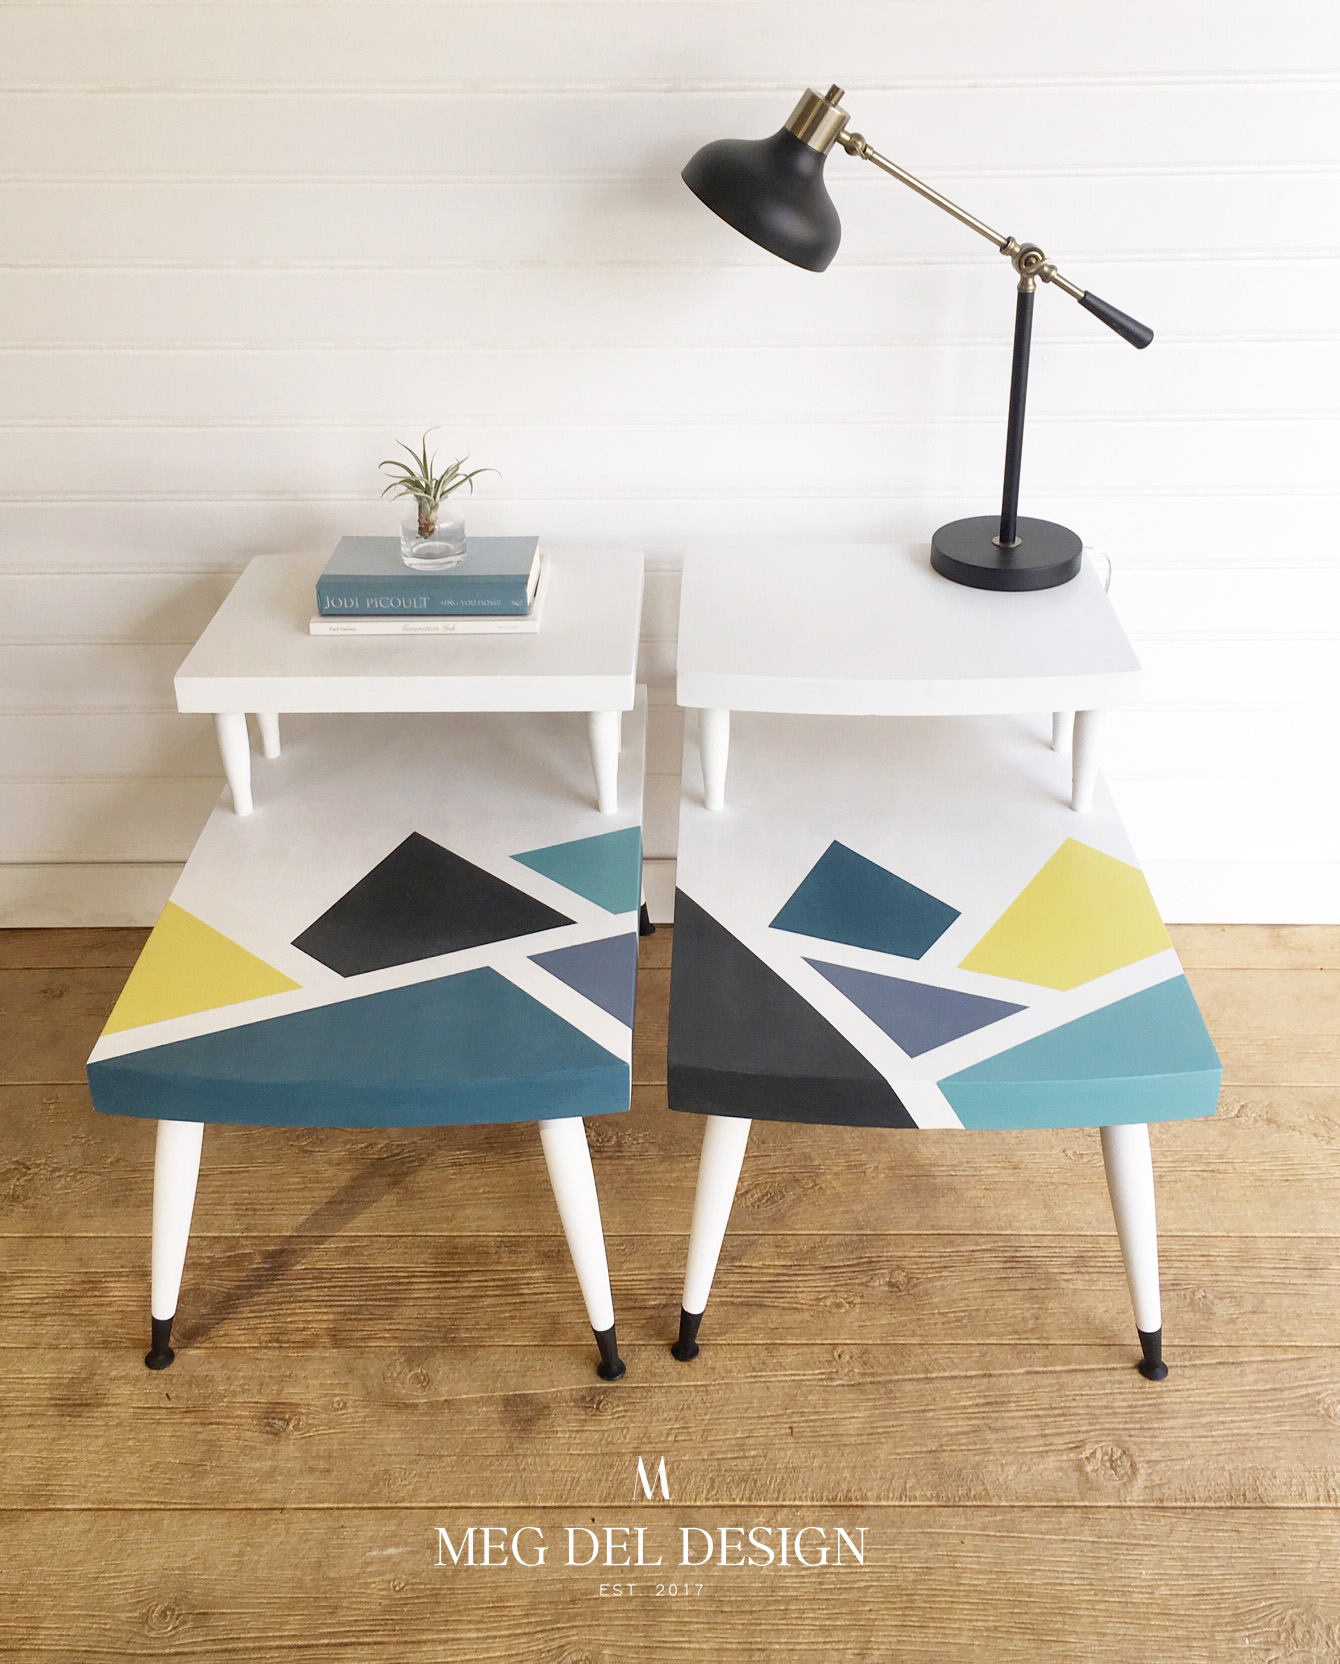
When I saw these mid-century modern end tables I instantly swooped them up and had a vision for them.

That vision included a simple base, a pop of color, and a geometric element. MCM pieces are perfect for this in comparison to my usual neutral and distressed style. Jumping into something different made this a fun little project, and I was pretty excited to see my vision come to life!

MCM Makeover Step-by-Step Process:
Here is how I achieved this MCM flip and how you can too! *This post contains affiliate links
CLEAN AND PREP PROCESS:
- Removed tape, and grime with Amy Howard Clean Slate
- Sanded down tops and sides with my orbital sander using 120 grit paper
- *Normally, I would paint without much sanding but these were quite shiny, and had some build up in certain areas. I wanted to rough them up a little so there was no question of a smooth adhesion of the paint
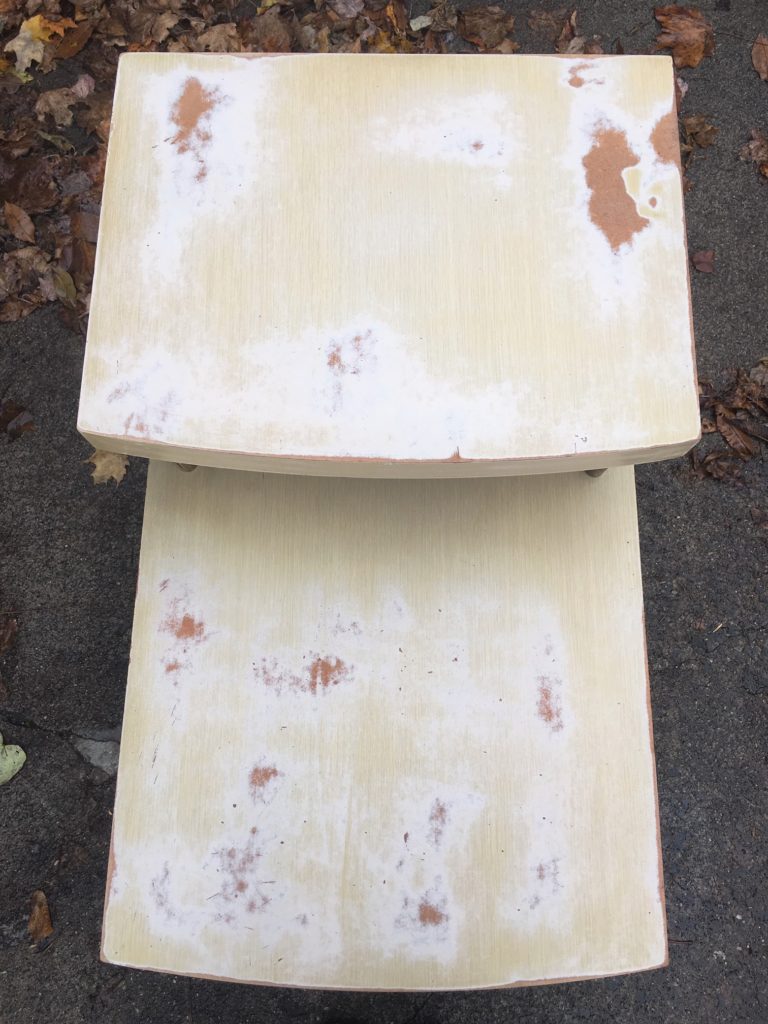
- Removed sawdust and cleaned again with simple green
- Removed metal feet
BASE PAINT PROCESS:
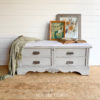
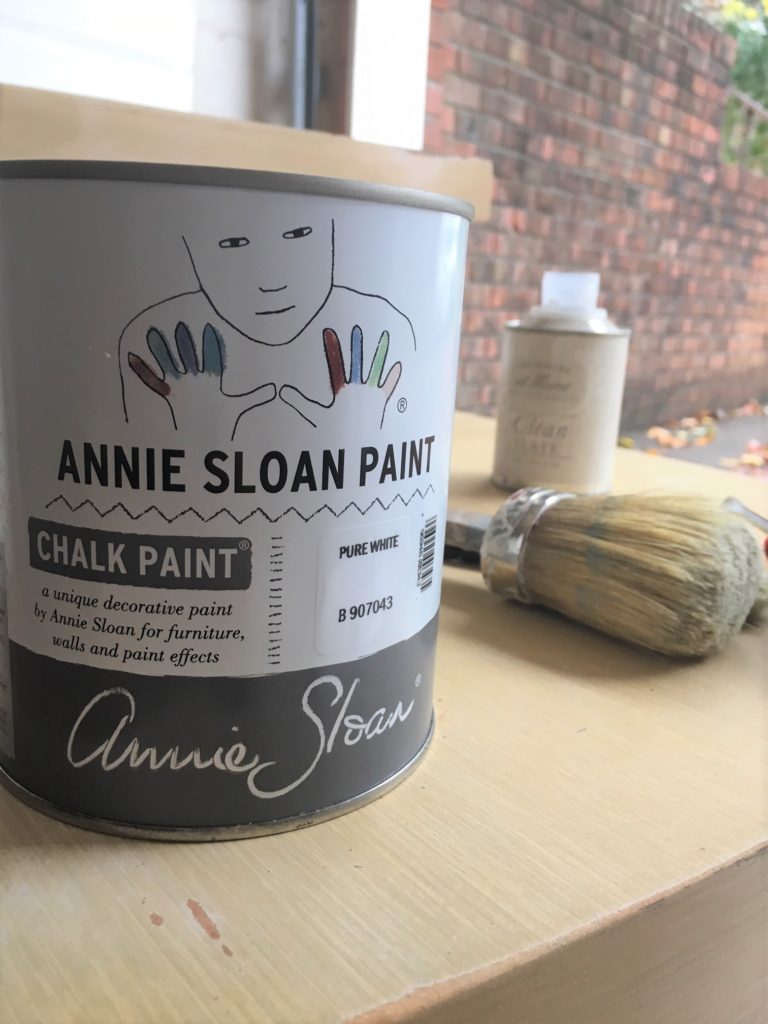
Keep in mind before you begin painting your base, this will obviously be the color that surrounds the accent colors you choose and shapes you create. I chose white to keep the majority of the tables classic and simple. I also wanted the accent colors to pop against it.
- Painted three coats of Annie Sloan Pure White Chalk Paint
- My zebra round brush was perfect for the legs and spindles, and I used the stubby handle brush for under the second tier. I love these brushes and how each has a specific purpose to make projects easier!
- I used my Annie Sloan boar head brush for the top flat surface and sides
- Let dry completely after each coat
- The 3rd coat I added water using a spray bottle and spritzing water on a plastic plate then bringing my brush to the water
*Tip: Watering your paint down slightly helps the paint glide on easier and cover any brush strokes from the previous coat(s) This gives a more polished look, perfect for sleek, MCM pieces
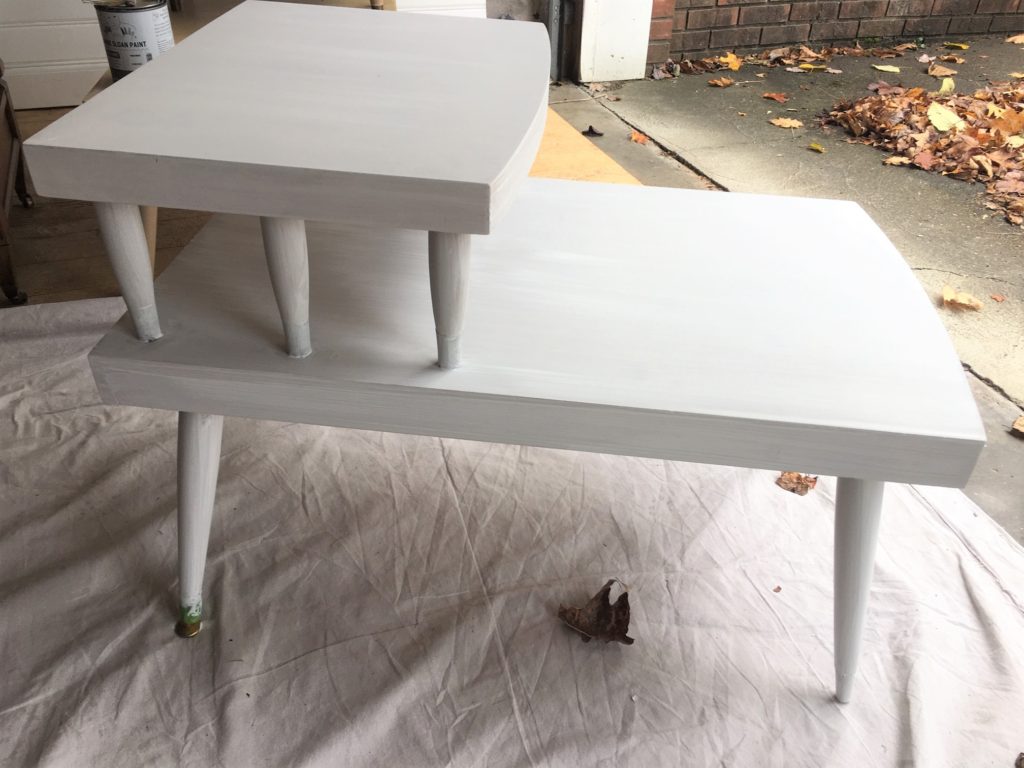
After Coat 1
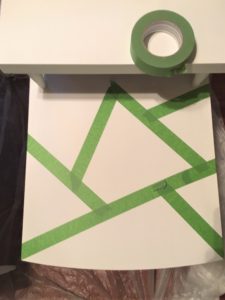
GEOMETRIC PAINT PROCESS:
This is the fun part and where you can create whatever shapes you want! I knew I wanted a few triangular shapes on the first tier of the tables. I also wanted them to be similar but unique, so I did two separate patterns and switched up where I put each color.
Tip Before Taping: Allow for enough dry time to avoid the base paint layer from pulling up when you remove your tape. I waited 24 hours from the last coat
- The tape I used was 1-inch frog tape
- I highly recommend using a painters tape like this to ensure as little bleed through as possible
- Choose the size that works best for your design and desired space between shapes
- The 1-inch worked perfect for my project, giving me space to paint over the tape and not worry about painting into another section
- I began taping at the front of the tables and layered additional shapes moving toward the back
- The frog tape was super easy to pull back and change angles until I had it exactly where I wanted it
- Once I had the shapes set I made sure to press all of the lines and edges down so they were tight to the table, with zero bubbles or areas for paint to seep under
- Next, paint! I chose 5 different colors of Annie Sloan Chalk Paint
- Aubusson Blue
- Graphite
- Provence
- Old Violet
- English Yellow
- I painted 3 coats of each color
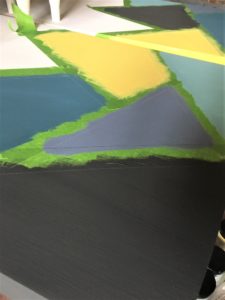
- Once completely dry, removed the tape (so satisfying to see the clean lines!)
- I had a few very small areas I had to touch up and for this I used a small flat detail brush
- *I have a handful of small detail brushes from a set I got years ago from Hobby Lobby. Super inexpensive and they work great for detail touch-ups
FINISH:
- Sealed with Annie Sloan Clear Soft Wax using her wax brush
- Let absorb for an hour or two
- Buffed with a lint-free rag to a subtle sheen
- Metal feet sprayed black and sealed with polyurethane
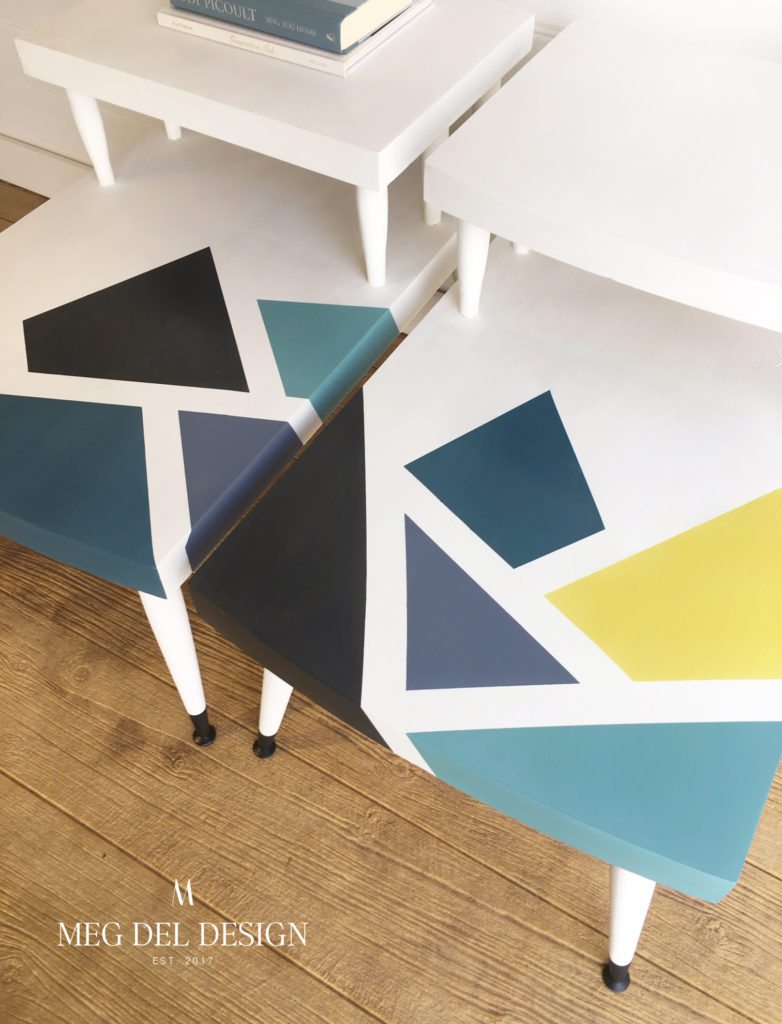
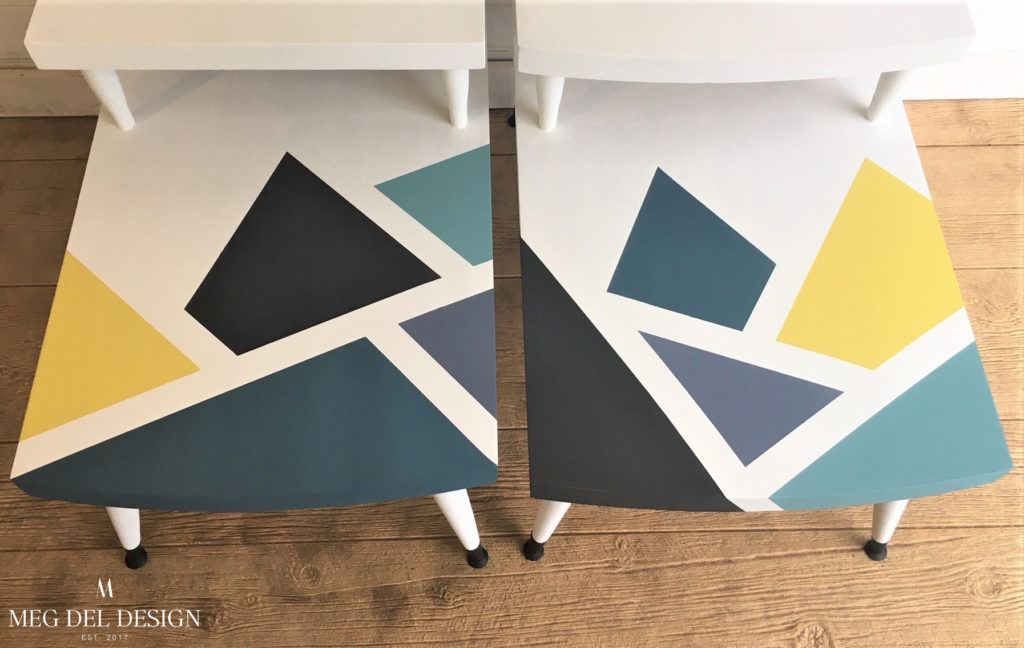
I love how these turned out! Again, totally outside of my normal finish but that’s what made them so fun. This mid-century modern mix-up is a wrap!
I’d love to know, what is your favorite furniture style and finish?! Any questions or tips you have from a similar project, I would love to hear from you too! Drop a comment below!
I hope this inspires you to give this look a shot, or mix-up your typical finish!
This post contains affiliate links, which means if you make a purchase through one of the product links, I will receive a small commission. Don’t worry, you won’t be charged anything extra. This just helps keep the site running & goes right back into my business!