New Year, New Paint!
Have you guys used milk paint?! I have only used it once up until this point, (which I loved), but this was my first time using Shackteau Interiors Milk Paint (SIMP) and HOLY, I loved it! I have followed Kristen for a long time and have always been inspired by her work. As soon as she came out with her milk paint, I knew I wanted to try it, and now I am just mad it took me this long to finally use it!

So why did I wait? First, I wanted the right piece. I know that might sound backward – like you should practice on something small when using new paint, but I truly wanted to make sure when I used her paint the piece was worth it. I wanted it to be stunning. Insert solid, classic, a little love-needed buffet here. This was the piece!

Milk Paint vs. Chalk Paint:
I also waited a bit because when you are used to using premixed paint like chalk paint as I was, it can be a little intimidating to mix your own. A lot of milk paint comes in powder form and you mix it with water to create your paint. Doesn’t sound too tough, but it can still be a little nerve-wracking because you, of course, want to mix it well to make sure your finish is beautiful!

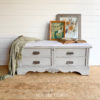
Milk paint is also known to give an old-world, naturally worn look meaning it won’t have 100% even coverage. Personally, I love this look. I love that it doesn’t look overly manufactured and adds character. It can also be a little unpredictable. It could be super smooth, or turn out very chippy, or have crazing. (Again, all finishes I have come to love and admire! .. like Kristen’s work below. Are you not swooning?!)
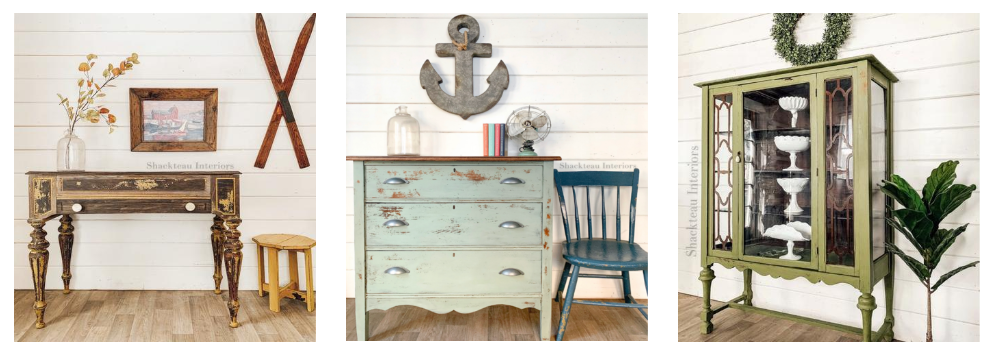
Those that I look up to most in the furniture flipping world (Kristen at Shackteau Interiors, Katie Cloud at Katie & Co., Crystal at The Driftwood Home, Fallon at Market House Restorations .. to name a few!) use milk paint a ton and are phenomenal artists. They constantly share so many amazing tips and tricks that I’ve been able to use in my own business. When it came to stepping into the milk paint world, I felt like I already had some great insight on how to use it, which helped my confidence in starting with a larger piece.
Milk Paint Mixing Process:

As soon as I mixed up the SIMP black beach milk paint, I was again kicking myself for not using it sooner. All I did was mix a 1-1 ratio of milk paint powder and warm water. I used an old pickle jar I washed out to mix the paint in. First, I added my 1 cup of warm water to the jar first, then poured in my 1 cup of milk paint powder. The next step was to do was twist on the top and shake it up for a little bit! While I let it sit for roughly 10 minutes to settle and thicken a little, I went back over my piece with a lint-free cloth to make sure it was ready to go!
Pre-Paint Prep:

Buffet Prepped for Milk Paint
I should mention before mixing my paint I took 120-grit sandpaper to the sides, drawer fronts, and base of the buffet to lightly scuff it up to prepare for paint. Using Krud Kutter I sprayed the entire base, inside and out and completely scrubbed away all the sawdust, dirt, and debris that could have been on the piece. Even though the dresser insides appeared rather clean, check out the gunk I was able to grab – nasty, right?!

After cleaning the entire buffet, I began taping off all the drawers and inside areas with Frog Tape. I don’t always do this because it can be time-consuming and you can always touch up the drawer insides you might have to paint a little or remove some if you over paint. However, I felt the need to be a little more meticulous on this piece… I wasn’t kidding. I really wanted this to be a stunner!! So, I opted for a little more prep up-front versus touch-ups at the end.

Milk Paint Application Process:
After cleaning the buffet and mixing the milk paint it was go-time! I began using my Zibra Triangle Brush to get all the edges and tight corner areas covered. I used my 2” Chiseled Wedge Zibra Brush for the larger flat surfaces like the sides, doors, and drawers. This process of using the specific brushes for different areas works great for me to get the coverage I want and efficiently. These brushes are a game-changer!

When I started painting, I was amazed at how smooth the paint was and how well it covered! I was anticipating having to do a few coats which I have seen to be common with milk paint. People will joke the first coat of milk paint can be scary looking but that it is normal. I don’t know if it was because I was using black, but I was amazed by the coverage I got in a single coat. It was beautiful and exactly what I was going for.

Distressing and Wax Finish:
I didn’t want a super smooth finish, so I welcomed the little chippy I was able to get on the edges and distressed additional areas using my scraping tool. I loved the mix of the black paint with a little bit of the warm wood tones that came through.

After distressing, I wiped away all the dust and paint remnants using a tack cloth and lint-free rag. I was ready for wax. I used Daddy Van’s Lavender Scented Furniture Polish. This stuff smelled glorious! I applied it over the entire base and was even more smitten with the color of the milk paint as it richened under the wax. I loved it, and I didn’t have to buff much. The wax soaked in beautifully and left a gorgeous finish.


Milk Paint Review:
Stepping back to look at the buffet base complete, I couldn’t help smiling and thinking, WOW! It was so much easier than I expected to use the milk paint and the finish was exactly what I was looking for. I absolutely will be using this paint more in the future! Like any medium, I am sure I will run into my fair share of problem pieces or finishes that take a lot of love, but for this one, I am going to revel in the ease and beauty of it.

Buffet Top Finish Process:
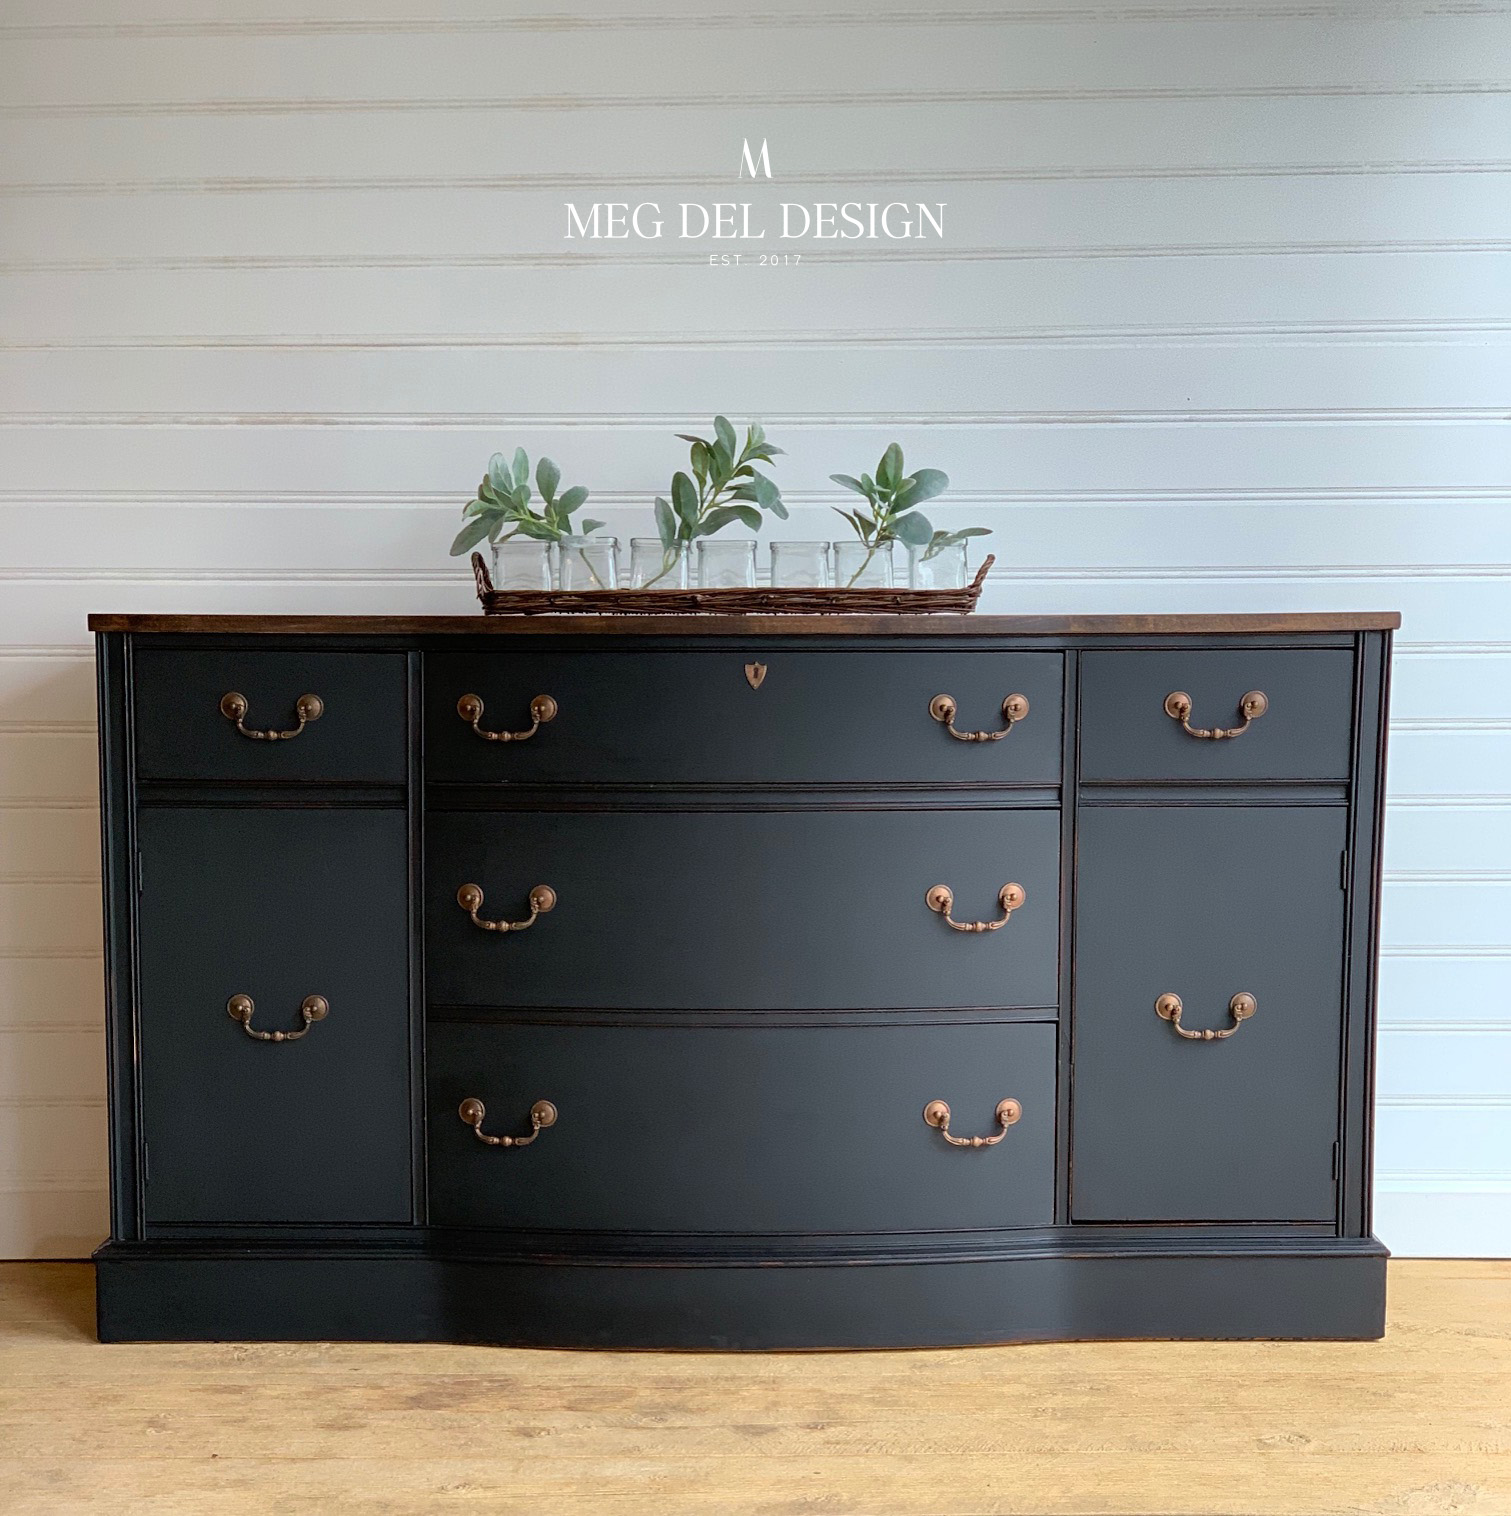
I finished off the buffet with a beautifully restored top. Recently, I have had some luck finding pieces that are great candidates for restoring the top, and this buffet fell into that category. The original finish was chipping and appeared to have some water damage.

No better way to determine what is underneath than by sanding it down! I used my Ryobi orbital sander with 80 grit, and I loved what I was uncovering. Underneath was a beautiful grain that I thought would look gorgeous with a new stain. After removing all the existing finish, I passed over the top with 120 grit to prepare it for staining.
Buffet Top Stain and Top Coat Process:
I wiped away all the dust, applied mineral spirits over the entire top to further clean and prepare it for stain. I let this dry completely. Next, I used Minwax pre-stain conditioner. I wiped away the excess after about 5 minutes and let this dry completely.

Following this step, I mixed my Minwax English Chestnut stain and began applying with my foam brush. With it being cold in West Virginia, I made sure to let the stain dry for 24 hours. I only needed one coat to get the color I wanted.

After it was completely dry, I used a 220-sanding block to prepare the top for sealing. I removed the dust with a tack cloth and applied my first coat of Minwax water-based poly. I let this dry for another 24 hours – merely for the fact that it was like 3 degrees in the garage.

I came back the next day, used my 220-sanding block and tack cloth again, and applied my second coat of topcoat. Lastly, I came back with a high grit sandpaper block to soften the finish.
Final Details:

The drawers were lined with Spoonflower gift wrap paper from Hip Kid Designs’ Plum Fall Florals. Talk about pulling on my heartstrings! I thought the colors were a perfect complement and the water color details were just gorgeous.

The hardware was updated with Annie Sloan copper gilding wax after a nice good cleaning. I loved the original patina, so tried to allow some of the original to come through for depth.

This black beach beauty is a wrap! This milk painted buffet might be one of my very favorites to date and I am so thrilled! I hope you love it as much as I do, and I am so excited to share more milk-painted pieces with you soon!
