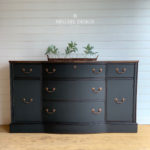
My vision for this (soon to be modern farmhouse) desk fell into place quickly! If you saw my last piece, a beautiful buffet, you saw I used a new paint; Shackteau Interiors Milk Paint. Because it covered SO well, I had a great deal of extra mixed up, meaning I needed another piece! So, I quickly ran out to our local goodwill where I hoped I could find one to use it on. The stars aligned and there was a cute, wooden desk that was screaming for a makeover.

Modern Farmhouse Desk Process:
PREP PROCESS AND PRODUCTS:
I got started quickly by scrubbing down the entire piece with Krud Kutter. Next, was sanding down the drawer fronts with my Ryobi orbital sander using 120 grit. My intention was to rough them up to prepare for paint, but once I started, I couldn’t stop. Why? I saw the bare wood coming through quickly and it was such a pretty, light wood. My vision shifted and I was pumped: a two-tone, raw wood and classic black finish! To get all of the paint out of the grooves, I used a 60-grit sanding block, followed by 120. I also scuffed the rest of desk with 120 grit sand paper. With a tack cloth I removed the dust.

PAINT PROCESS AND PRODUCTS:
With paint already mixed (steps on how to mix here) I applied 1 coat of milk paint. I let it dry completely, then applied a second to cover up brush strokes. This stuff is smooooth and I love it. I am excited to use additional colors in this line for sure!

FINISH PROCESS AND PRODUCTS
I had a few chippy areas and used my 120-grit sand paper to distress it further along the edges. Then I used a 220 grit sanding block over the piece and removed the dust with a tack cloth to prepare for top coat. Using a foam brush, I applied my water-based poly and did two coats.

HARDWARE PROCESS AND PRODUCTS
Card Pull Install:
I ordered my card pulls from D Lawless Hardware and I was sooo excited about them. The price point is fantastic at like 70 cents per pull. The screws come separately but were also extremely reasonable. Since I wanted to have them centered on the drawer fronts, I measured out each “box” and used a pencil to trace the circle on each side of the hardware. Because the new hardware was also going to cover the old holes, I didn’t fill them. I didn’t want to waste time or product on something you would not see.
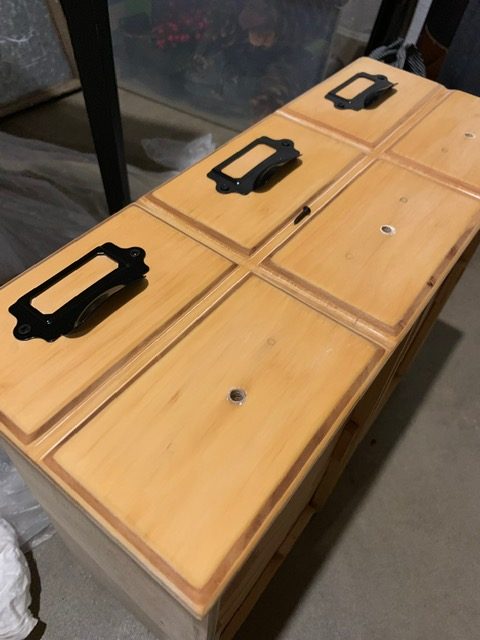
I drilled my pilot holes into each circle using my Ryobi drill and then started to screw them in. They were perfect! (Note: they do not come with the paper inserts – I actually had extra on hand from some office storage bins I wasn’t using. You can get these at most stores that sell office supplies)
Magnolia Pull Install:
Next up was installing my Magnolia handles. The existing holes matched my new hardware. All I had to do was trim down the screws so the pulls sat flush to the drawers. Somehow I always managed to be able to use the old screws or had the correct length on hand, so this was my first time cutting down screws. Luckily, I just watched Fallon’s Tuesday Tip that featured this exact process!

I purchased a multitool and followed her instructions, click here. I was pleasantly surprised how easy it was! You just insert your screw into the hole labeled and to the desired length. Then, you squeeze the tool until the screw breaks. (Make sure to wear safety goggles in case your bits go flying lol). The new screw lengths were perfect and sat completely flush. WOO!
PAPER LINER PROCESS AND PRODUCTS:
To spruce up the drawer insides I used left over Tempaper I had from a hutch I previously lined. I loved the modern farmhouse pattern and thought it would tie in nicely.
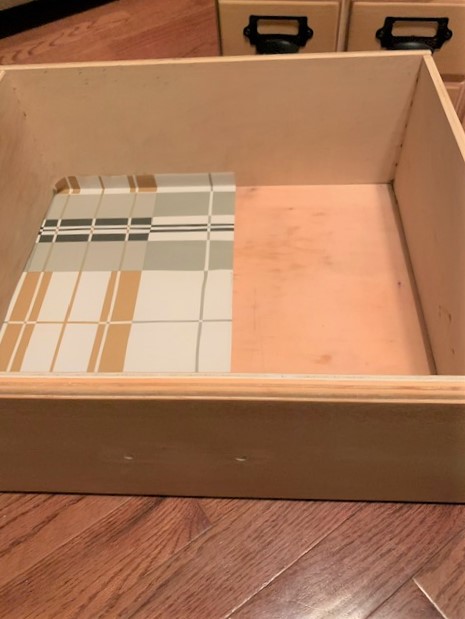
I measured my drawers, cut my paper down to size, then removed the back to reveal the adhesive side. The beautiful thing about this stuff is you can lay it down multiple times until you get it just right. It doesn’t lose its stickiness, and it doesn’t stick too hard that you stress over it having to be perfect the first time.

Let’s face it haha no way I am getting it perfect the first time around. I probably put it down and pull it up like 10 times before I get it just right! When I have it placed just right, I will use a squeegee like my Bondo one to smooth out all of the bubbles. If I have any excess paper on the sides or back, I will use a ruler and my utility knife to cut down the excess. Voila!

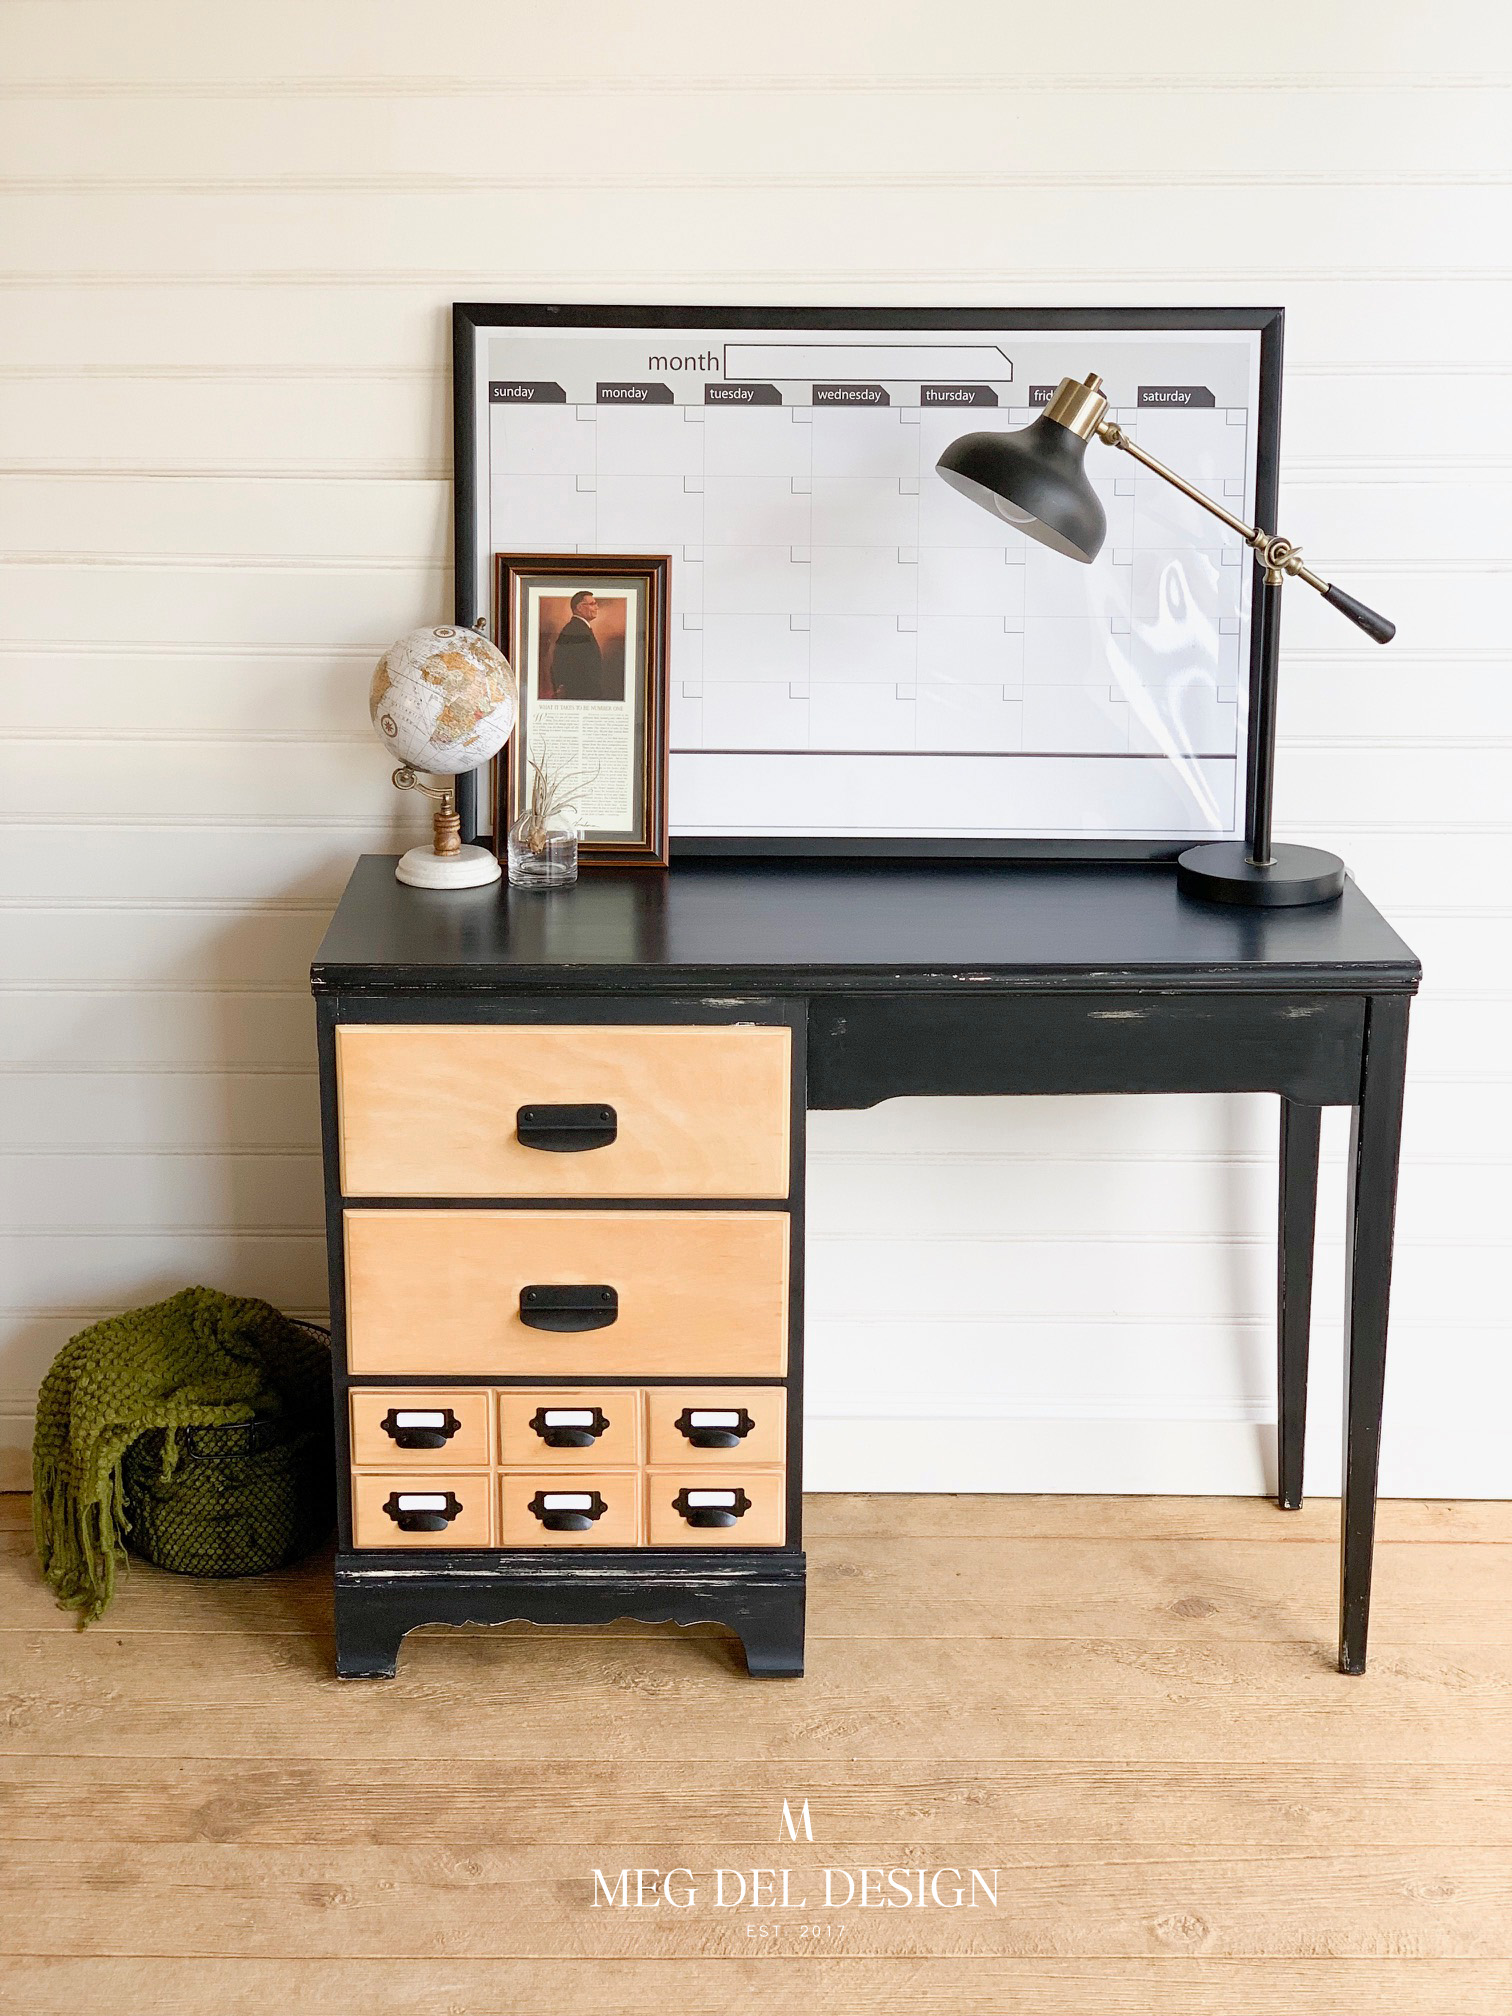
Modern Farmhouse Desk Reveal!
This little modern farmhouse desk is perfect for a small little space and now that it has a fresh paint job and a few killer details, it is ready to be put to good use!