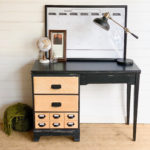
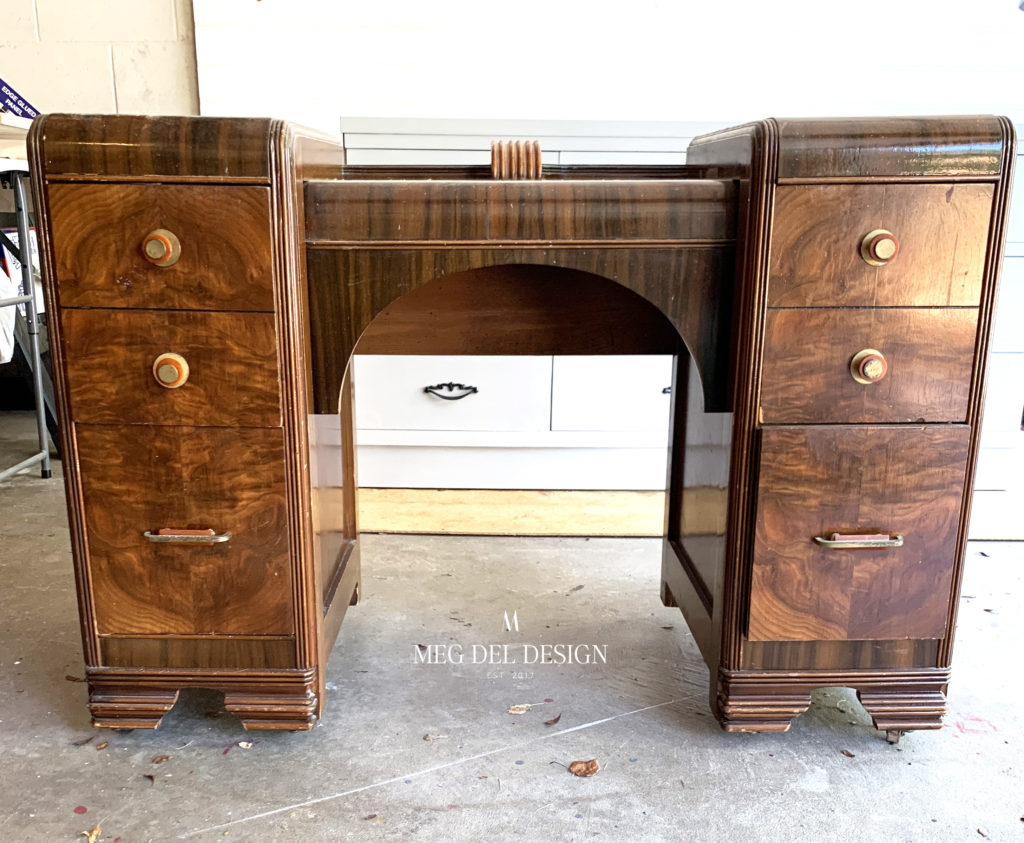
I turned a waterfall vanity to nightstands! I did it!
Why am I so giddy?
I remember seeing the “best of the best” creating gorgeous nightstands from vanities when I started refinishing furniture. My mind was blown!
I thought turning a vanity to nightstands would be WAY outside my skill set, but I committed to pushing myself to try projects outside my comfort zone this year. It was time to tackle this challenge!
Personal Goal Reached!
I am SO excited I went for it. This project was a big goal of mine, and it was way easier than what I hyped it up to be in my head.
I hope anyone who sees these nightstands and thinks, “woah, I could never do that,” thinks again, because you can!
Below is the exact process I took to transform my waterfall vanity to nightstands!
Waterfall Vanity to Nightstands Tools/Supply List:
- Drill with Flathead bit or Screwdriver
- Circular Saw
- Hammer
- Jig Saw
- Orbital Sander
- Zip Sander or Sandpaper
- Tack Cloth
- Bondo or Wood Filler
- Protective eye-wear
Since you will be making cuts and sanding, be sure to wear protective eye-wear! I also wore my respirator during this process.
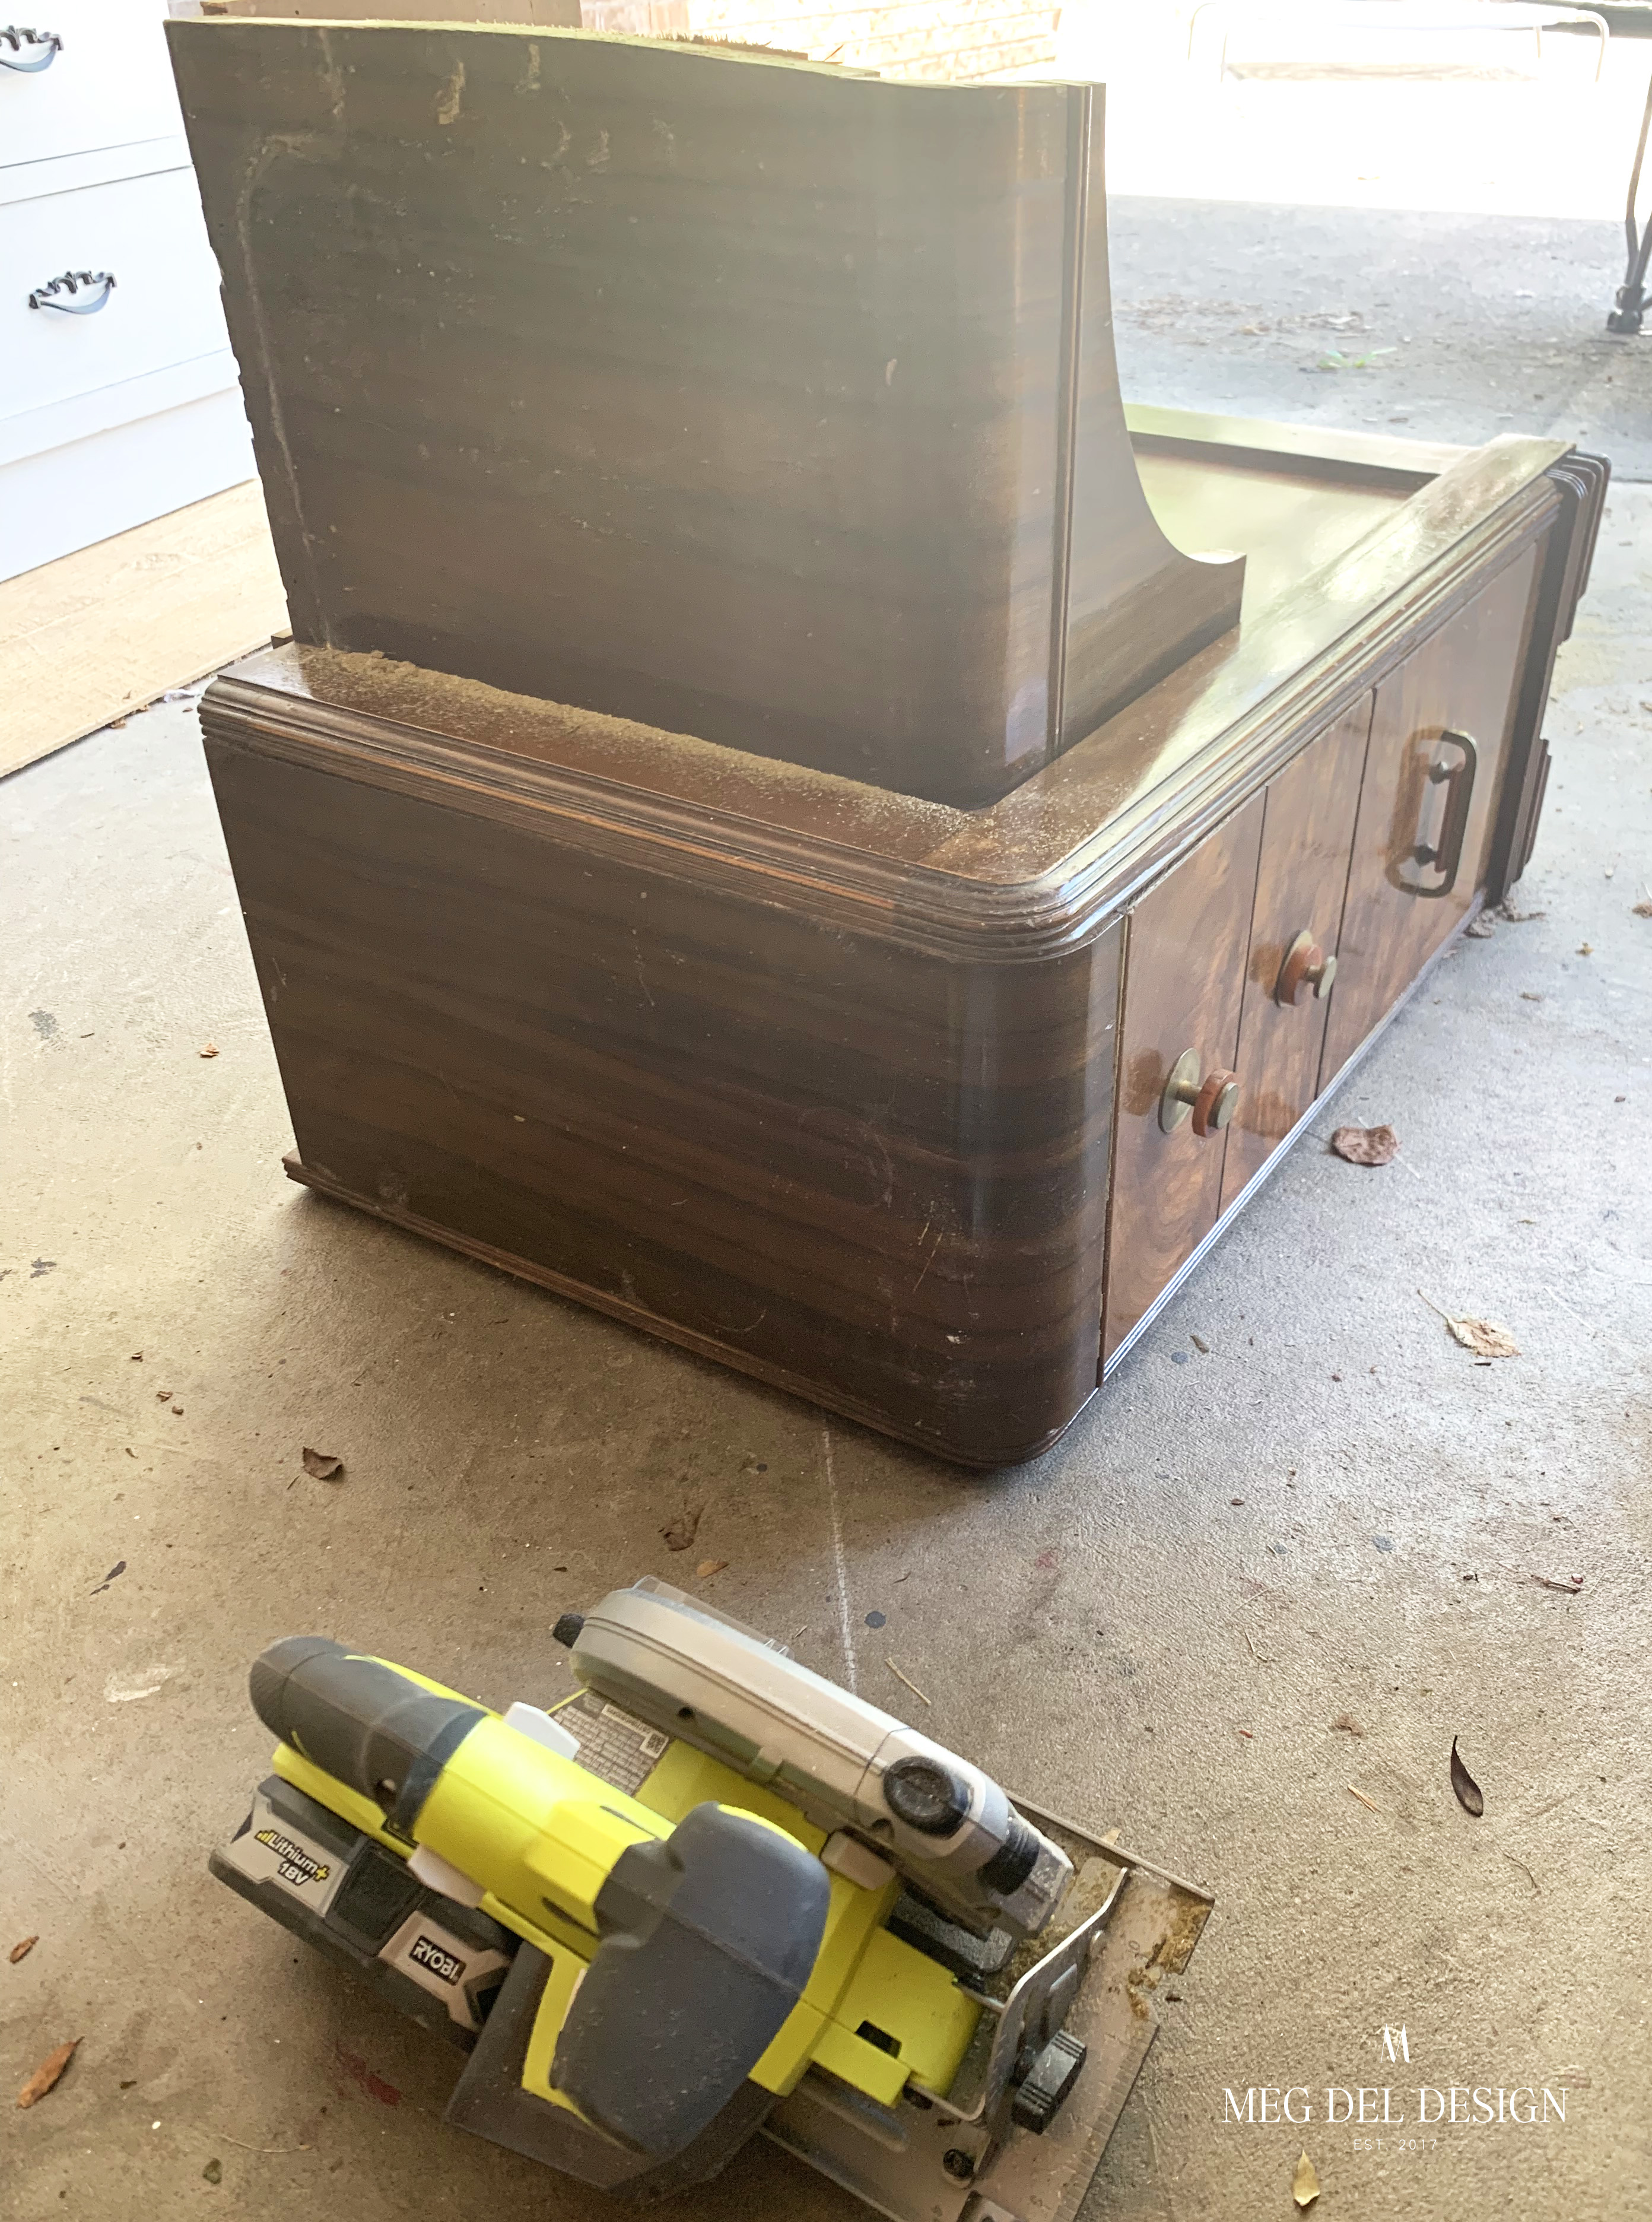
Disassembly and Cutting Process:
My first step was removing the wooden support bar that ran the length of the vanity. I used my Ryobi drill to unscrew it.

Circular Saw Cut #1:
Next, I chose my Ryobi circular saw to cut the vanity in half. I decided to cut it in half near the middle to see if I could loosen the connection from the side to the middle portion. Not gonna lie… I also just really wanted to chop it in half!
Circular Saw Cut #2-3:
After this, I made two additional cuts with my circular saw to remove more of the center portion.
Prying the Center Piece Off:
With this piece remaining, I applied a little force down on the rounded center piece. This helped loosen it from the nails holding it in place. I increased pressure slowly to ensure I wasn’t going to damage the side of the drawers.
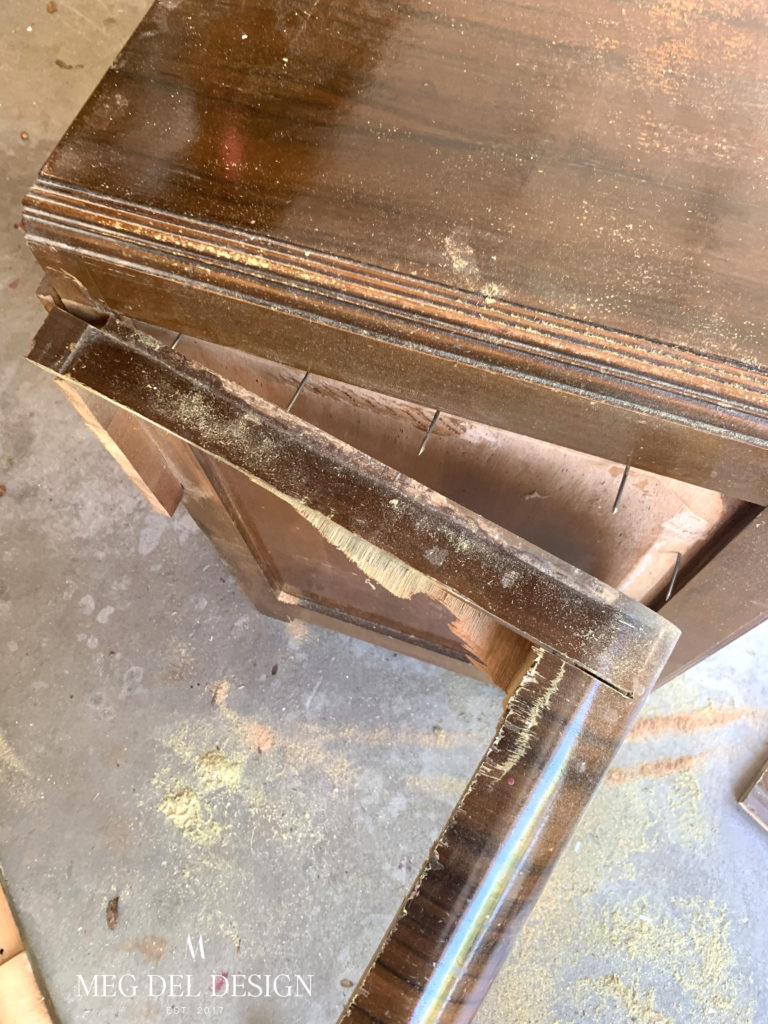
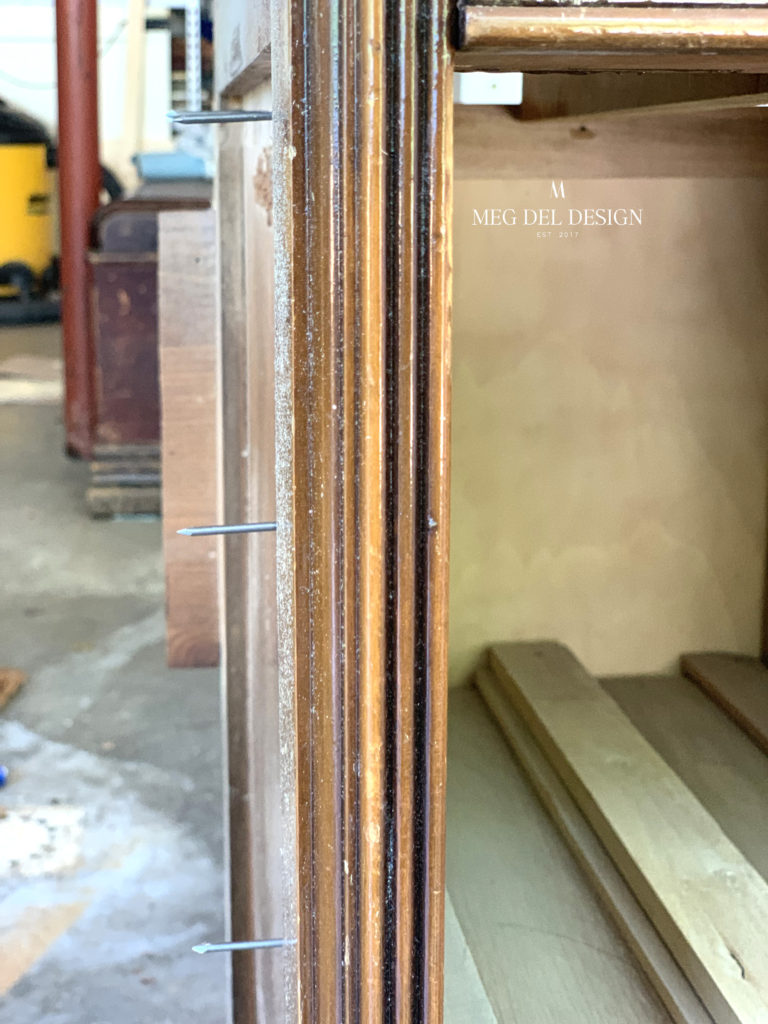
Hammer Time:
After I removed the middle portion from the drawers, I was left with the protruding nails. I used my hammer to nail the sharp edges back in the drawer and removed them from the inside.
I repeated these steps on the other set of drawers.
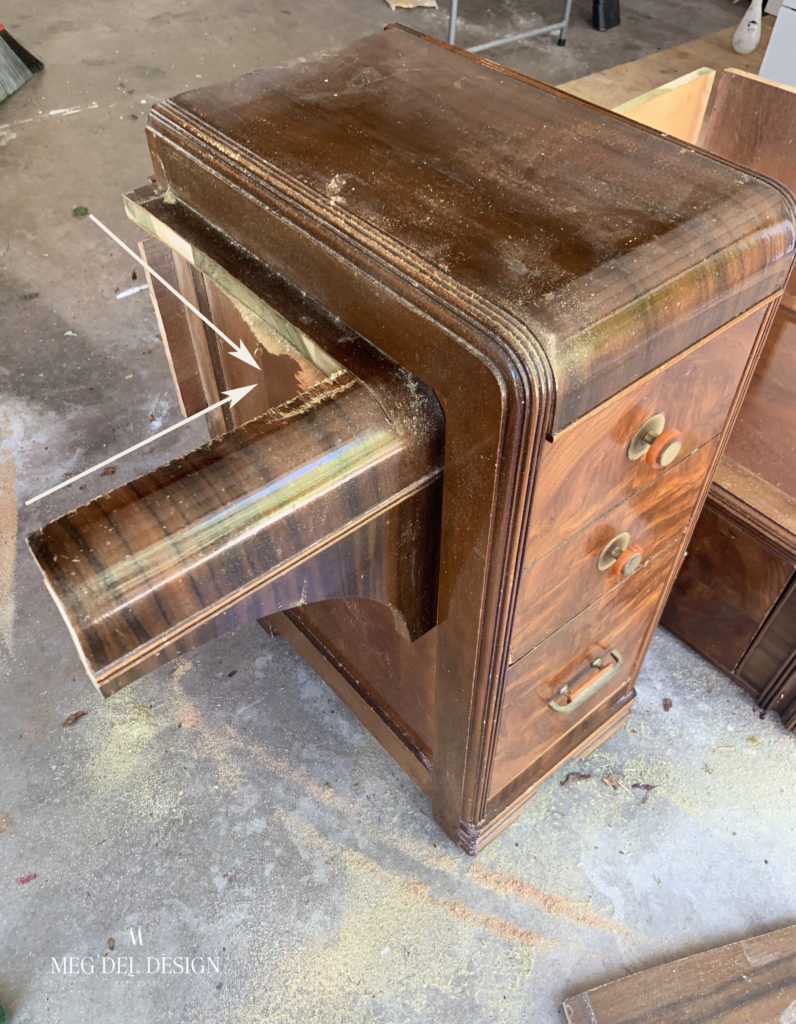
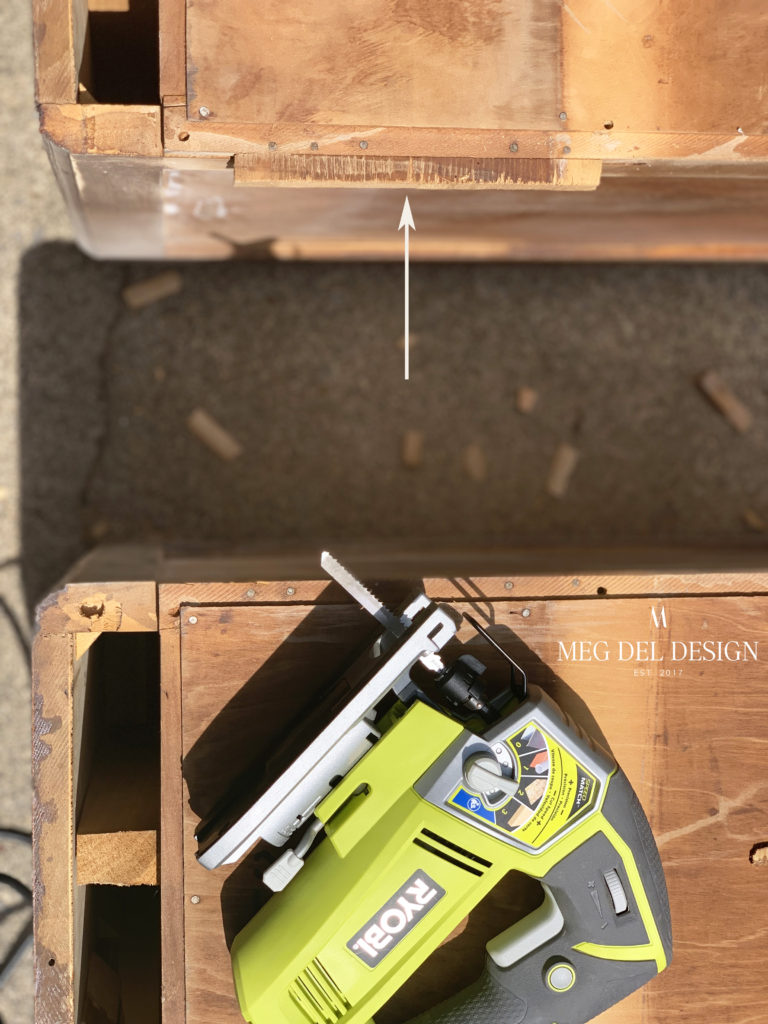
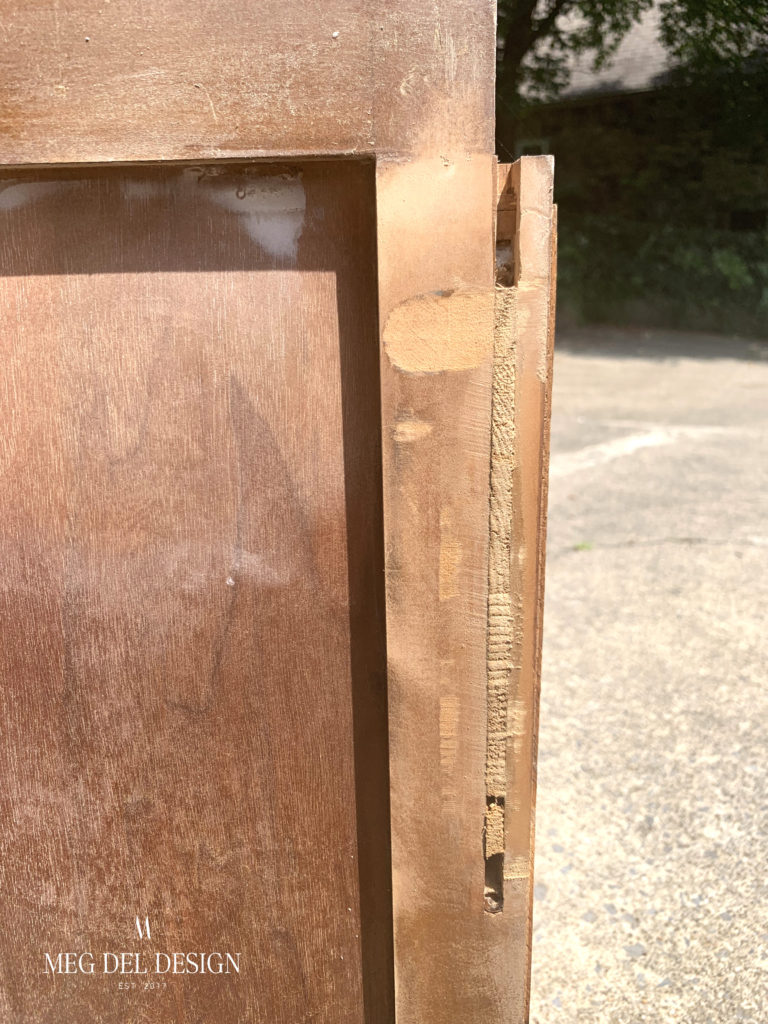
Jig Saw Cut #1:
This left me with two pieces I needed to cut down on each side before deconstruction was complete. There was a piece that was glued into the frame and an excess piece on the top that I needed to cut down to match the other side.
I tackled the side pieces first. I used my jigsaw to remove these because I could get a closer cut than with my circular saw.
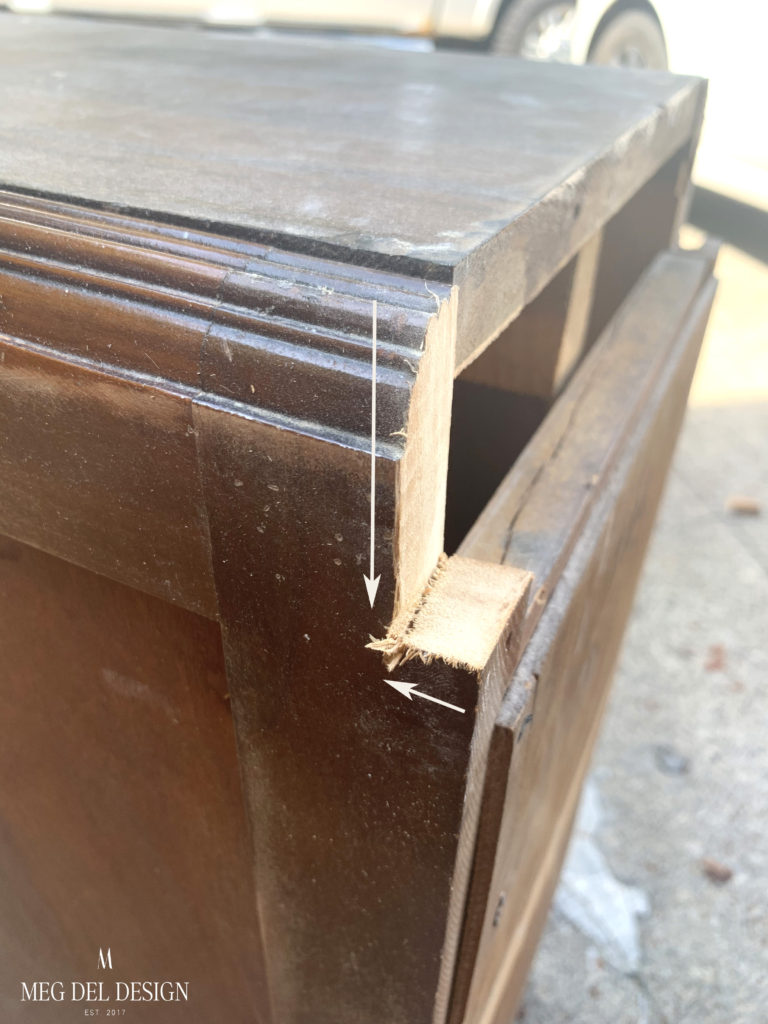
Jig Saw Cut #2-3:
To cut the excess piece down I lined up my jig saw on the base on the cabinet and began to cut. I slowly trimmed it down to make sure I didn’t gouge into the side.
I knew if I got a relatively close cut, I could sand down the excess with my orbital sander. You can mark a line for more precision. I just eyeballed how close I was to the side.
Once I had the side pieces cut down, I flipped the drawers upright to cut the top pieces down. I cut outside my desired flush point to make sure I didn’t over cut. First I made my vertical cut and then my horizontal one.
My first attempt wasn’t perpendicular, so I had to follow up with additional cuts. I really tried to take my time on these cuts to make sure I was creating a straight angle.
Nervous Nelly:
PS. I am not a master tools-woman, so I was a little nervous. I was happy with how all my cuts turned out, though! Another point why if I can do this, so can you!
Sanding:
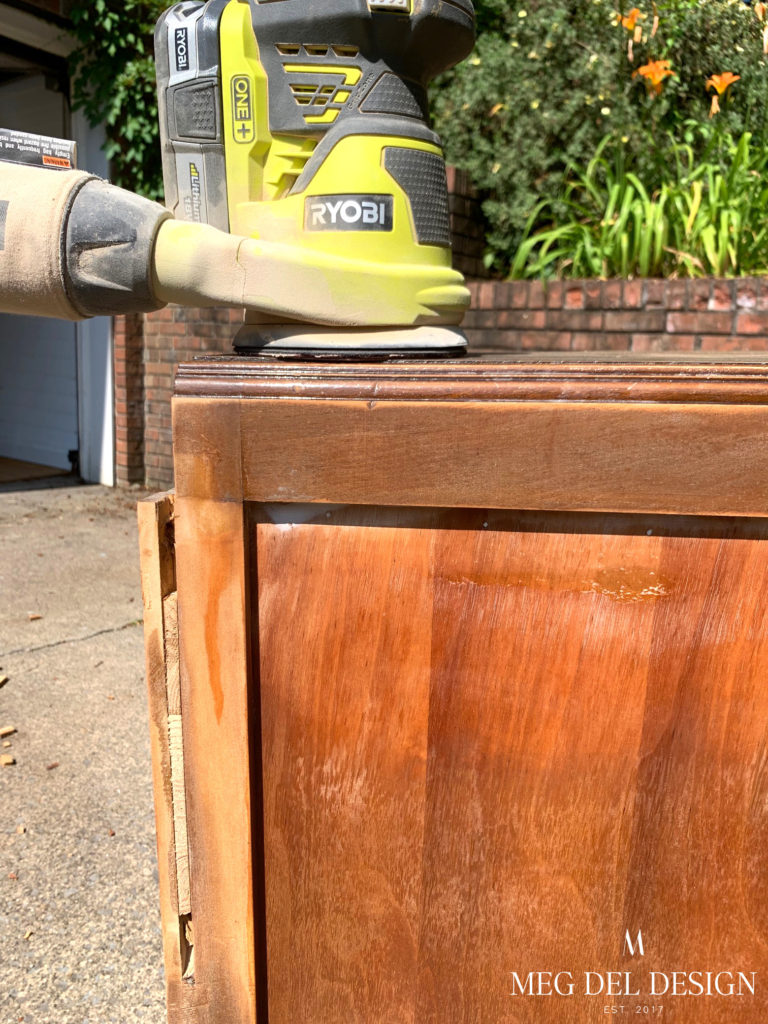
I took my orbital sander with 120 grit sandpaper and sanded down the sides and rough edges on my cuts. I followed up with 220 grit, and I did a little hand sanding to get into the corners my orbital couldn’t reach.
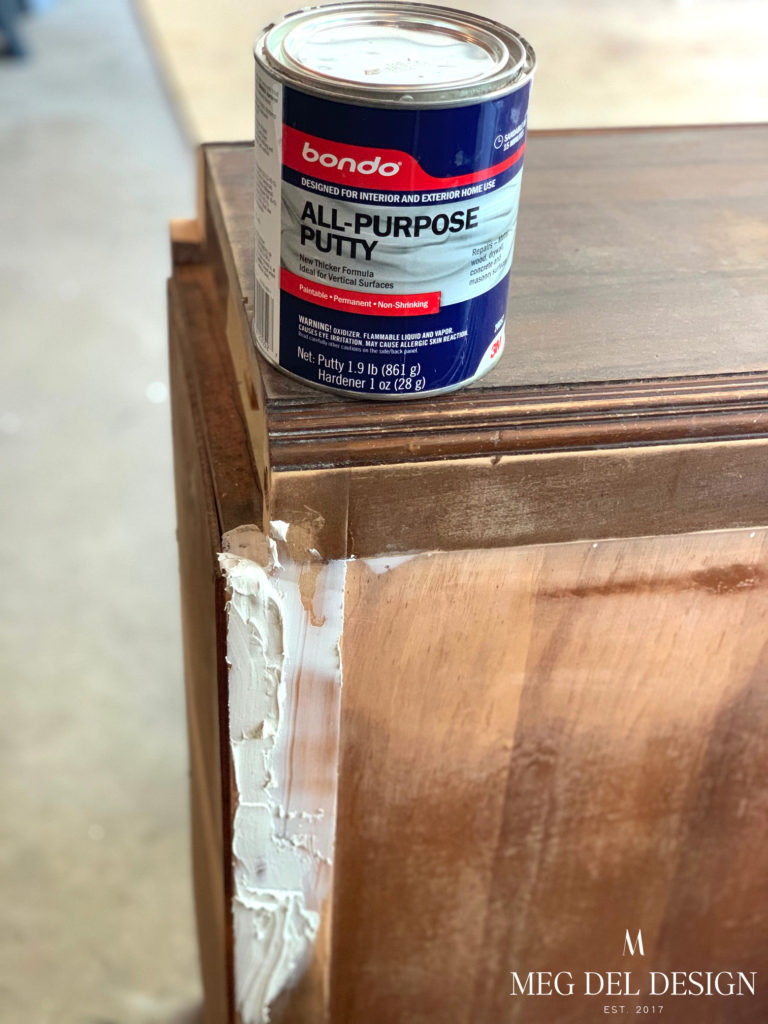
Repair and Paint Prep Process:
When you cut your vanity to nightstands you will notice areas that may require filling and repair. My nightstands required repairs from the nails and gaps on the sides.
My go-to filler/repair product is bondo, and I mixed/applied the two-part system liberally into the gaps and over the holes.
I sanded it down smooth using my orbital sander and my zip sander to get into the tight spots.
I wanted to update the hardware too, so I also applied bondo to the drawers to fill the indents and extra holes on the bottom drawer to prep it for new knobs.
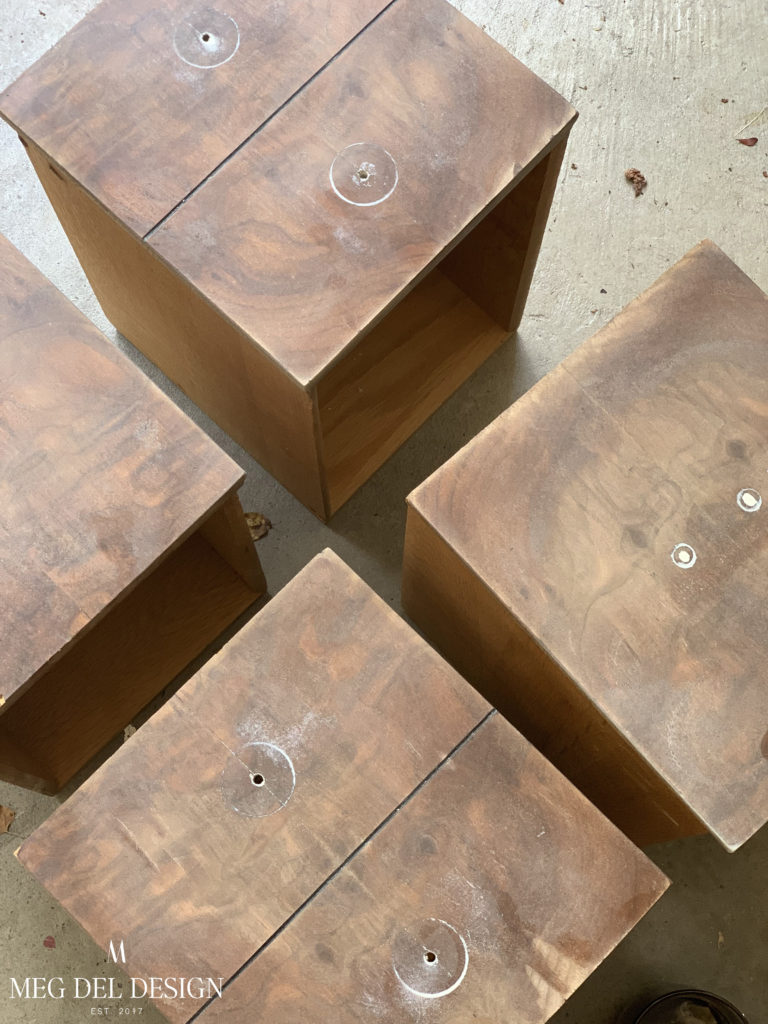
Next, I started my prep as usual which includes an overall sanding. I used 220 grit to prep-sand the entire thing. It was important to sand over the sides at the connection point to remove any glue or rough areas.
I scrubbed the whole thing with Krud Kutter to give it a deep cleaning before paint!
Finish, Hardware, and Paper Details:
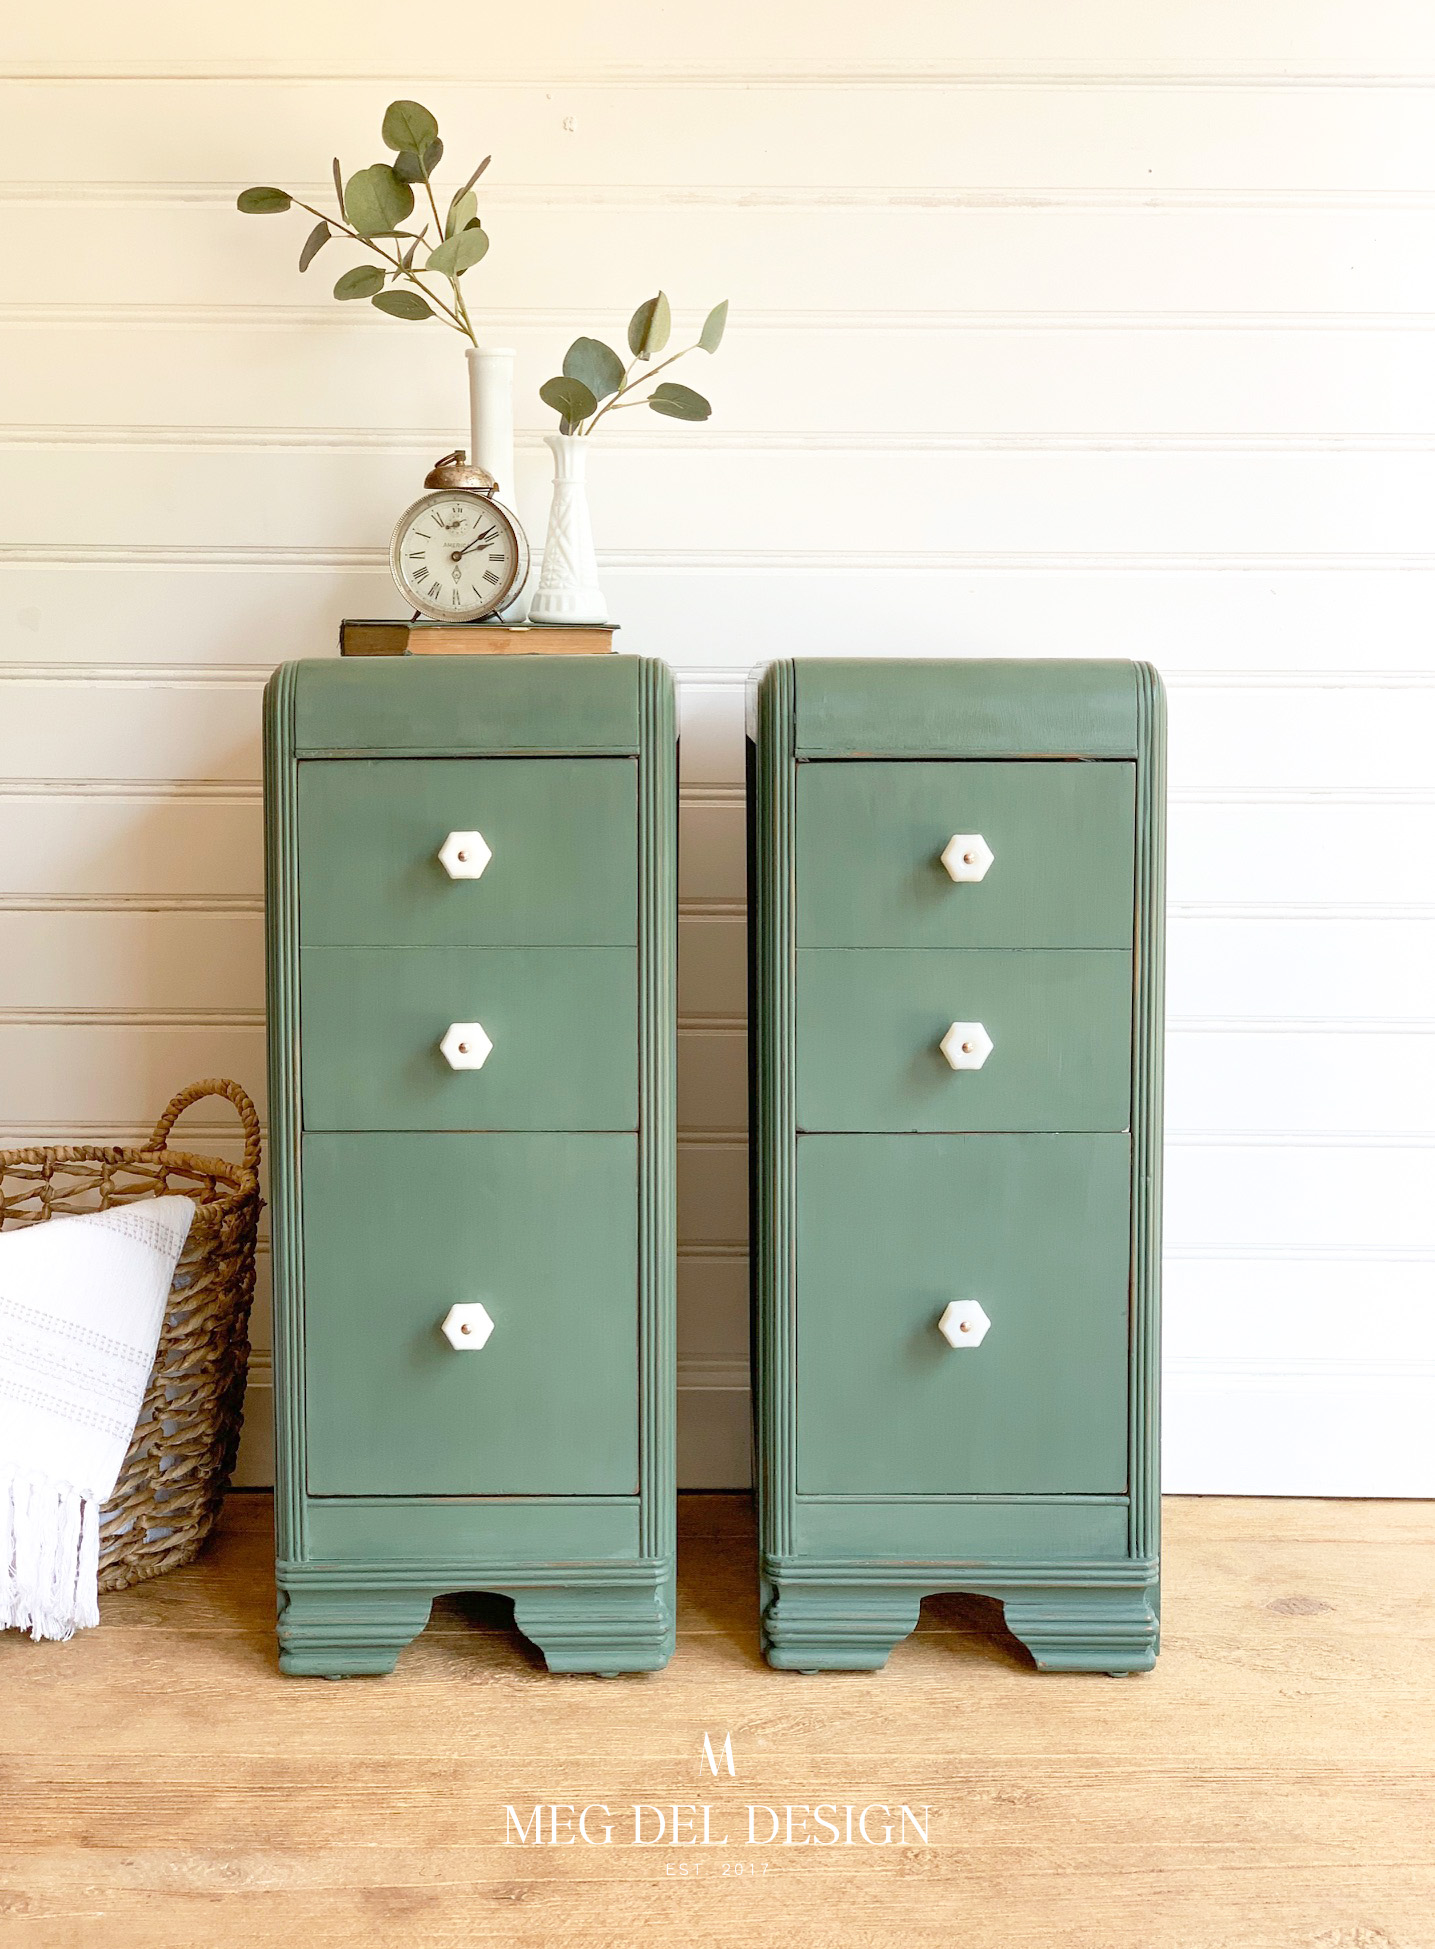
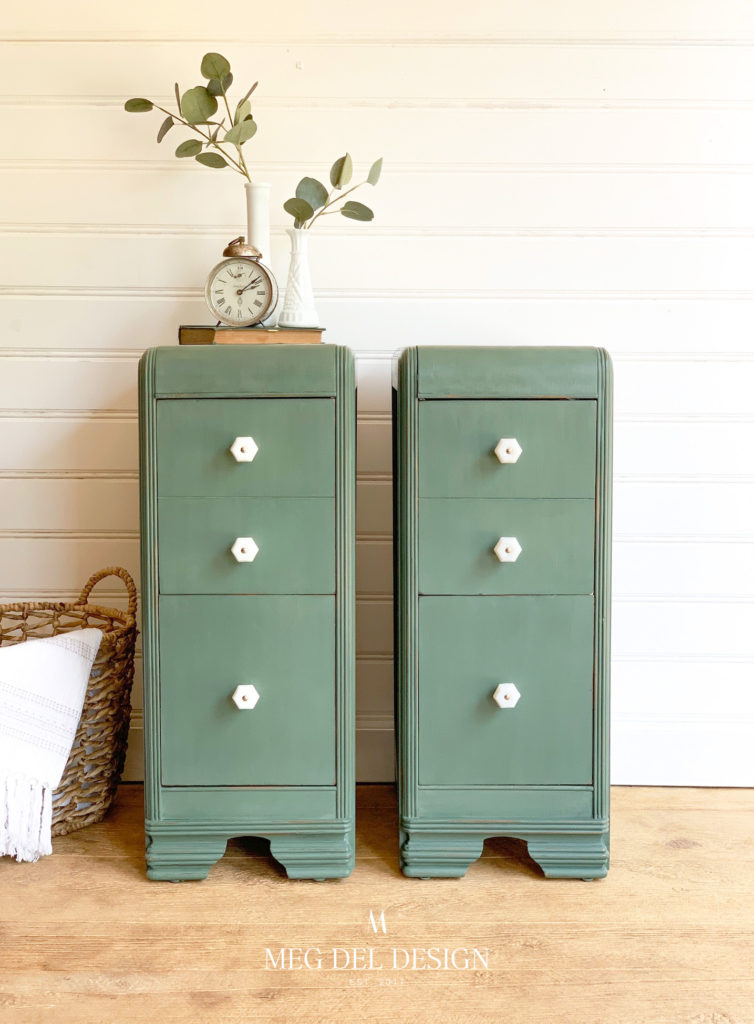
I painted the nightstands in CeCe Caldwell’s Michigan Pine green and applied about 3 coats total.
I distressed the edges with 220 grit sandpaper.

Next, I removed the dust with a tack cloth and applied Annie Sloan soft clear wax over the pieces for protection.
Finally, I added some gorgeous milk glass knobs from D. Lawless Hardware and lined the drawers with floral paper from Spoonflower.

I love the way these turned out! They are my first vanity to nightstands and definitely not my last! If you have any questions, I would love to hear them below! Do you like how they turned out? Want to see more like this? Well, I hope so! Because I have another vanity to nightstands in the works!
-Meg