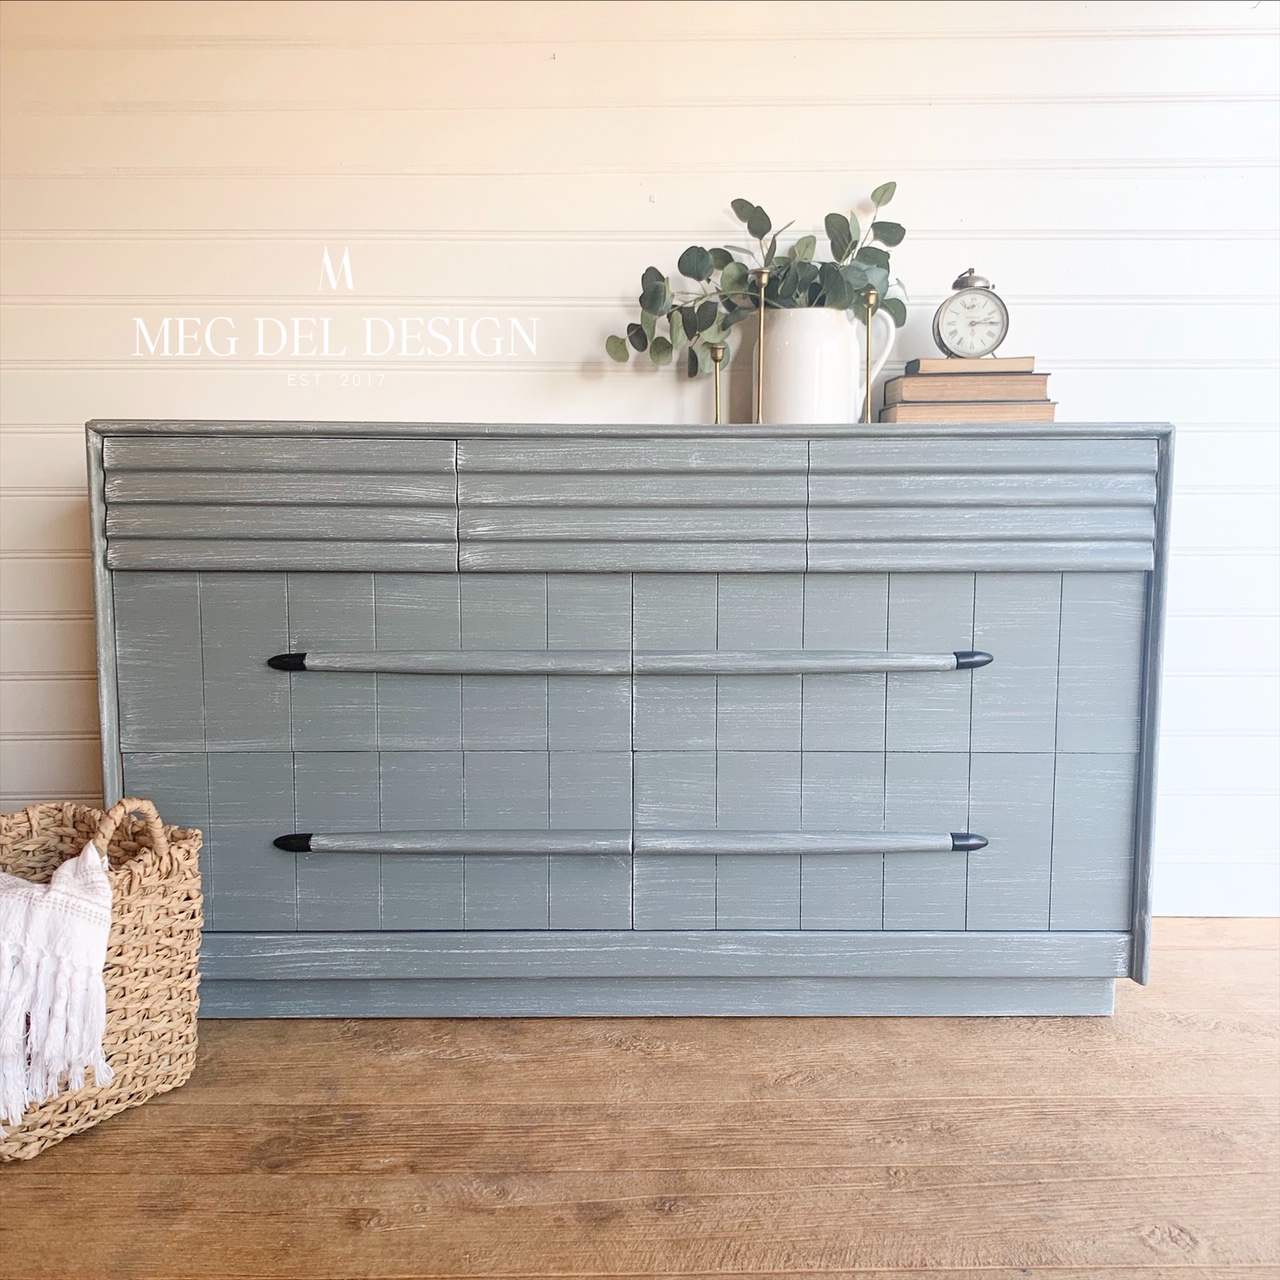
Have you heard of dry brushing furniture or seen this fun technique used before? It’s been a while since I have done a dry-brushed piece, and I am SO excited my client went with this finish!
It’s a technique that can be as refined or sporadic as you want! For my client’s piece, we went for a more cohesive and clean look.
I say it below, but keep in mind – this is just a guide on how I normally dry brush furniture and each artist can totally make this technique their own.
Alrighty, now let’s jump in!
Dry Brushing Furniture Guide:

As an Amazon associate, I earn from qualify purchases.
What is dry brushing?
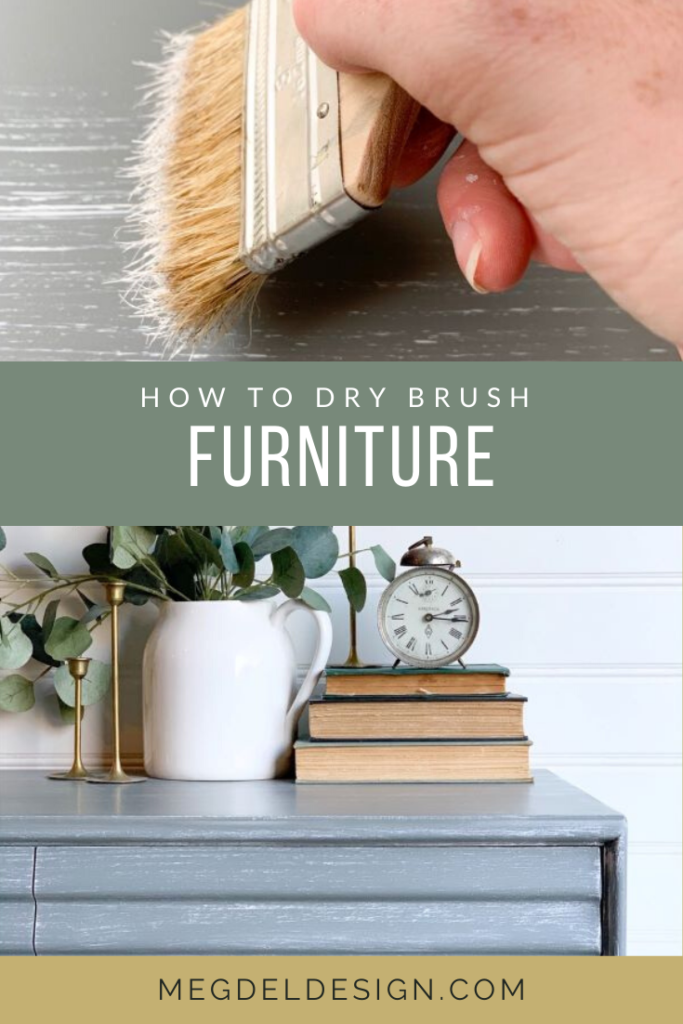
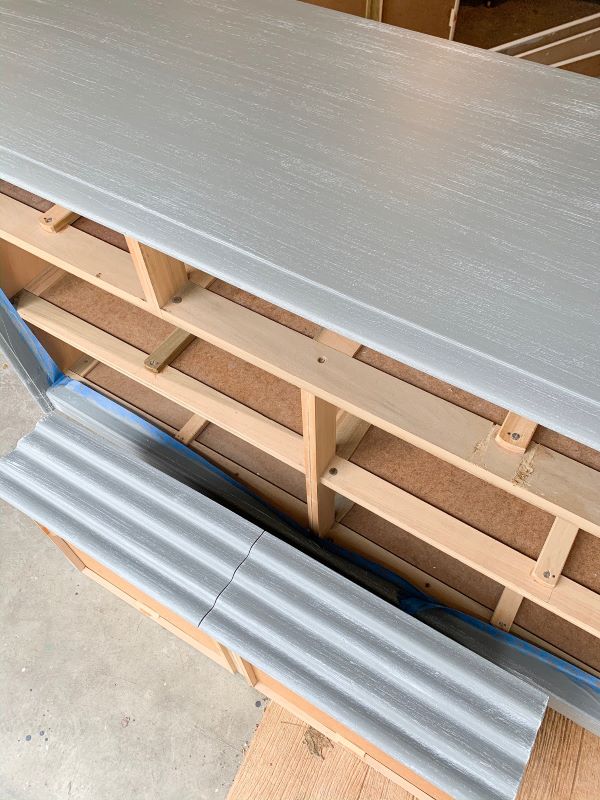
Dry brushing furniture is a technique where you use an almost-dry paintbrush to apply a textured finish.
Typically this technique is applied over a base color, already painted.
Why choose to dry brush furniture?
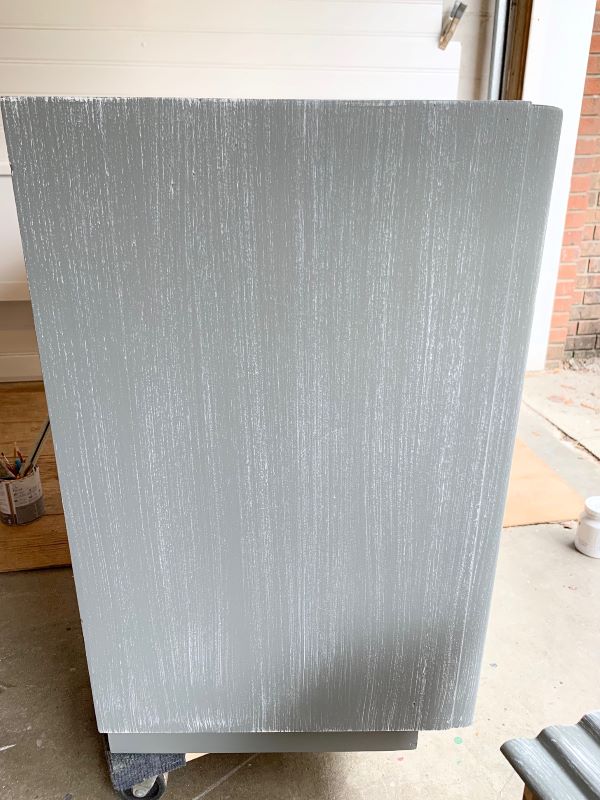
The dry brush technique is great for adding dimension and texture to a piece!
What look does dry brushing give?
It can also give a piece a weathered or even beachy look.
What colors should you use for dry brushing furniture?
As with any painted piece, remember you are the artist. You can use any combination of colors or vary your application process to your liking. Play around with it!
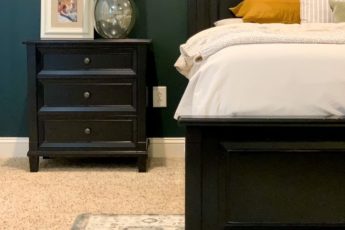
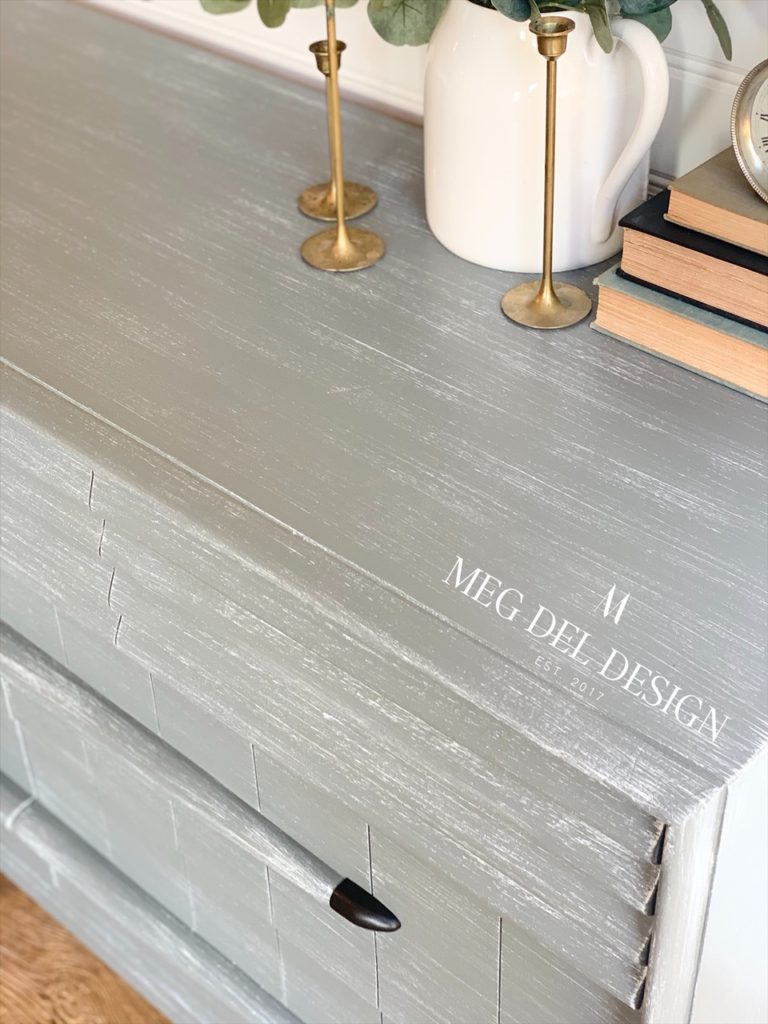
That being said, dry brushing works really well with contrasting colors. For example, using a dark base color and dry brushing a lighter color over the top will pop against it.
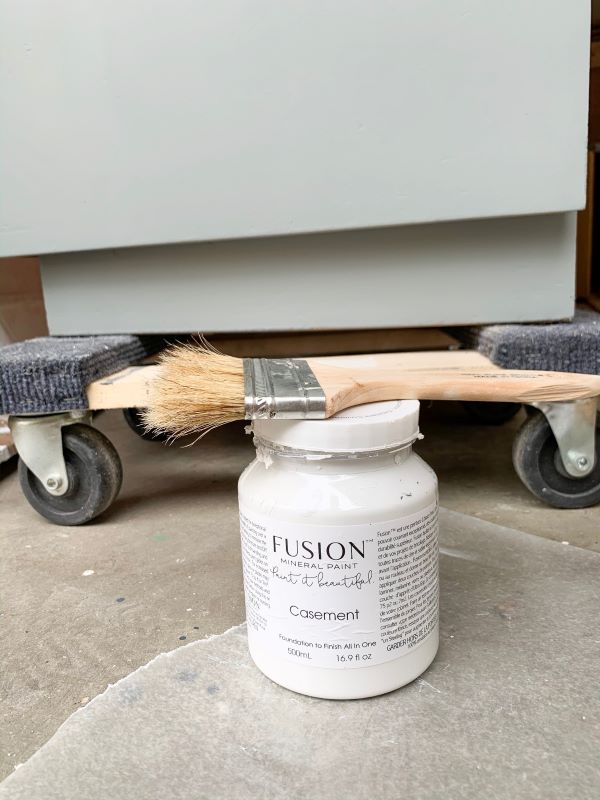
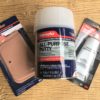
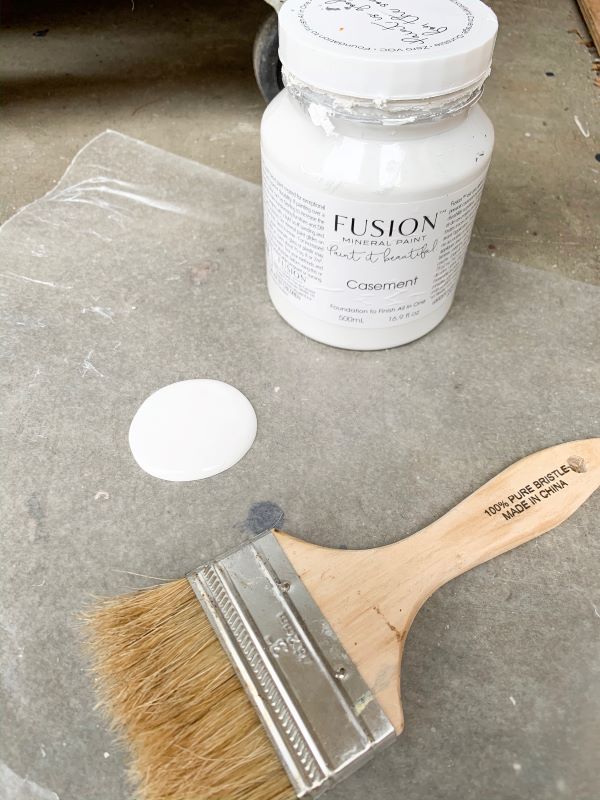
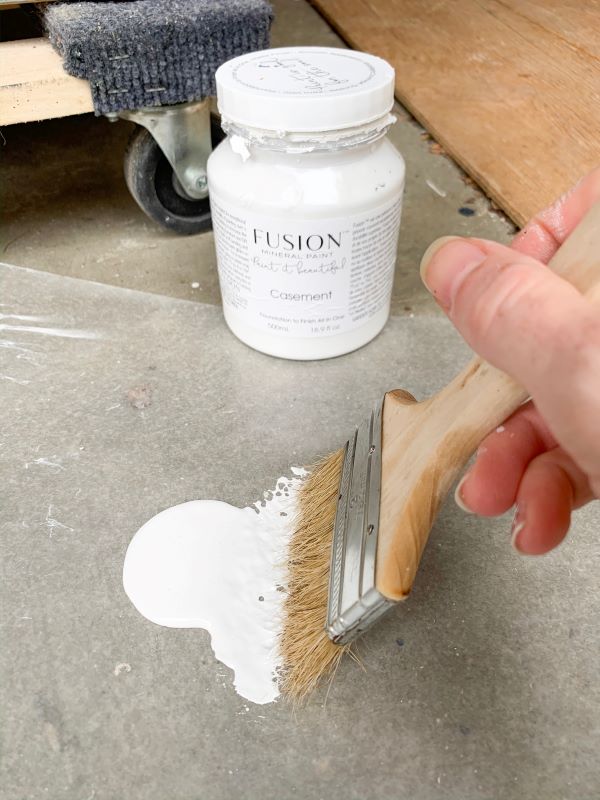
I used Fusion Mineral Paint in sacred sage for the base and casement for the dry brushing.
Keep in mind…
Your dry brushing can show imperfections in your piece so it can be extra important to do your repair work before your base coat of paint.
For repairs like chipped veneer and big scratches (like the ones on this piece), I use bondo filler for a super-strong repair and smooth finish!
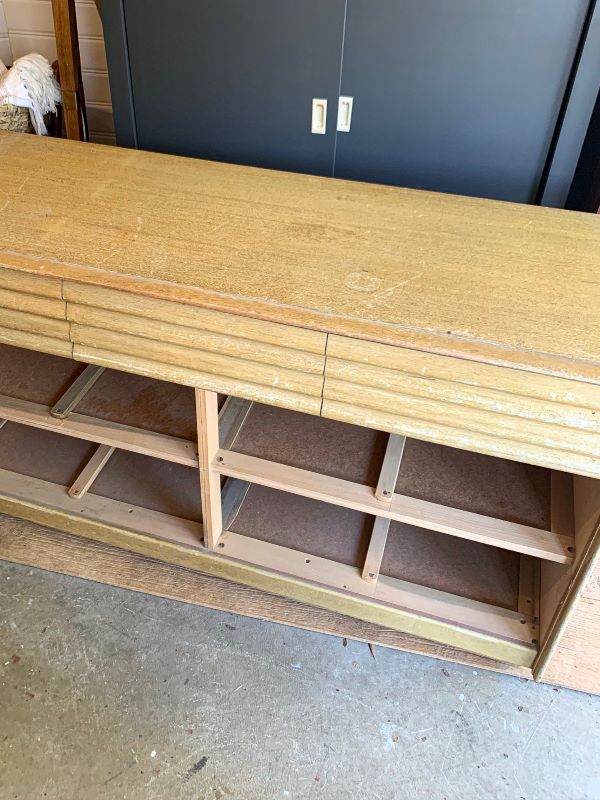
You can read about my whole bondo repair process for furniture here.
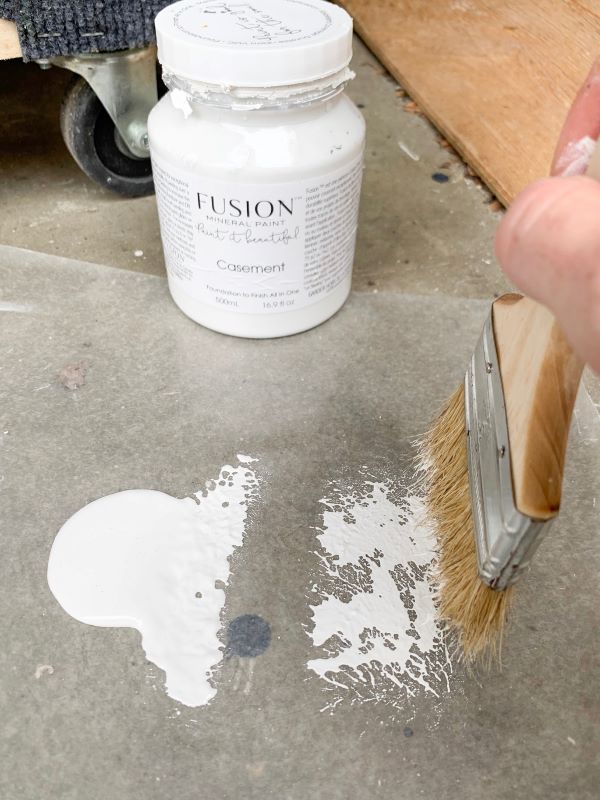
How much paint do you need to dry brush?
As you might expect, you do not need a lot of paint when dry brushing furniture. The goal is to barely saturate the tips of your brush with paint. This will create soft lines versus gloppy/uneven streaks.
How do you control the amount of paint?
This is KEY! To control the amount of paint on your brush, you need to stipple or dab the excess paint off your brush before you apply it to your piece.
Once you have paint on your brush, I recommend using a lint-free paper towel to remove the excess paint. Simply do this by dabbing your brush on the cloth, moving it left to right, up and down to take off an even amount.
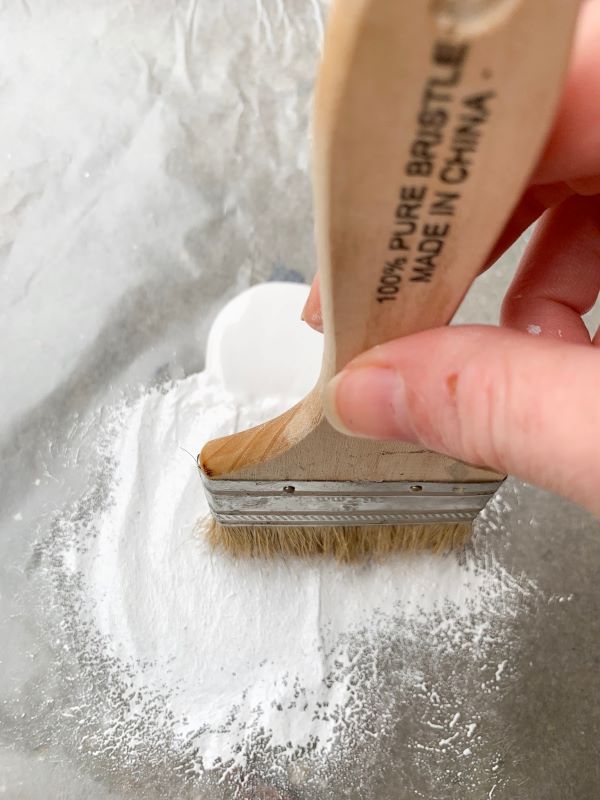
For me, this looks like using wax paper and dabbing my brush, left to right a few times on a dry section to remove some of the paint. I have a very light hand when I apply my dry brushing, so wax paper works perfectly for me to take only a little paint off.
How can I be sure I have the right amount of paint on my brush?
When you first try dry brushing don’t be afraid to try a few passes on a piece of paper or cardboard. If your lines are too thick, remove a little more paint. If you can barely see your lines, add a little more.
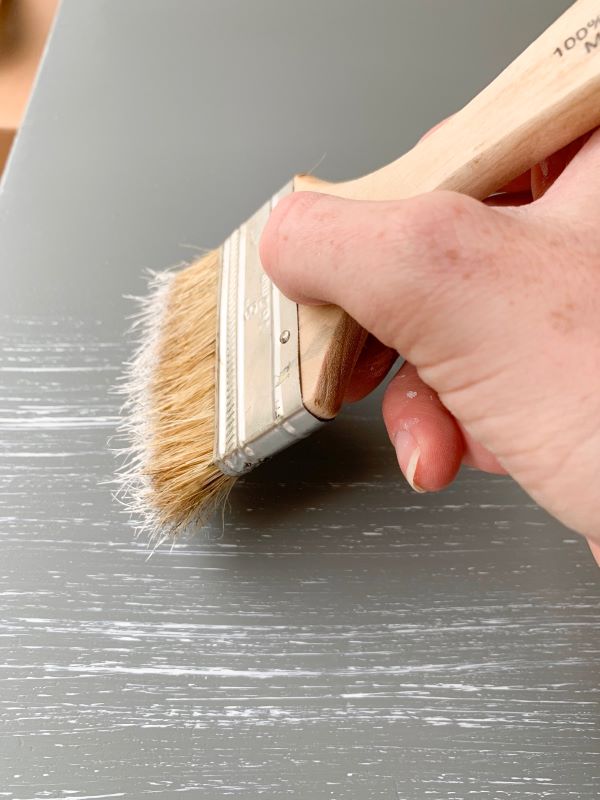
What kind of brush should you use?
A chip brush is key for successful dry brushing.
Should you practice?
Let me be honest – the application of your dry brushing technique is super important to the finish you will get.
I highly recommend practicing a few times on a piece of paper or cardboard before you take your brush right to your piece. If you are ballsy & jump right in, I support you too!
Where should you start your application?
Once you have the right amount of paint, start at your edge. You don’t want to start in the middle because you will have very obvious brush marks from your starting point.
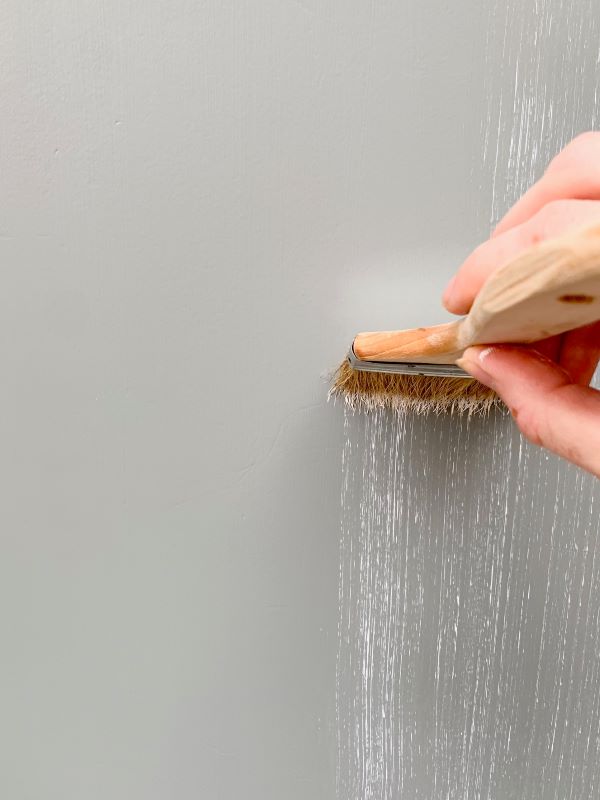
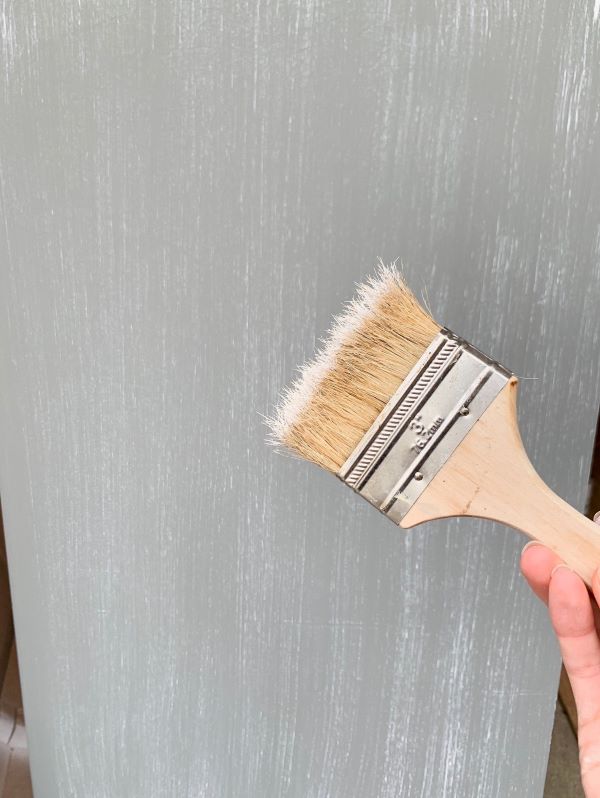
How should you hold your brush?
From the outer edge, start with your paintbrush at roughly a 45-degree angle. You want to lightly drag the bristles of the brush over the surface without pressing directly down.
How do you actually brush on the paint?
Try to run the entire surface of your piece in one pass. This can be tricky for a few reasons.
One – you need to try to create as straight a line as possible.
I like to stand over the middle of my furniture piece so my body is centered over it. Then, I move my brush from left to right and feel balanced.

Two – you might feel like you don’t have enough paint to make a full pass.
That’s ok, but still continue your line all the way to the end. When you reapply paint to your brush, you can start from the opposite end that didn’t get a full application.
This will help blend the two sides together, ultimately avoiding stop and start marks in the middle of your piece.
When do you reapply paint to your brush?
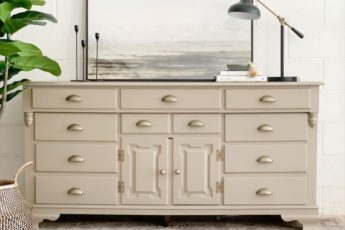
I recommend applying more paint to your brush with each pass you make if it is a larger piece like this dresser. This will help ensure your lines have a similar thickness and give you an overall even finish.
Having relative cohesion is good but remember the beauty of this finish is that it will have variation which creates interest and dimension.
So, give yourself some grace if you run a little OCD – dry brushing furniture isn’t a perfect science.
How do you dry brush where corners meet?
When you have a piece where corners or edges meet, you can do a few things. If you like the cross-hatching look, you can let these overlap in different directions.
If you want a really clean, crisp edge you can take painters tape to tape off the edge. Complete this step for the other side (once the first side is dry). This will give you that perfect meeting of the two.
What if I apply too much paint or overlap lines I don’t want?
Don’t worry – you have options to fix it.
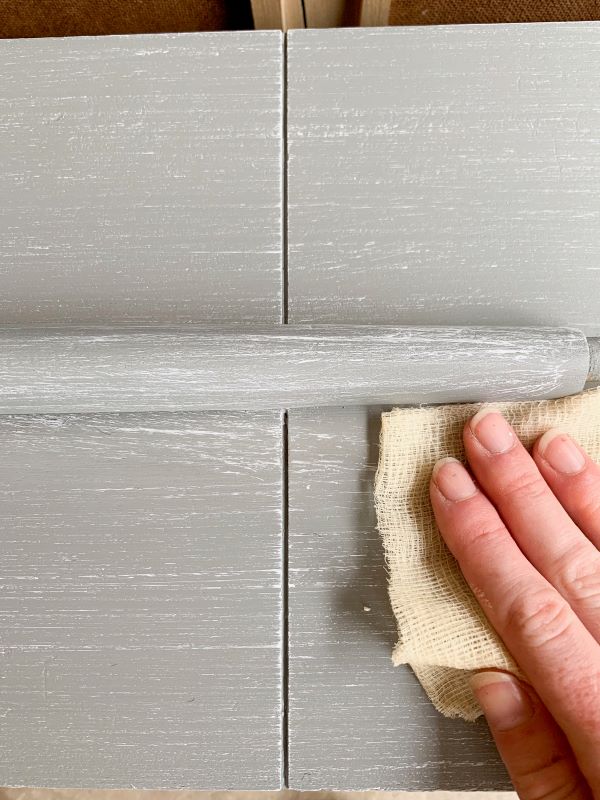
My go-to solution is using a little steel wool over the area where the paint is too heavy. I apply pressure, with the grain/dry brushing, and remove the excess until it is blended.

Once you get it down, use a tack cloth to move any dust and steel wool pieces.
If you can’t get it down enough, you can always come back with your base color and feather it out using a similar dry brush application.
You can also paint the base color back over it if you really need a blank canvas.
Play around with your dry brushing technique!
You got this!
Dry brushing furniture gives you such a fun, one-of-a-kind finish! Have fun with it. Practice as much as you need. And at the end of the day, remember it is just paint! You can work with it until you get the textured look you love.

Any questions? Or maybe you crushed a recent dry brushing furniture piece!? Tell me about it below.
Thanks & happy refinishing!
Meg
Dry Brushing Furniture Guide
Create a textured and dimensional finish with this dry brushing furniture step-by-step guide!
Materials
- Base paint
- Dry brushing paint
- Wax paper
- Lint-free paper towel
- Painter's tape (optional)
- Steel wool
- Tack cloth
Tools
Instructions
Notes
Time to complete the dry brushing technique will vary based on project size.
Pin for later!