Have you ever walked into an antique or consignment store to find an incredible piece of furniture to refinish just to see one (or a whole handful) of imperfections?

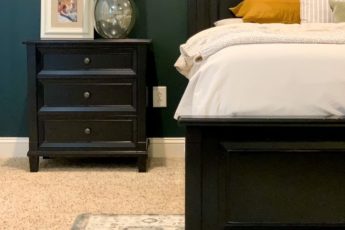
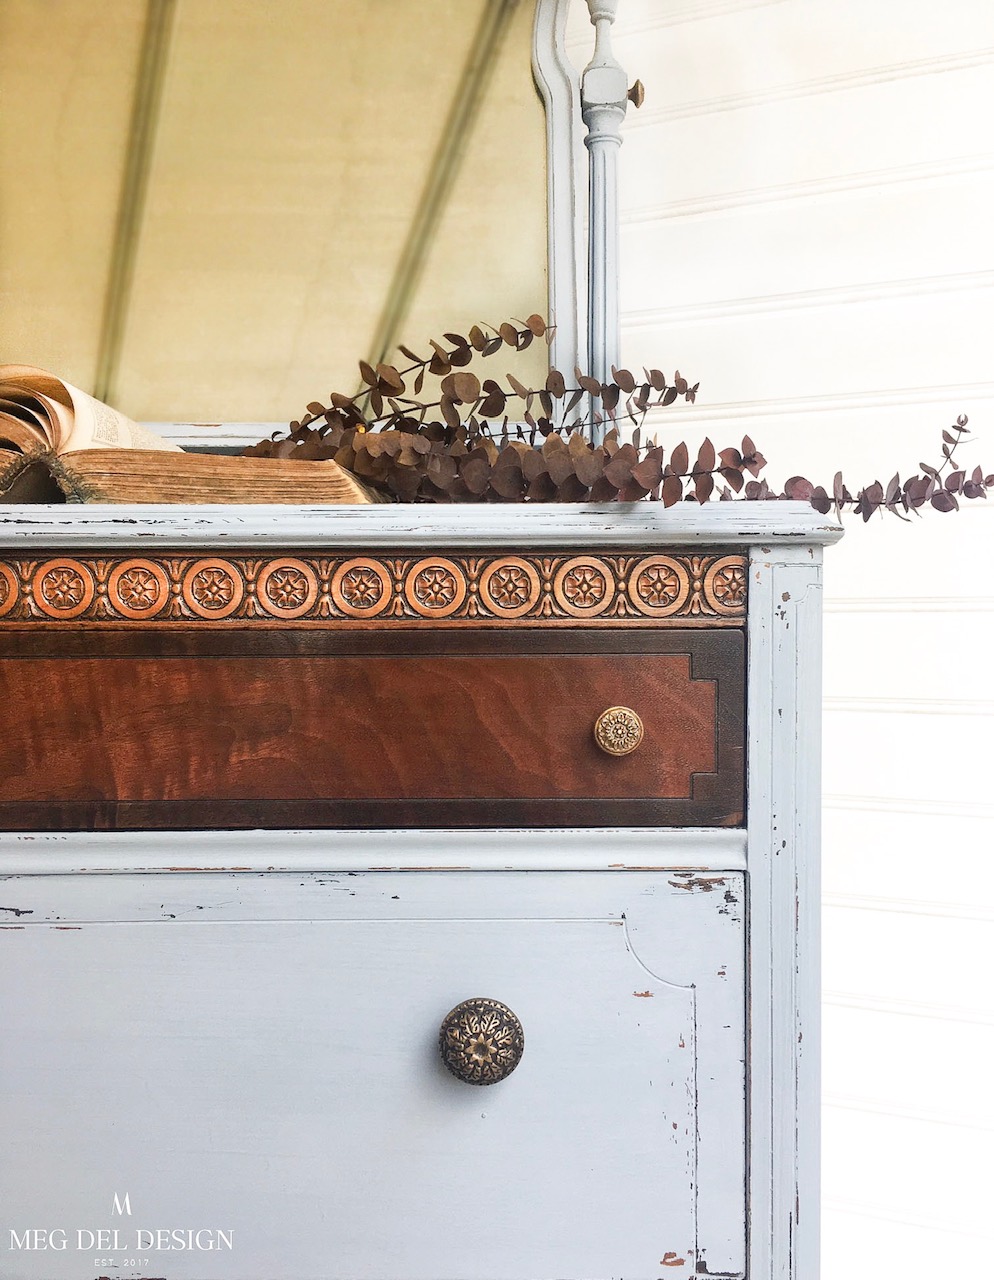
For me, it tends to be an old, character-filled piece with original wood carvings, some veneer detail, which also tends to mean veneer damage. (Like this beauty.)
Don’t let these imperfections make you doubt yourself or give up on the piece right away!
Why? Because in most cases you can fix them… using bondo wood filler!
As an Amazon associate, I earn from qualify purchases.
Guide To Repair Furniture Using Bondo Wood Filler:

This post is a guide on how to repair furniture using bondo filler. It will give you all the details on what bondo is, how to use it, and how to prepare your repairs for paint. Ready? Here we go!
What the heck is bondo?
Bondo is a professional-grade filler that allows you to make permanent repairs to interior and exterior projects.
Why is it my go-to filler for furniture repairs?
- It adheres incredibly strong,
- Does not shrink,
- Cures super-fast,
- Is ready for surface sanding 15 minutes after application,
- And ready for paint after 45 minutes!
AKA long-lasting repairs in an efficient timeframe! I can repair my furniture using bondo and paint my piece on the same day.
What can you use bondo wood filler on?
I primarily repair wooden furniture with bondo, but it can also be used on metal, concrete, masonry and more!
When do you use it?
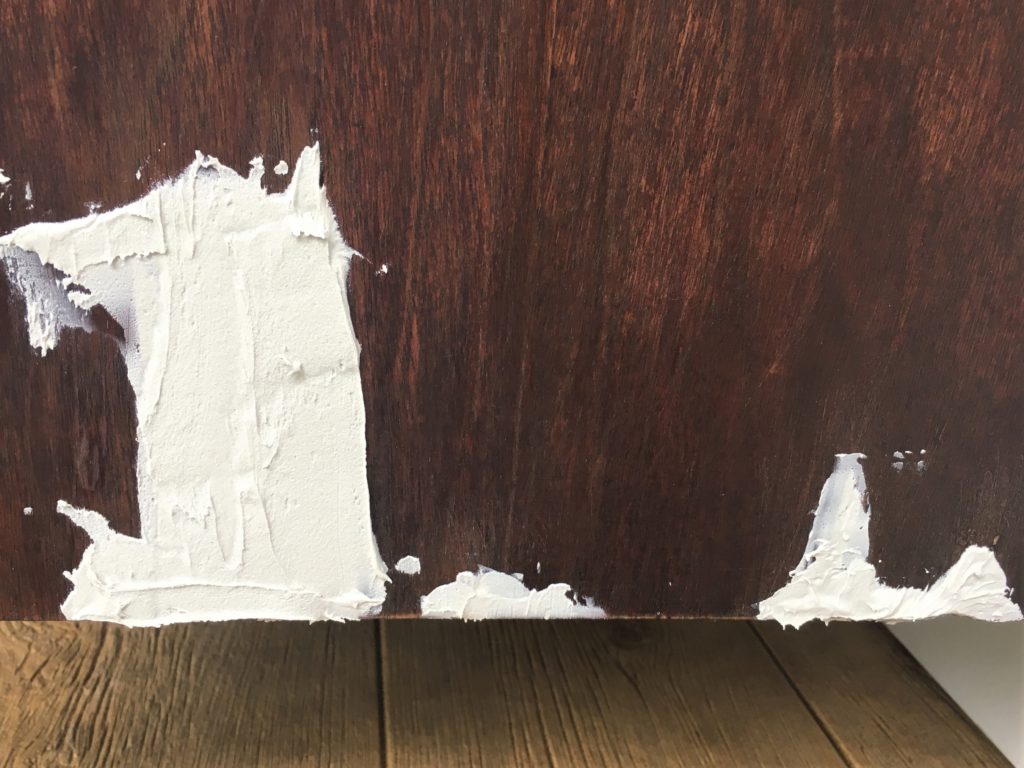
You can use bondo wood filler to repair furniture with multiple issues. The most common issue I find myself using it for is cracked, chipped, or missing veneer.

Bondo can also be used to fix scratches or gouges, missing corners or edges, to fill hardware holes, and to even create a mold.
Check out this transformation using bondo wood filler:
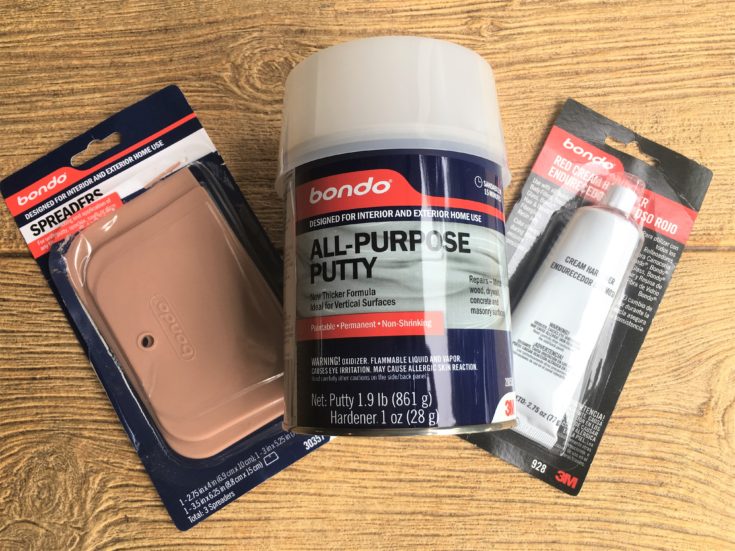
What bondo do I need?

I have used both the Bondo Body Repair Kit, Stage 3, 1 Quart

All-purpose bondo putty is my go-to for repairs on furniture. I use it for pieces I will paint vs. stain since it is NOT stainable.
How does it work?
Bondo is a two-part system and only works when you mix both parts together. When you mix the putty and the hardener, you get the awesome repair strength bondo is so well-known for.
Ps. when you buy bondo some come as a combo pack with putty, and hardener. You can also purchase each separately.
How do you prep your furniture before application?
Clean your surface! This is a critical part of furniture refinishing in general, but you also need to clean the area where bondo will be applied. My go-to cleaners are Simple Green and Krud Kutter for this step.

Allow the cleaner to dry then scuff sand your piece with 3M Sanding Sponge, Fine Grit, 6-Count

Remove the sanding dust with a tack cloth or reclean with your cleaning rag. Allow to dry.
What do you mix bondo on/in?
I recommend using a plastic plate, paper bowl, or something easy to toss when you are done mixing. If there is room, I will use my plate or bowl multiple times. (Reducing materials = more $ in your pocket, right?)
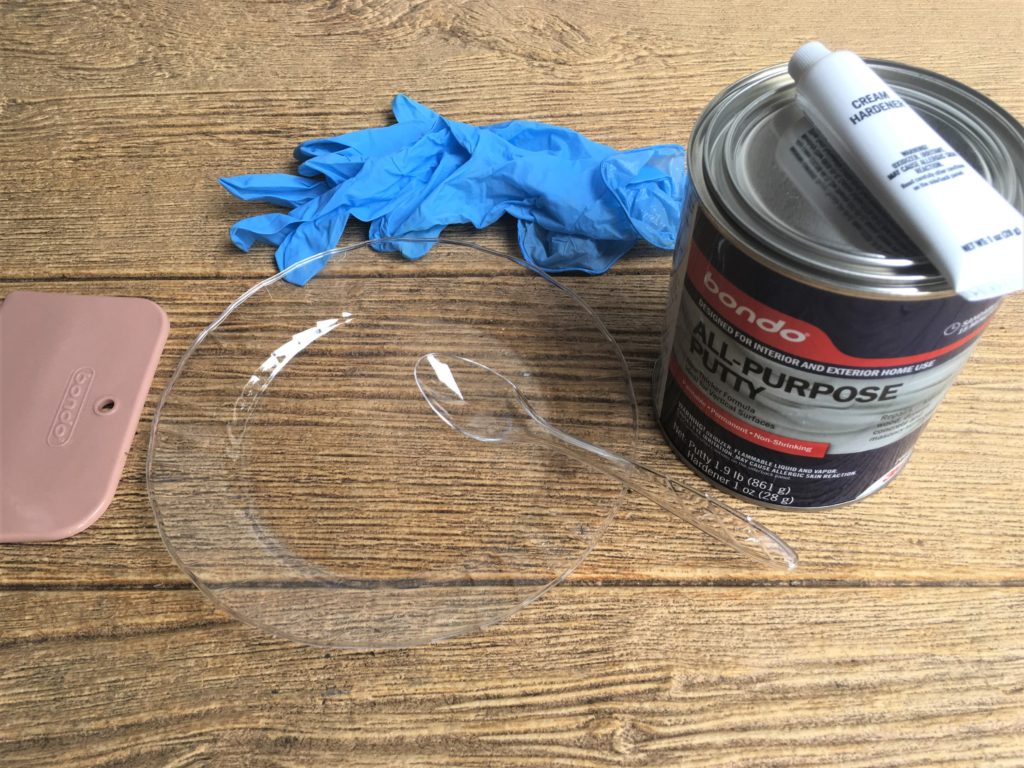
Should I wear protective equipment to use bondo?
Yes! Bondo is super stinky. I always wear my respirator, NoCry Safety Glasses with Clear Anti Fog Scratch Resistant Wrap-Around Lenses and No-Slip Grips, UV Protection. Adjustable, White & Pink Frames
How much do you mix at a time?
Bondo dries quickly so it is best to work in small areas because you need to work fast. I recommend mixing a few tablespoons of putty – try for a ½ inch thick, 3-inch diameter circle.
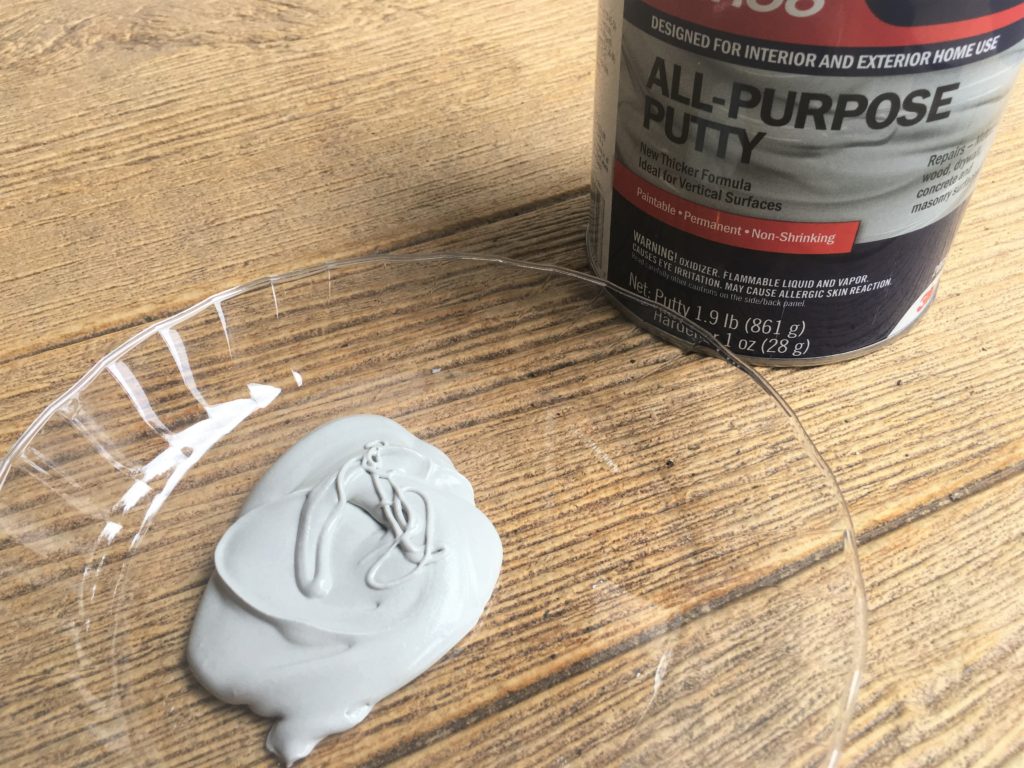
If you have a small repair to make, or you are nervous starting with the recommended amount, start with half of this. You can always mix more.
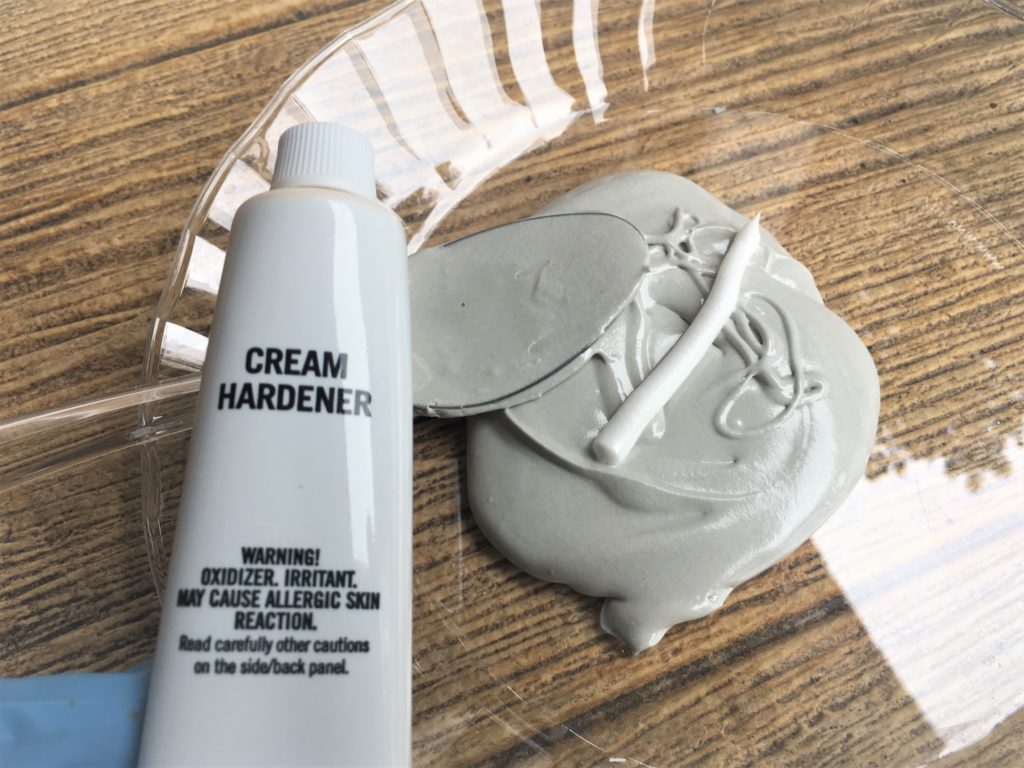
Next, knead the hardener before squeezing about a 3-inch strip directly over the putty.
Practice, fail, learn
When I first started using bondo wood filler for furniture repairs I won’t lie, I was nervous. (Silly to think about now, but I was!)
It took me a while to even out my application so my bondo would harden in my bowl before I could use it all. Sadface.
Don’t feel bad if this happens to you – it takes practice!
Now that I have used bondo for a ton for furniture repairs, my application process is a lot smoother and way more efficient. Meaning, I can mix bigger portions and I don’t waste materials (Woo!)
You will get to this point too!
How do you mix bondo?
With your two parts in your paper bowl or disposable container, use a stir stick to mix the hardener for about 1 minute or until completely blended.
(I use a paint stick or a plastic spoon – the same one I use to scoop out the putty for this step.)

After mixing, it should be one consistent color. Depending on the hardener you get your mixture will be light grey or pink after mixing thoroughly.
How do you apply the mixed bondo?
Apply using a bondo spreader or putty knife. Use pressure to fill your repairs and for maximum adhesion.
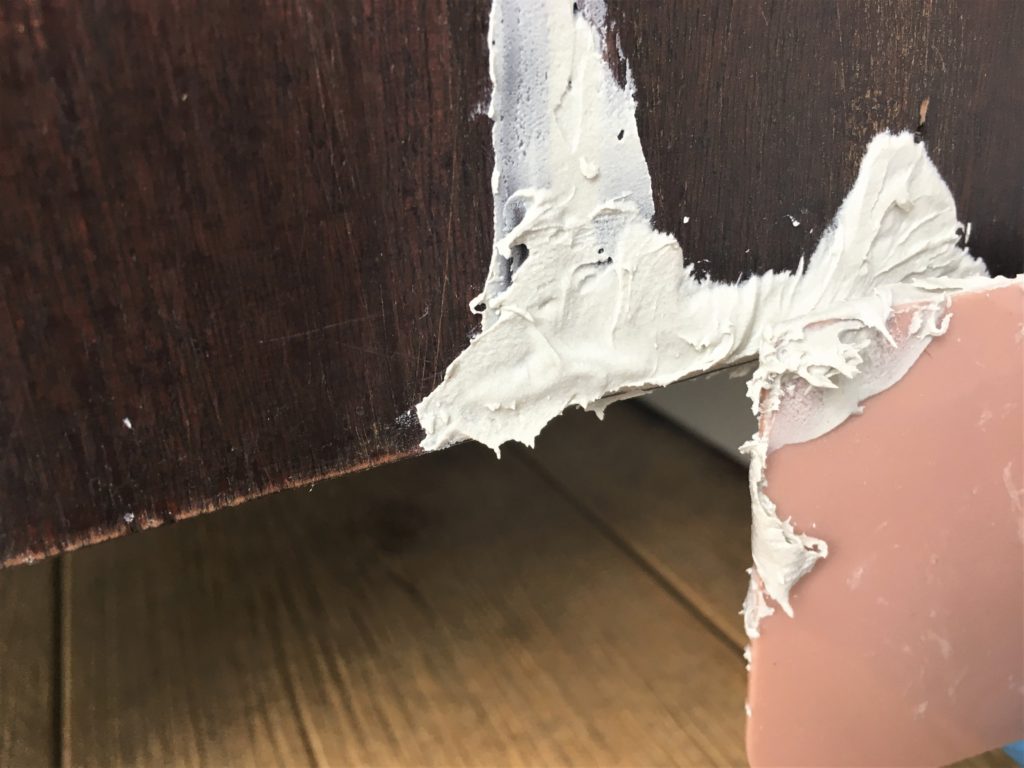
I will make a few quick passes before I get a relatively even application. Since bondo will not shrink you do not need a lot of extra on your repair area like a traditional wood filler.
If you apply too little and have a spot that doesn’t completely fill in (like my example below) you can always apply a second coat.

If you apply it too heavy, it is a little more work to sand off than wood filler. But, you can remove excess bondo before it’s completely dry to help limit your sanding.
Be careful not to overwork it. Remember, your bondo will dry quickly!
How do you sand bondo once it is dry?
Wait at least 15 to 30 minutes before sanding. Start with a lower grit sandpaper like 80-120 to begin smoothing the bondo down. Finish the repair surface with 180-220 to make sure the edges are flush.

I use my Ryobi sander for this step. Then, I rub my hand over the sanded surface to make sure it is even before moving onto my final prep step.
How to prepare to paint after bondo wood filler?
After my repair surface is smooth and flush, I typically apply either 1-2 coats of shellac or a primer with shellac in it to cover the area.
This helps prevent bleed through or variation in the painted finish.
Now for the fun!
There ya have it! After all that repair work you finally get to paint! (… if the rest of your prep work like cleaning and sanding are done!)

Lucky for you, using bondo to repair furniture is a pretty quick process – especially once you get the hang of it.
You can often fill repairs in one pass and be on your way to transforming an amazing piece you might have otherwise passed up.

I’d love to see or hear about some of the recent furniture projects you repaired using bondo! If you have any questions or favorite bondo tips, leave a comment below.
Thanks & happy refinishing!
-Meg
Repair furniture using bondo wood filler
Use these simple steps to repair furniture with bondo wood filler. Fix furniture flaws like chipped or missing veneer, scratched, gouges, missing edges and more!
Materials
- Bondo putty
- Bondo hardener
- Bondo spreader or putty knife
- Plastic plate or disposable bowl
- Plastic spoon, stir stick, or paint stick
- Cleaner like Simple Green or Krud Kutter
- Cleaning rag
- 80-120 sandpaper
- 180-220 sandpaper
- Tack cloth or rag
- Primer
Safety
Tools
Instructions
Notes
*Mix smaller portions if needed to avoid wasted material
*Multiple applications may be required depending on your project