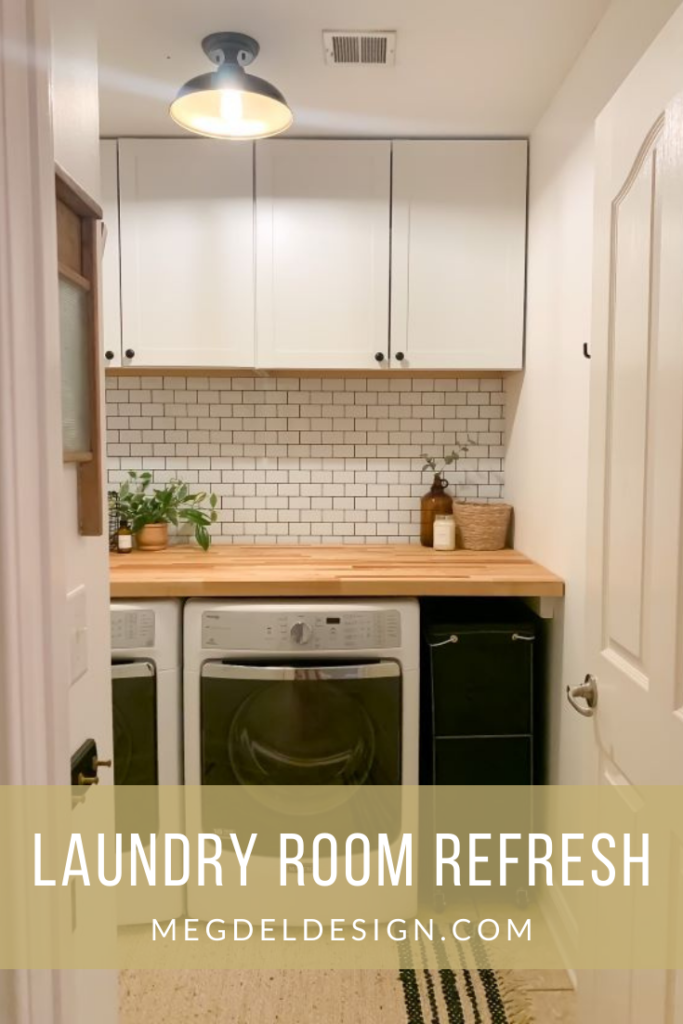
With the countless loads of laundry, especially with a toddler, a laundry room refresh moved up quickly on our home projects list. Here’s how we updated the space! Dare I say, I am actually excited to do laundry now….. (maybe!)
Laundry Room Refresh Frequently Asked Questions:
How can I redo my laundry room for cheap?
If you can, use the existing footprint in your laundry room. This will save you costs on moving plumbing and venting, drywall repairs, etc. If you have existing cabinetry, ask yourself if you could update it with modern hardware, or paint them versus buying brand new. Focus on cost-effective updates like fresh paint, and inexpensive storage solutions for organization.
How much does it cost to redo a laundry room?
You can refresh your laundry room for a very reasonable amount by making small updates that make a big impact. For instance, starting with a fresh coat of paint and moving our cabinets up cost us less than a gallon of paint. That alone made a huge difference to make the room feel bigger. If you make similar updates to your laundry room as we did, including the butcher block (our most expensive upgrade $300+), a fancy laundry basket and drying rack, you could expect to spend around $900. Keep in mind you could definitely do it for less. The breakdown of our costs is below!
How can I make my laundry room more functional?
Maximize your space and add organization! We added functional storage to hold everything we need in our laundry room and added wall organization to reduce the clutter. The biggest function we added was a big folding space with our butcher block countertop.
How do I refresh my laundry room?
There are many ways to do a laundry room refresh that can make your space feel totally different! Think about what your budget is and the main goals you have for your space. Does it feel dark and dated? Try paint to brighten it up, or a new light fixture! Do you lack storage? Try baskets and specific containers to help. Do you desperately need a place to fold laundry? Install a new countertop and/or some hanging storage. Maybe you simply want it to feel cozy or more your style? Adding art or pieces you enjoy can go a long way. Our laundry room refresh kind of snowballed and we did ALL the things. (Keep reading for the details!)
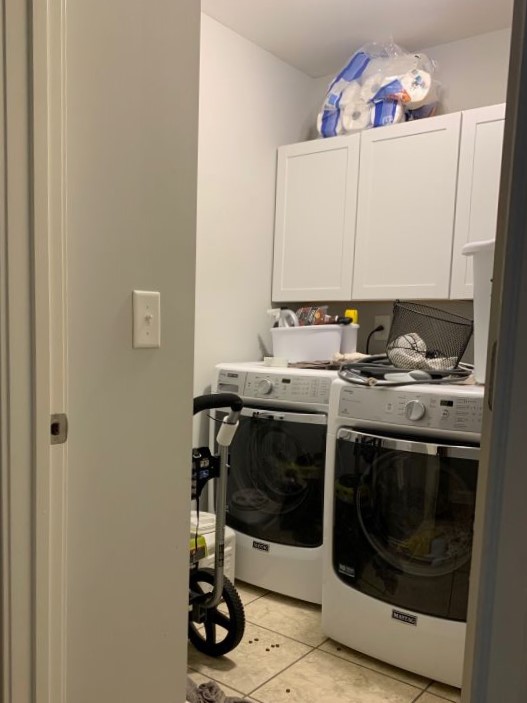
These are the updates we made for our laundry room refresh!
As an Amazon Associate, I earn from qualifying purchases. This post contains affiliate links.
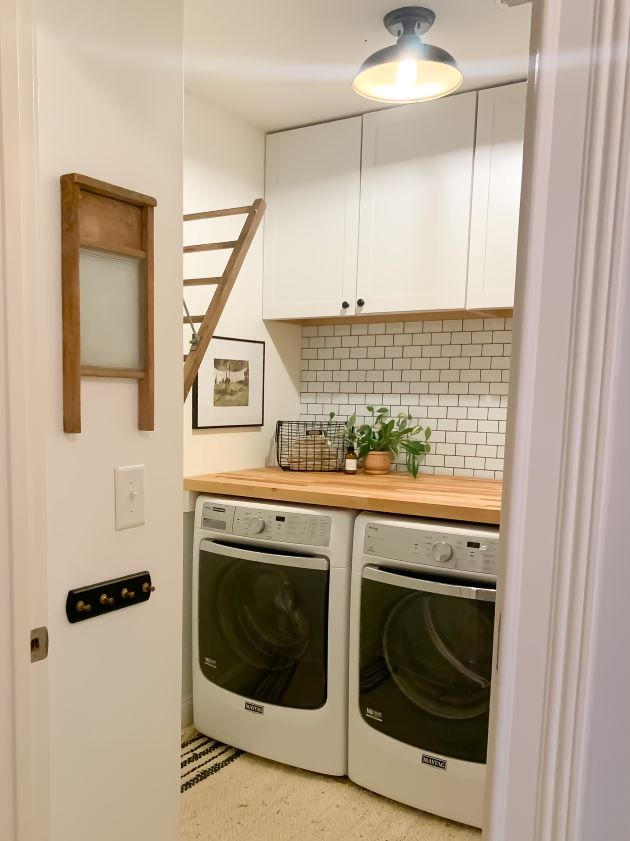
1. Moved the cabinets up & added simple cabinet knobs
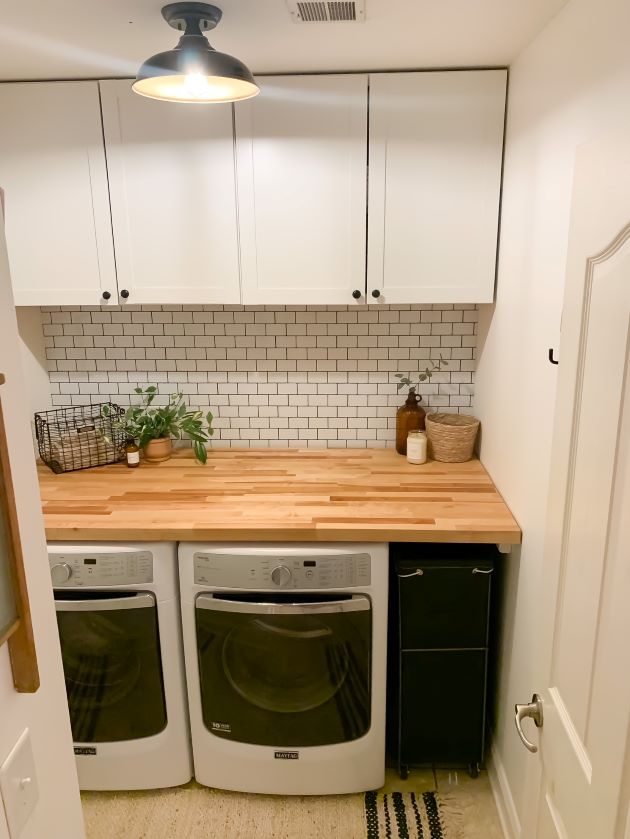
To save money, we used the existing cabinets in our laundry room refresh but decided to move them up to make the room feel bigger. They are higher than standard cabinets are normally hung, but we liked the idea of keeping all of our cleaning supplies and detergent totally out of a toddlers’ reach. We can still access the lower shelves easily which holds everything we immediately use. We added black cabinet knobs I had leftover from a furniture project for a modern farmhouse look. They add functionality too!
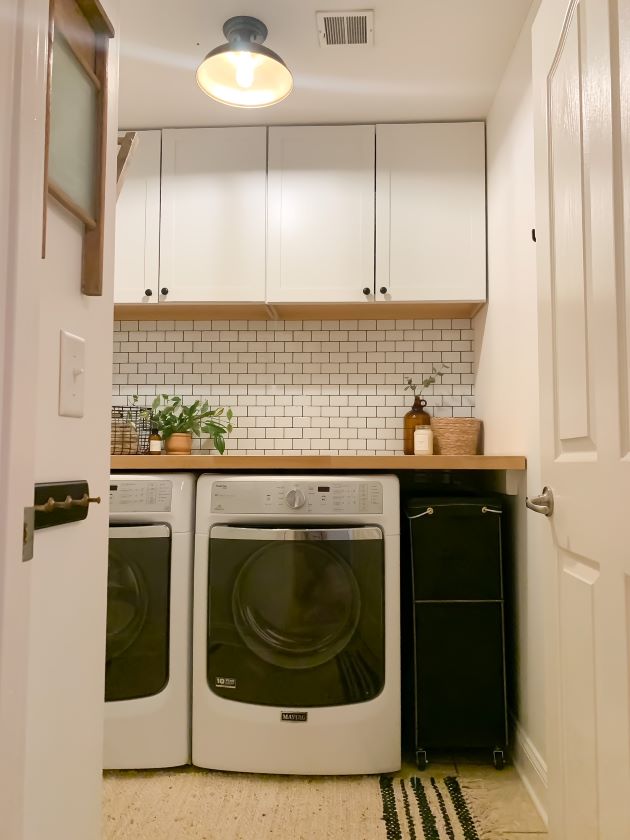
2. Painted the walls white
The color before wasn’t bad, but we wanted to brighten it up further. We painted the walls and freshened up the trim in Benjamin Moore’s simply white. (Walls in eggshell and trim in satin.) Paint makes such a big impact and this bright white instantly made the room feel bigger.
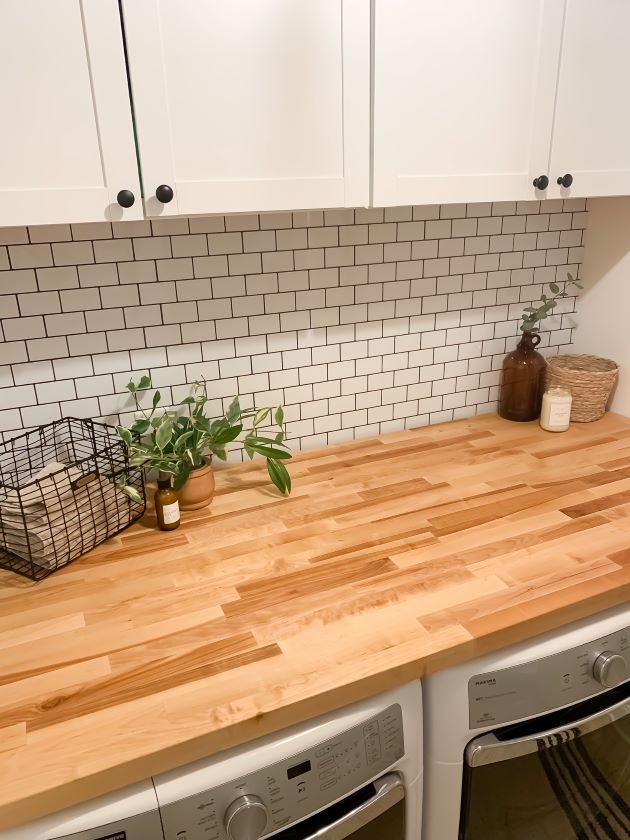
3. Added peel-and-stick subway tile backsplash
I was skeptical this would work or look as legitimate as it does! This took me just over an hour to do and for a reasonable cost compared to tiling and grouting a real tile backsplash. We didn’t want to commit to that at this time, so I applied this peel-and-stick subway tile and love it! It was super easy to install, added so much character, and can be changed out easily in the future.
4. Added space-saving organization items
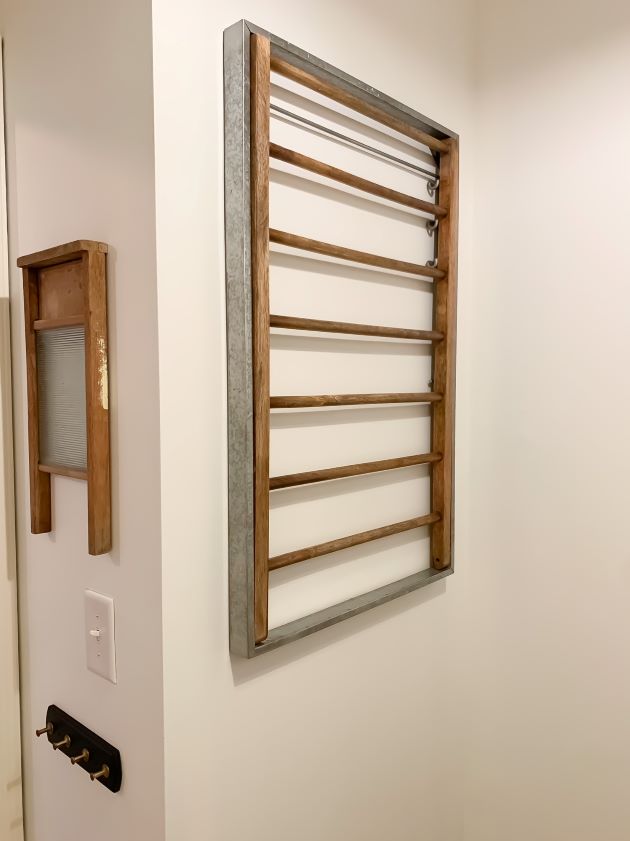
Wall-Mounted Drying Rack
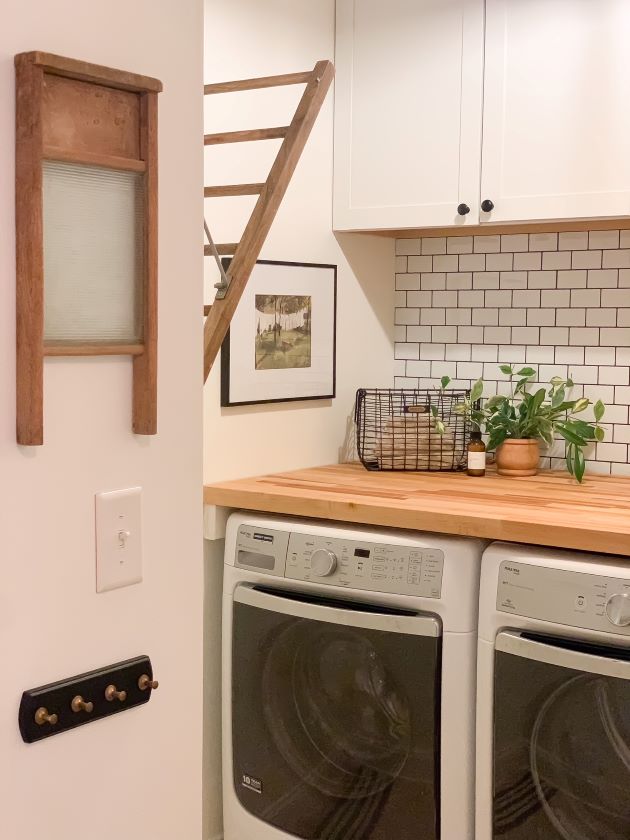
We seem to always have just a few things that need to be hung dry. Yet, a foldable drying rack is always a pain and does not fit well in this room. We opted to spend a little more on this wall-mounted drying rack from Pottery Barn, and I am a little obsessed! It folds out to three different positions, holds a handful of items, and folds up tight to the wall when not in use. It is so perfect for a small laundry room. We can easily pull laundry out of the washer while it is being used! Bye, bye bulky, free-standing rack.
Cleaning Tools Storage
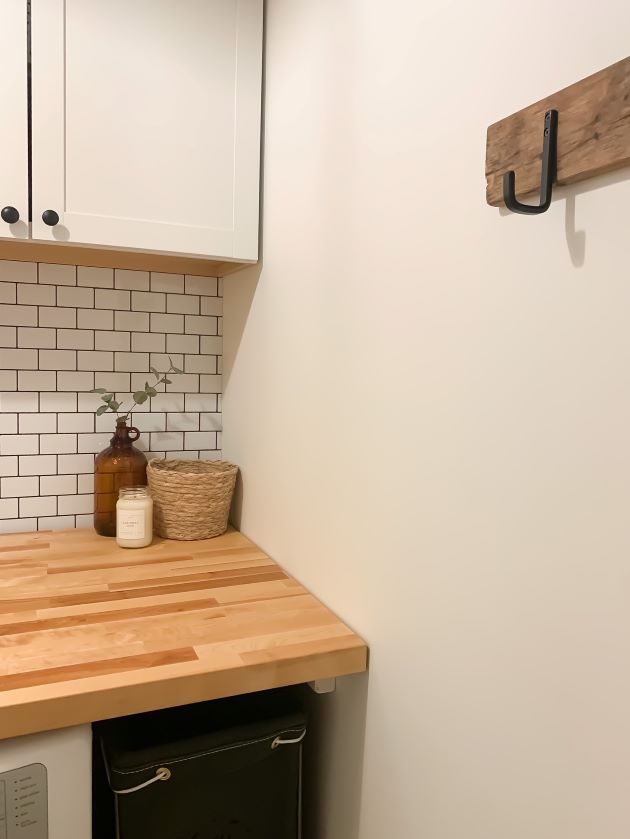
Because our laundry room also holds our cleaning supplies and tools, we added hooks behind the door. It is perfect to hide some of our tools like our steam mop, dustpan, etc. I made this by using an old board that was at our house when we moved in. I cleaned it up, hemp oiled it, and added new modern farmhouse hooks. This was a quick little DIY project that added a ton of functional storage for us.
Toddler Tool Storage
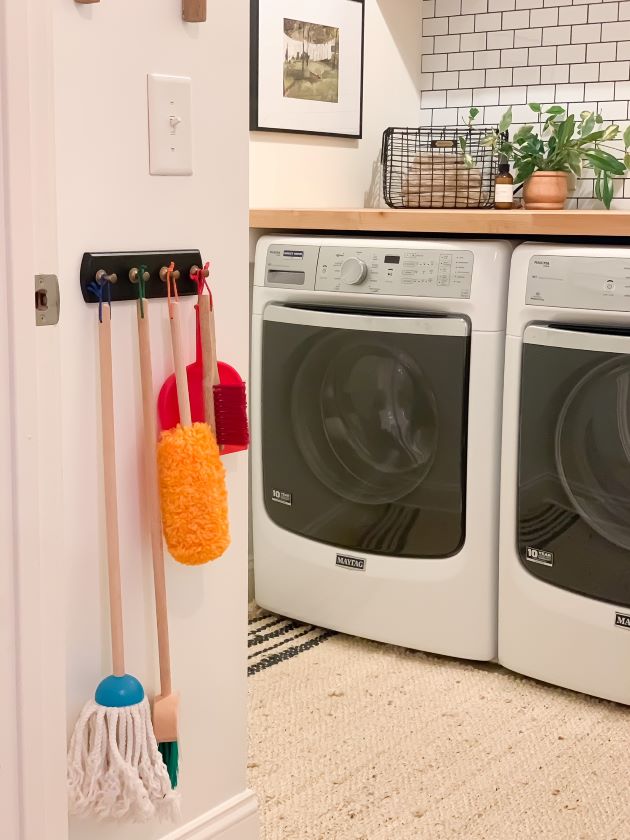
I couldn’t forget about Del in this project either. He LOVES helping clean with his own tools so I updated a little set of hooks the previous owner left. They were perfect for holding his supplies. I sprayed the base a matte black and the knobs antique brass. We love including him in our daily tasks and this makes the space special for him too. He is always grabbing his tools down to help sweep and mop throughout the day. (Now if only it was actually effective in really washing our floors!)
In the cabinets, we added a few more baskets that help hide the clutter and keep us organized. They were really inexpensive but help us only take down what we need.
Laundry Basket
Lastly, we got a new laundry basket. This was a little splurge for our laundry room refresh for a few reasons. One: it fit the little space between our dryer and the wall so perfectly. Two: it is on casters so we can pull it out easily to access the dryer vent which we occasionally need to do. Three: this colorrrrr. I saw it and I could not resist. Green is like our family color, and it was such a unique addition I took the plunge. I am so excited to have a dedicated laundry basket in here. Yay to no more dirty clothes laying on the floor!
5. Added functional countertop space for folding laundry
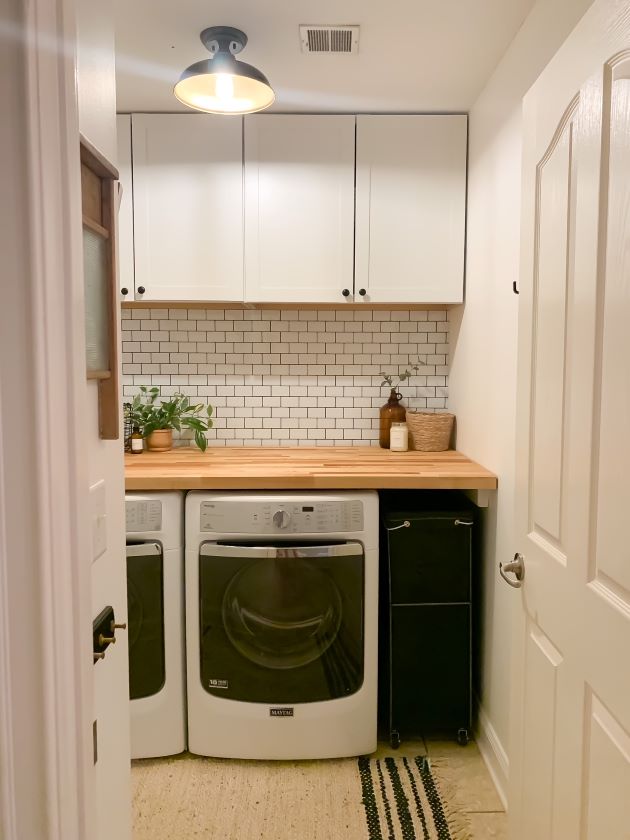
This was the BIGGIE in this laundry room refresh. Adding a butcher block countertop totally transformed the space. We debated about doing laminate or seeing if we could find inexpensive quartz. But, as soon as the walls were painted and cabinets moved up, we thought it would have looked too cold with a black or white countertop. We were set on the butcher block. It adds so much warmth and character!
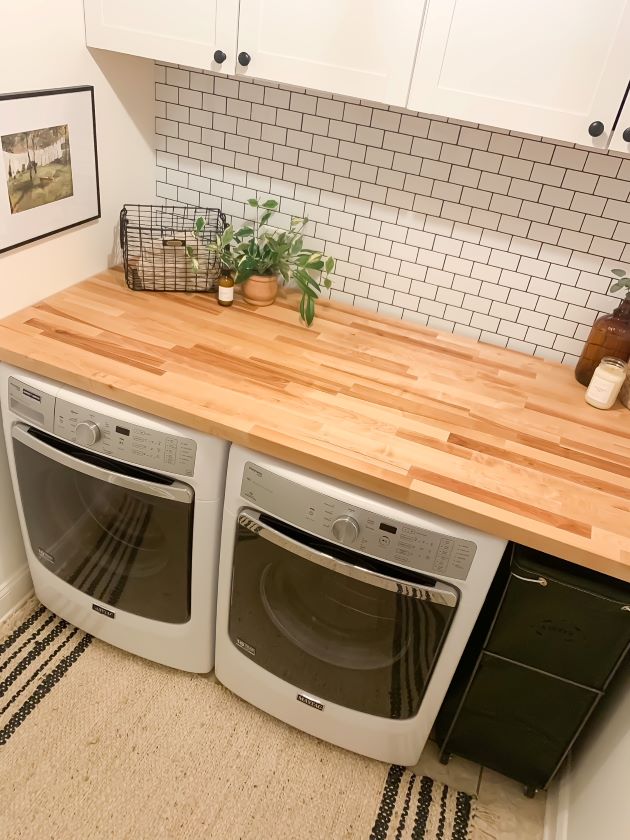
We found one that was bigger than we needed and cut it down to size. We plan to use the remnant for a floating shelf above the counter down the road. I will share a separate post on how we cut down and installed the butcher block soon. We loved it natural and just sealed it with three coats of butcher block conditioner, as recommended.
The fact that we actually have a designated countertop to fold alllll the laundry is oddly exciting and so satisfying. I love that we can close the door on it too when we need to. Because, how does anyone complete a task from start to finish with a toddler running around? (I am actually asking… is it possible??)
6. Updated light fixture
Just going to say it, we had a boob light before this stunning modern farmhouse light. I got it from Ballard Designs and was sold when I saw the gold detail on the inside. I loved this detail and how it played off of the other decor items. It feels so much better in here and created a calming ambiance. That sounds so counterintuitive to say for a laundry room! Laundry room lighting can feel so sterile sometimes, so I wanted something with warmth so it felt more relaxing.
7. Added meaningful artwork and decor
Staying with the goal of making our laundry room feel relaxing, I found this print on Etsy that was so perfect. It is an oil painting print that I had printed on textured paper, and I put it in a matte black frame. I love the calming colors so much, and it reminds me of seeing laundry on the line when growing up.

In addition, I hung this antique washboard I’ve had for years. I love that it is glass vs. metal and the character it adds right when you walk in. Loving the balance between old and new in this laundry room refresh!
8. Added additional décor to add modern-farmhouse style
Shopping for the laundry room décor was so fun, and is probably still in the works! I knew I wanted to add some texture so brought in a jute rug with stripes. We’d like to paint or update the floor down the road, but this rug is the perfect addition for now.
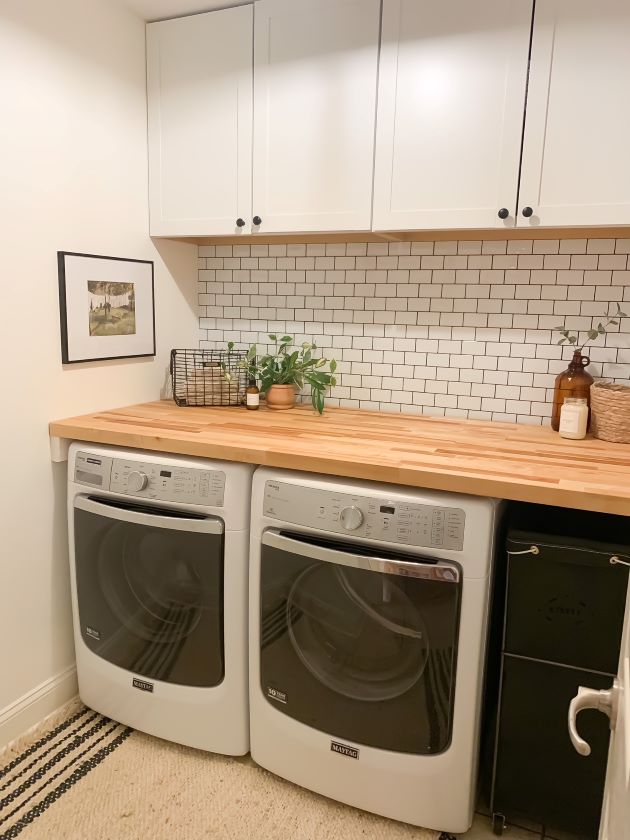
Baskets are always functional so I picked up a magnolia one to hold towels and a small wicker one for lint. I included an old Clorox jar I had and a few faux stems. Lastly, I had to add the freshest scent from the wonderful, Katie Cloud! Everything she creates is fantastic and this candle is no different!

Laundry room refresh cost breakdown:
We had a fair amount of leftovers we used for this project (paint, hardware, some decor.) In total, we spent about $890.00 to update this entire laundry room. Here’s the breakdown:
Peel & stick backsplash: $90.00 (2 x $45.00 but still have half of a box)
2×4 Cleat for butcher block: $8.00
Wicker basket: $10.00
Laundry room refresh recap:
This room went from one of the most disheveled spaces to maybe the most functional in our home. That’s pretty darn awesome!!! We couldn’t be more excited about it! We made a lot of changes that we didn’t really expect to make when we first got started. But, collectively they made for a super fresh, organized, and functional laundry room.
I’d love to hear what you think or if you try any of these updates in your own laundry room refresh! Comment below and tag me on social media @megdeldesign!
Thanks for following along!
Meg
Looking for more home updates ?
Check these additional home updates to try in your own home!
-How to shiplap a wall- DIY plank wall!
-5 updates for a relaxing master bedroom
-Baby boy nursery reveal – a neutral nursery!
Want more furniture inspiration and refinishing tips? Subscribe to my newsletter and follow along on Facebook, Pinterest, and Instagram for the latest updates!



Sara NelsonJuly 4, 2021 12:36 am
Wow, it looks absolutely amazing! The butcher block is INCREDIBLE. I am hoping to do something similar in our laundry room! And that backsplash!! I was wondering, would you consider writing more about your exact process on this? Maybe a step-by-step? I would really love to try something like this in our bathrooms, but I’m nervous because it seems challenging!