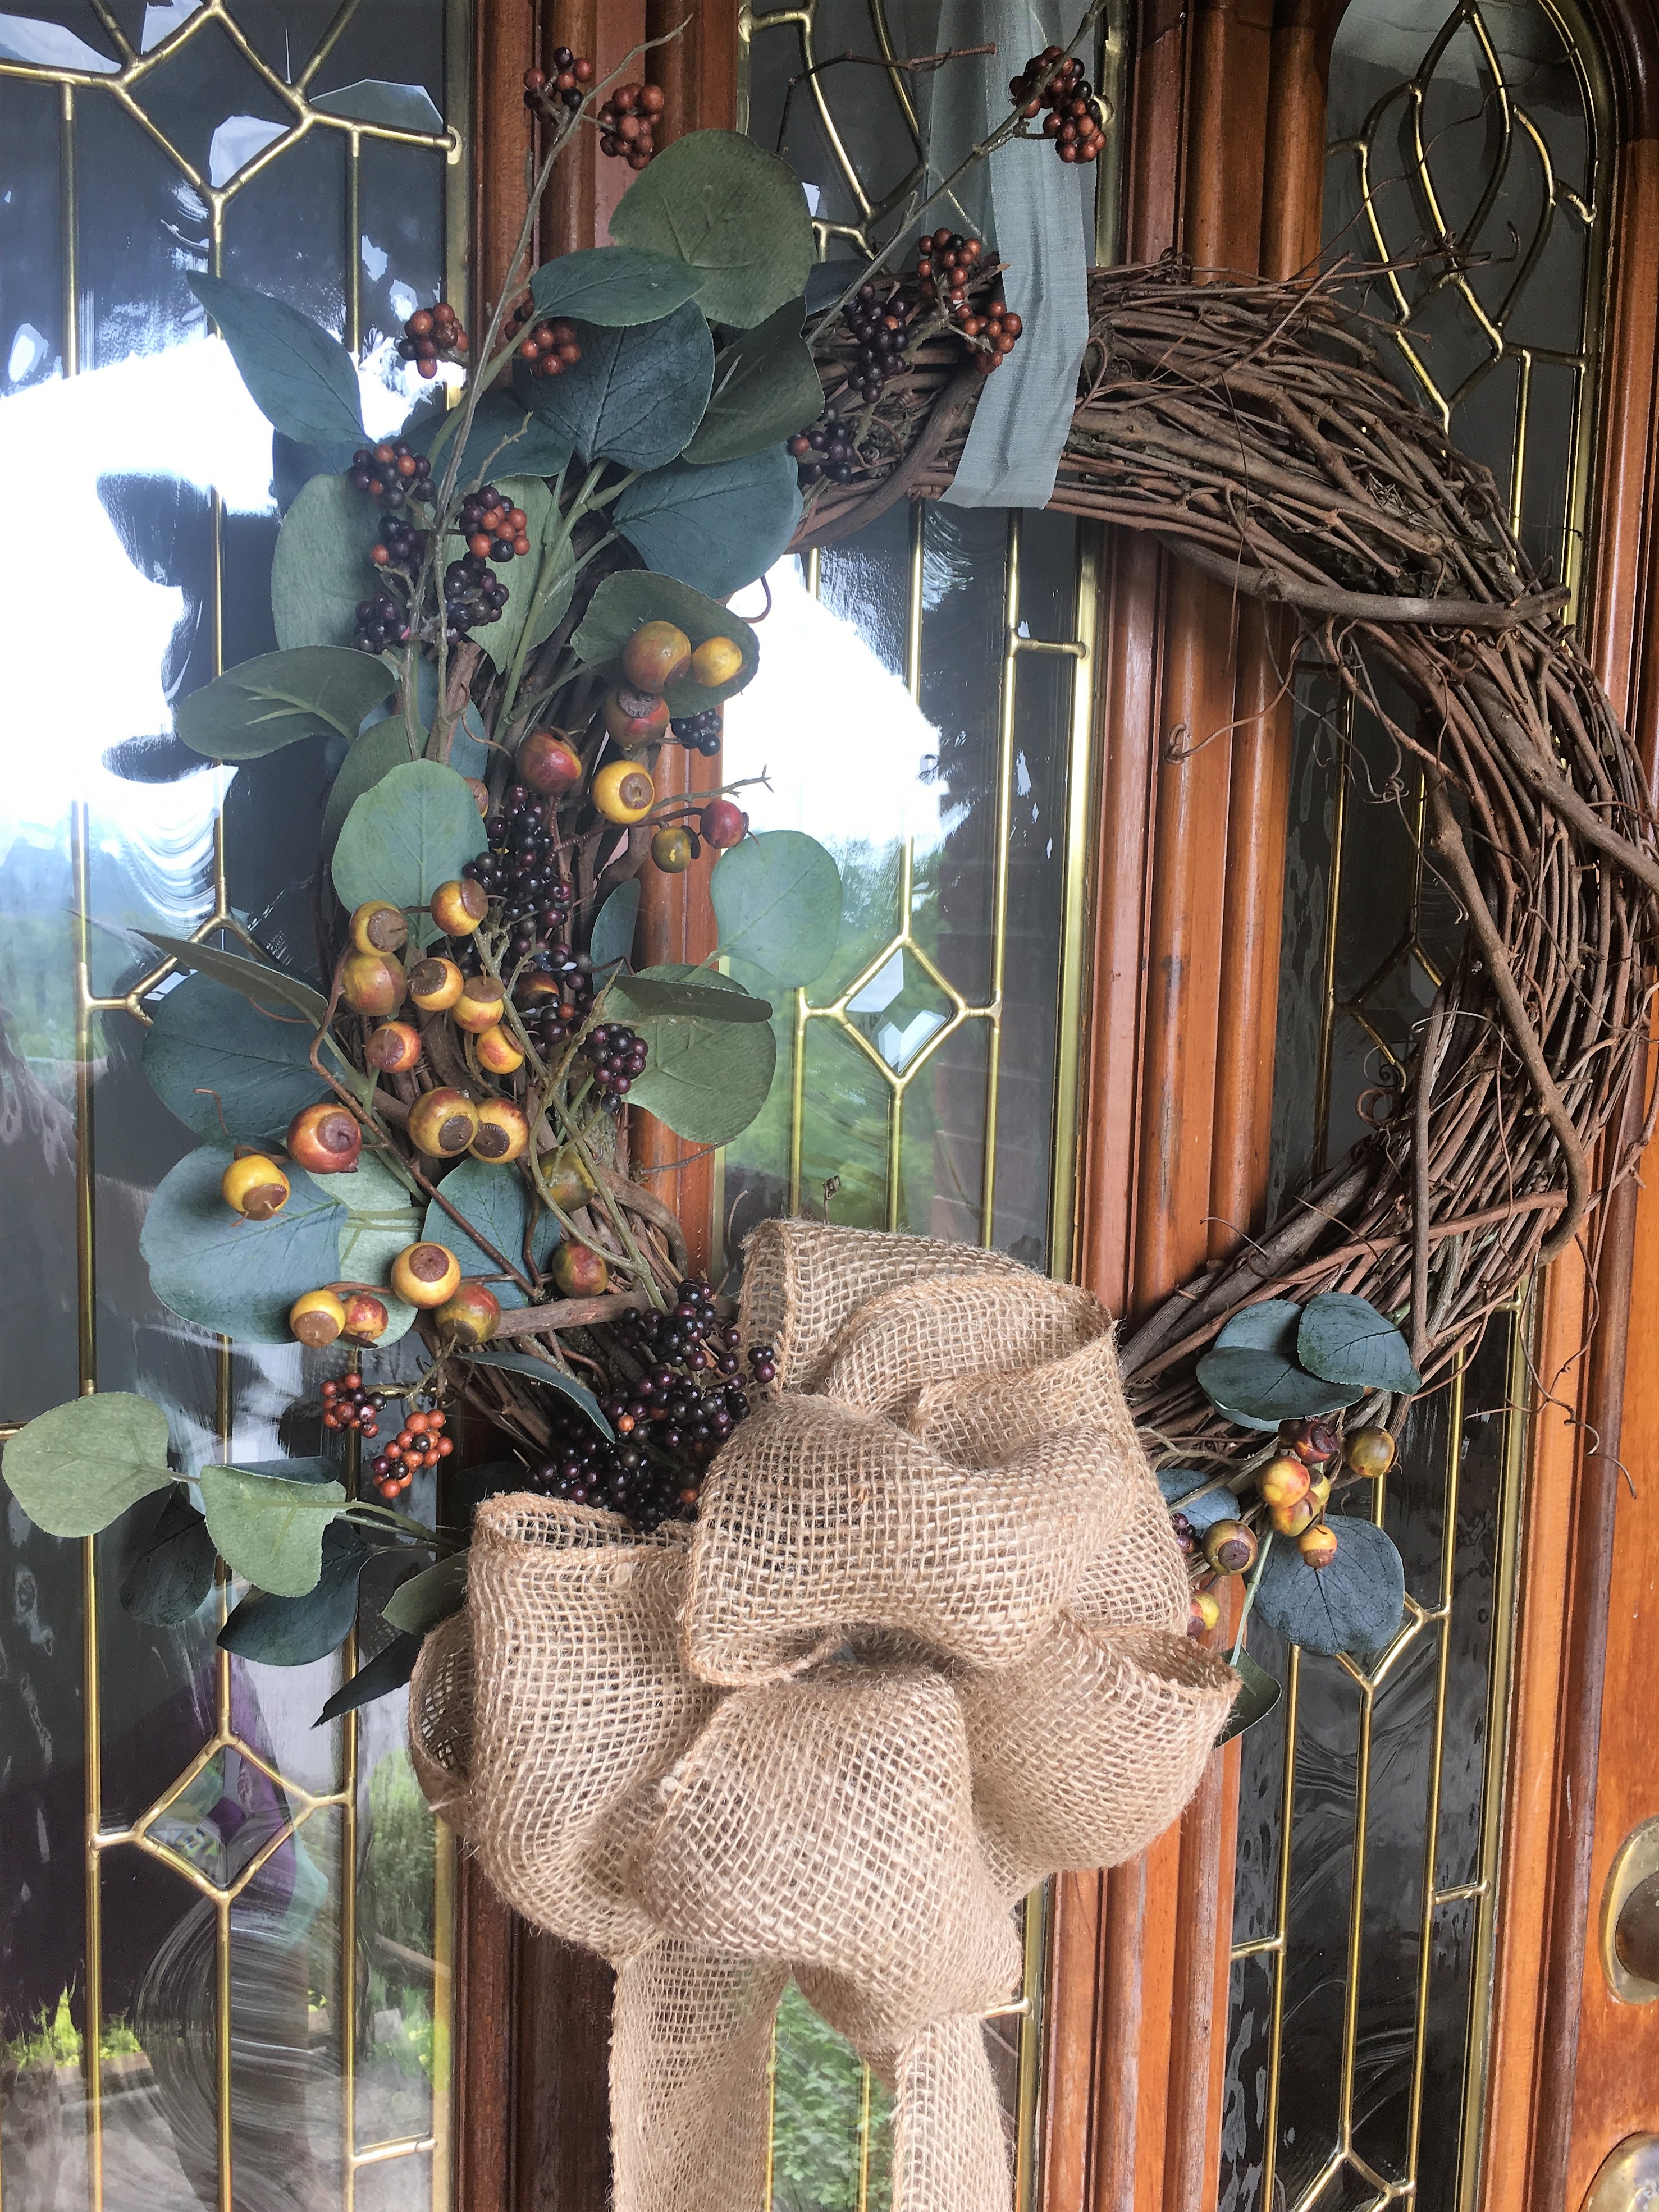
Hello, Fall!
Anyone else trying to figure out how it is already October? Seriously, I feel like I blinked, and summer was over. Ours wasn’t the typical summer. We had a trip to Iceland (AMAZING), made a big move, and started school.. all good things, but I wish we could have soaked up the sun and been on the water more!

Skógafoss in Iceland
Don’t get me wrong though, my heart is so happy it is fall. To be honest, it is my absolute favorite. Bonfires in the crisp, cool air, sweaters, boots and hoodie weather, and pumpkin everything (not ashamed of how basic that sounds).
I also just love the colors. They are 100% my palette: olive green, mustard, burgundy, burnt orange! Ah, I love them. I always gravitate toward these colors, so it’s really no surprise I ended up using them to create a simple, fall wreath for our door. First, let me preface this little “how-to” with the fact that this was my first-ever, homemade wreath. I tried to keep it simple and low-cost in case I totally butchered it.
Luckily, I surprised myself with how simple it really was, and I think it did just the trick to warm up our front door for fall!
How to Create a Simple Fall Wreath Under $30
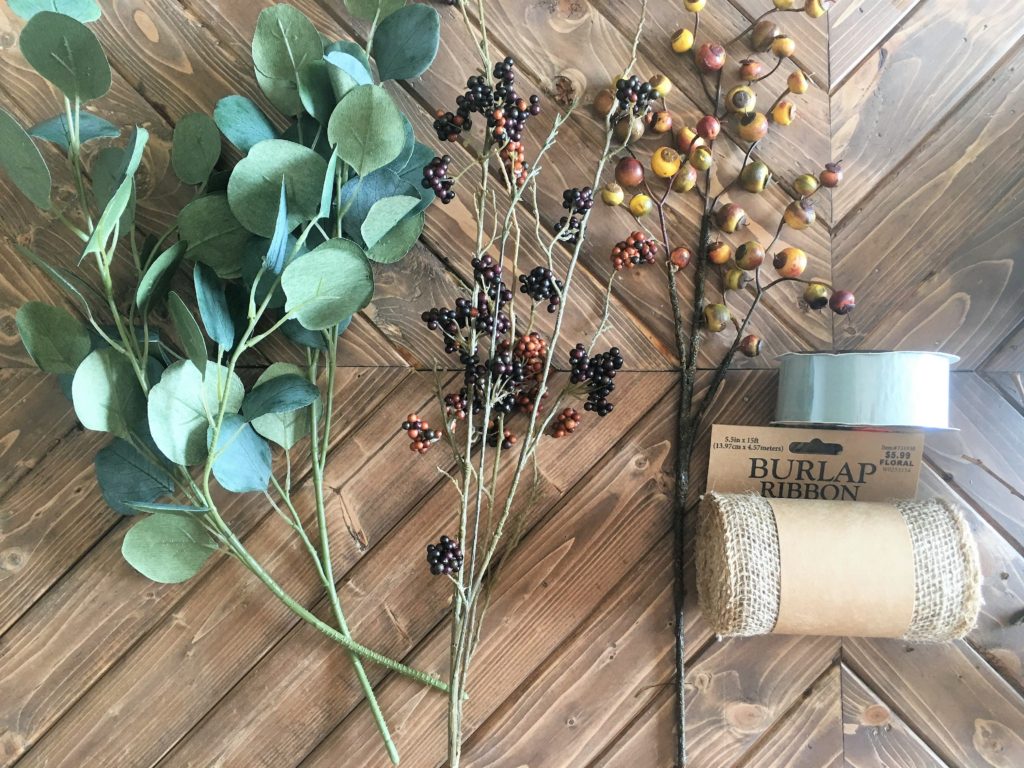
Products:
I made a quick, little Hobby Lobby run and got all of my supplies in one trip. The best part – all fall items were 40% off which helped make this super affordable! I linked up the items I used that were available online, below. Of course, you can easily add additional stems, or switch out a few for ones that pull on your heart strings.
- 18” Grapevine Wreath – $4.99
- Eucalyptus – $11.99
- Burlap – $3.59
- Ribbon – $0.74 (clearance)
- Yellow berries – $3.59
- Burgundy berries – $2.99 (50% off)
Total: $27.89
Process:
With a ready-made wreath and only 5 other materials, here is how I made my fall wreath come to life. Get ready for a super simple step-by-step process!
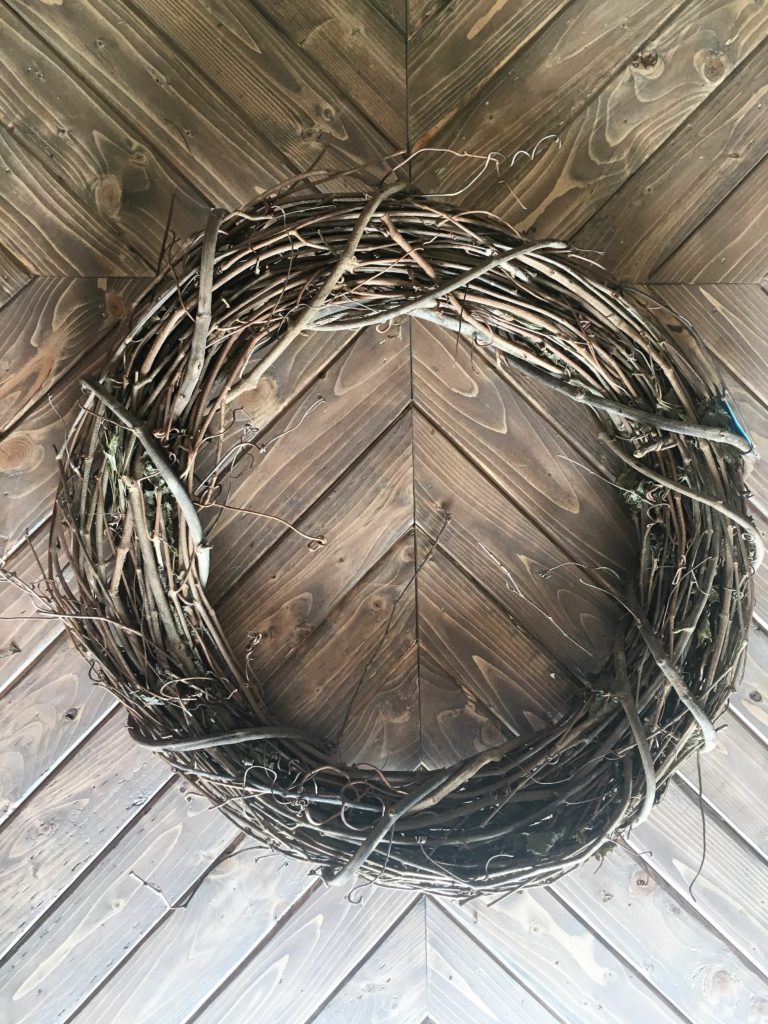
Before
- Cut eucalyptus stems into separate pieces with a wire cutter (I used kitchen scissors since I don’t have a wire cutter)
- Cutting the stems down allows you to control the placement and how full your wreath will be
- It also lets you add layers without spending extra $$ on additional stems
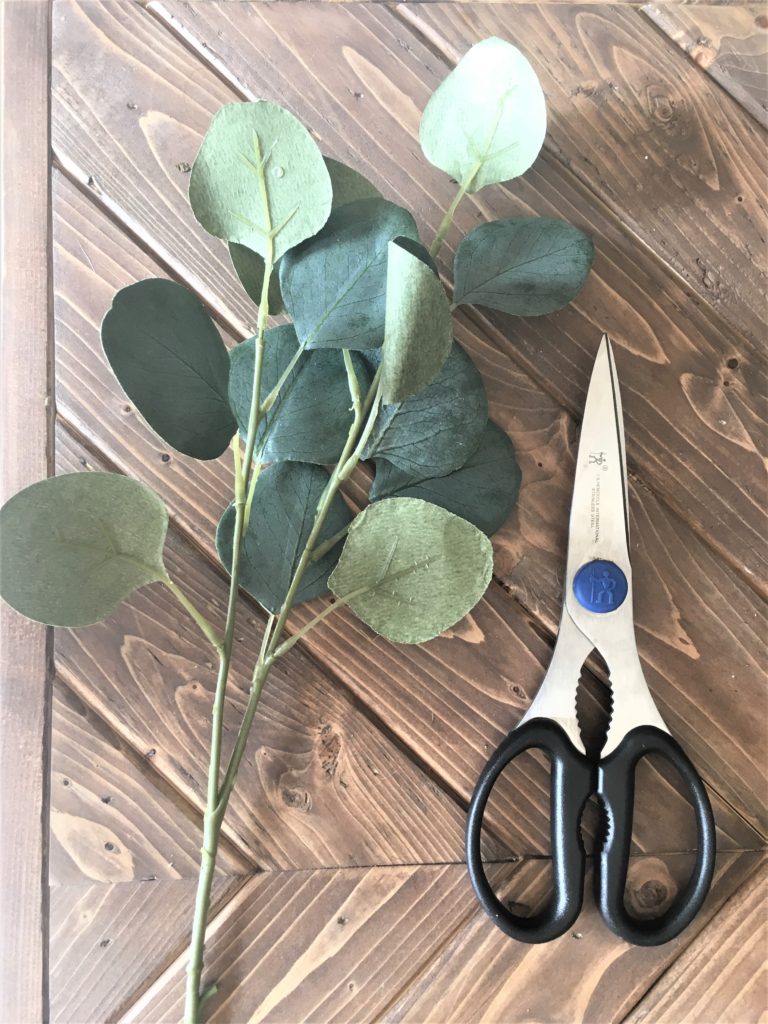
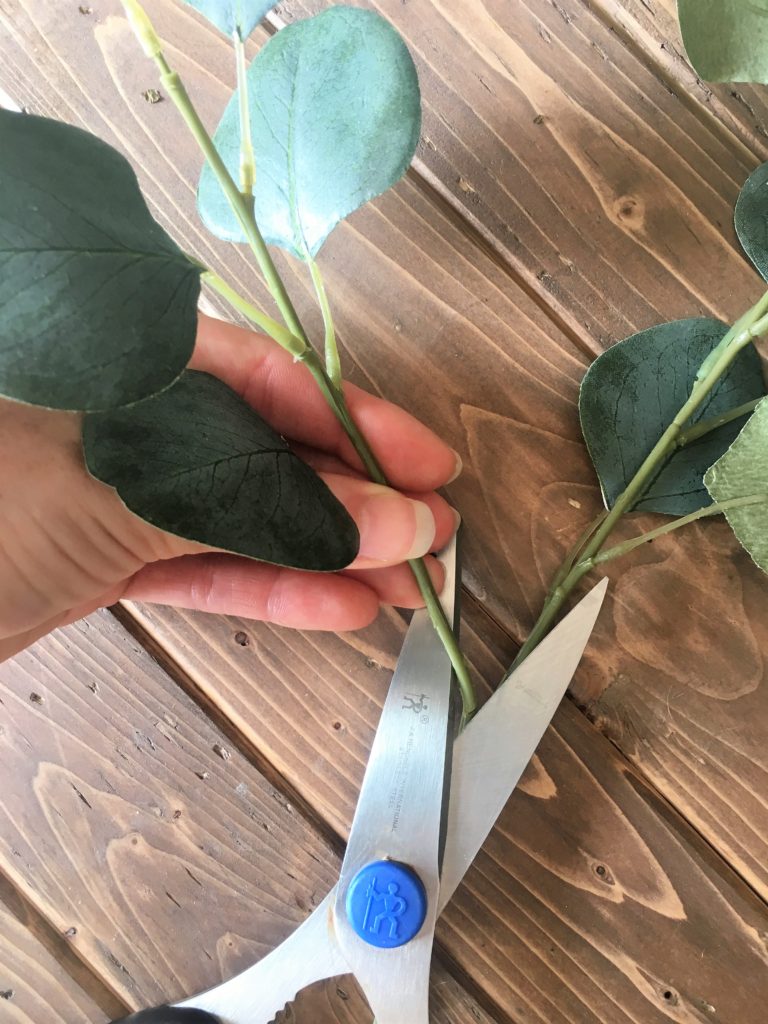
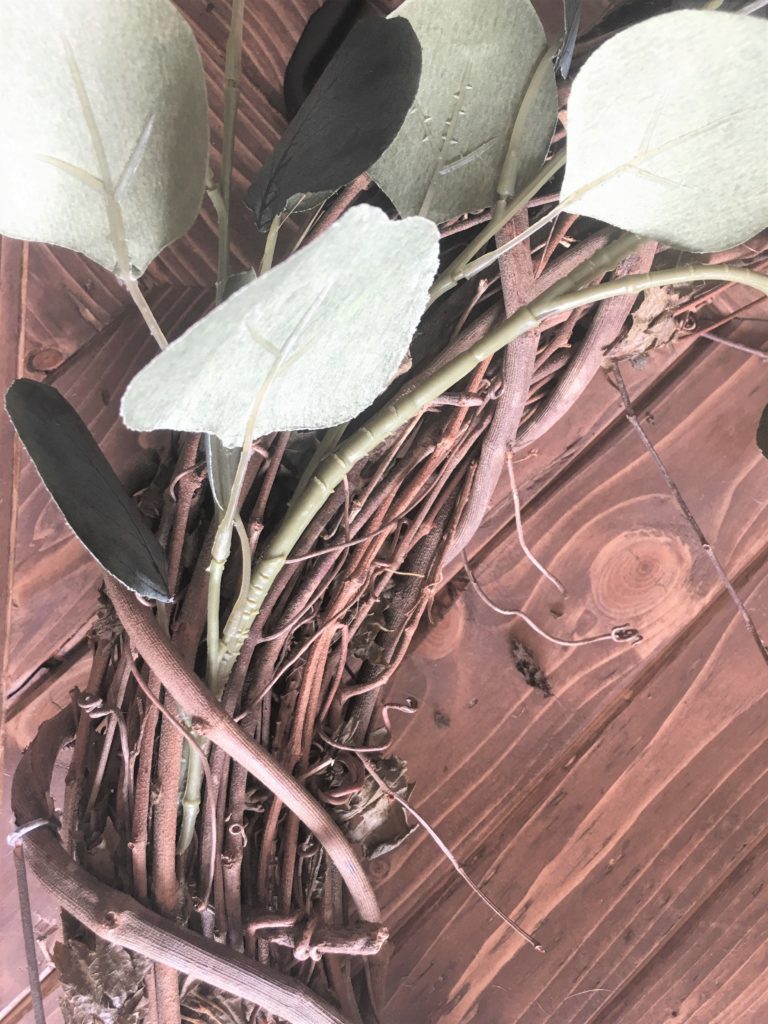
2. Slide stems into the wreath until they a snug and tucked within the vines
- I placed mine at roughly 4, 6, 8 and 10 o’clock and curved them to follow the lines of the wreath
- You can also secure them with floral wire. I found the vines held mine in place well, but for wreaths without them, an arrangement set of tools would be perfect
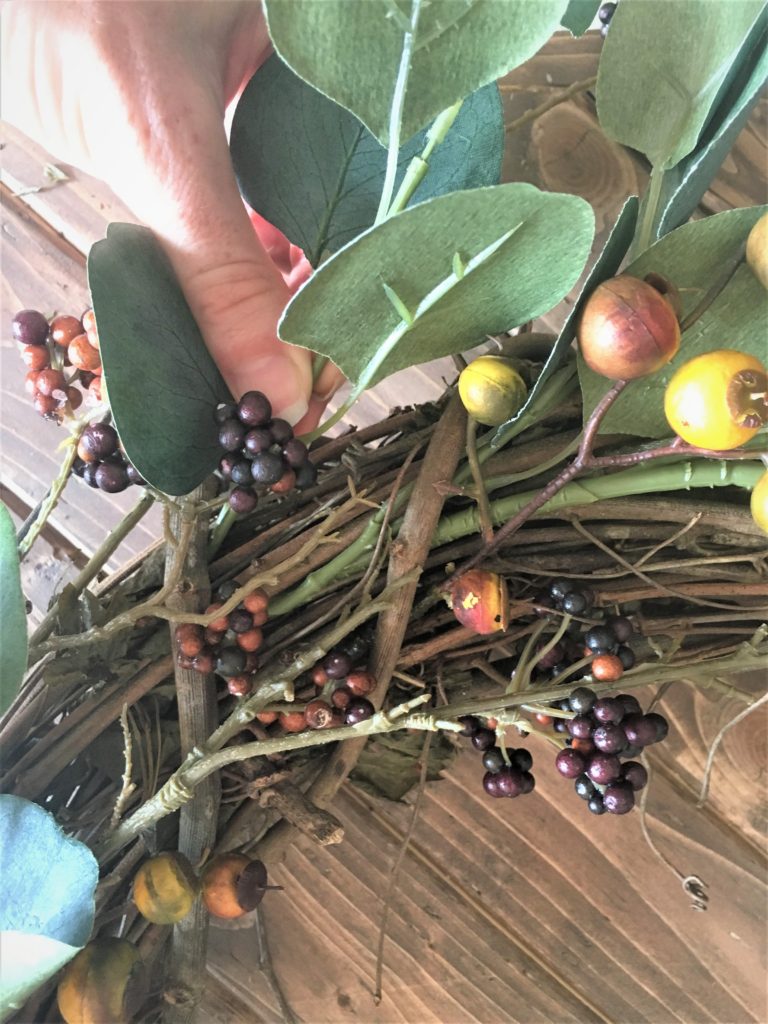
3. Cut yellow berry stem in 3 pieces and follow the same process above
- I placed mine just slightly below the eucalyptus to add dimension
4. Cut burgundy berry stem in 2 pieces and follow same process above
- I placed mine about 7 and 10 o’clock and tucked them slightly behind some of the eucalyptus to keep them in place
Since I didn’t use wire to secure it, I knew I wanted a bow to secure the stems in place a bit and complete the look of my wreath. I used the burlap ribbon and folded up an over-sized bow.
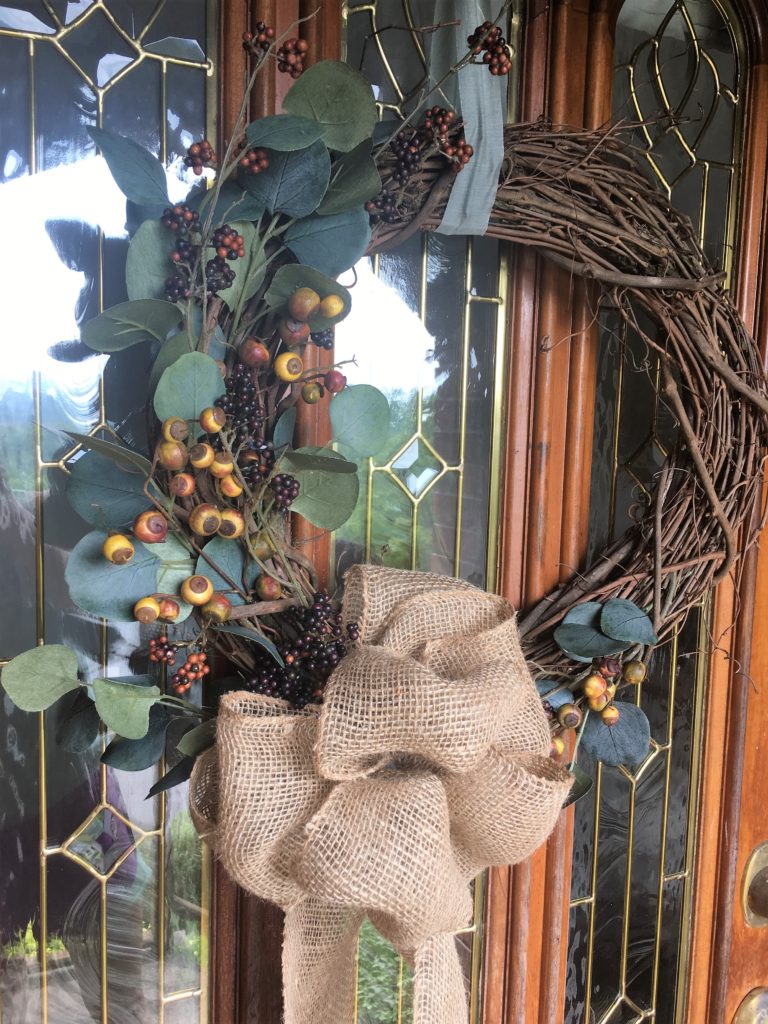
Finally, I used the sage ribbon to tie my bow to the wreath and create the loop to hang the wreath up. I simply tied a double-knotted bow at the top of the wreath and threw it on the hook! I liked how the delicate color of this ribbon contrasted the natural burlap, and went nicely with the eucalyptus.
And there ya have it!
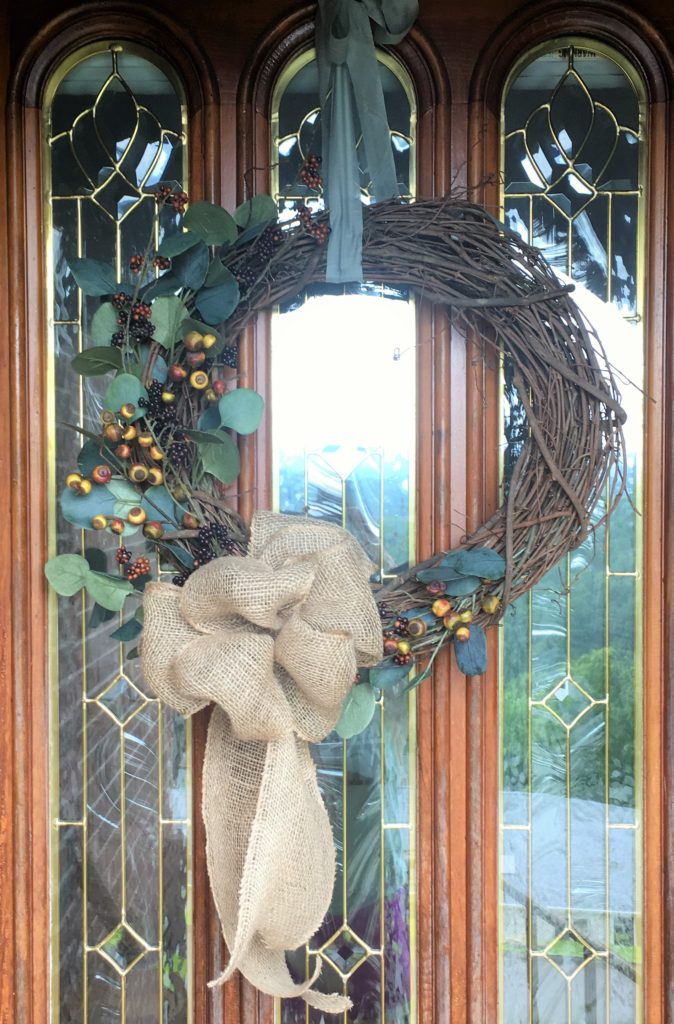
I really wasn’t kidding when I say I tried to keep it simple and low-cost. If you are a wreath “noob” like me, don’t fret. It really is that simple. Play around with your stem placement and you will create a beautiful arrangement like this! Not only was this under $30, but no glue or wire means it is super easy to update with the seasons!
Happy Fall, Ya’ll!
This post contains affiliate links, which means if you make a purchase through one of the product links, I will receive a small commission. Don’t worry, you won’t be charged anything extra. This just helps keep the site running & goes right back into my business!
