Tankers Desk: Part 1
If you are anything like me you might say you can be a little eager. Maybe you like to jump into projects because you can’t wait to see the end result. Anyone else, besides me? When I first started flipping furniture with chalk paint, I was so anxious to transform them. I barely remembered to take “before” pictures of my pieces. (Ok confession.. that is probably still true today. I get too excited!)
Miraculously, I managed to snap this one of the solid wood tankers desk that was next on my list. I wanted to do a two-color, distressed finish with chalk paint on the base to create some interest. It was also my first time (outside of a small wood board in class) using this technique, so I wanted the practice!
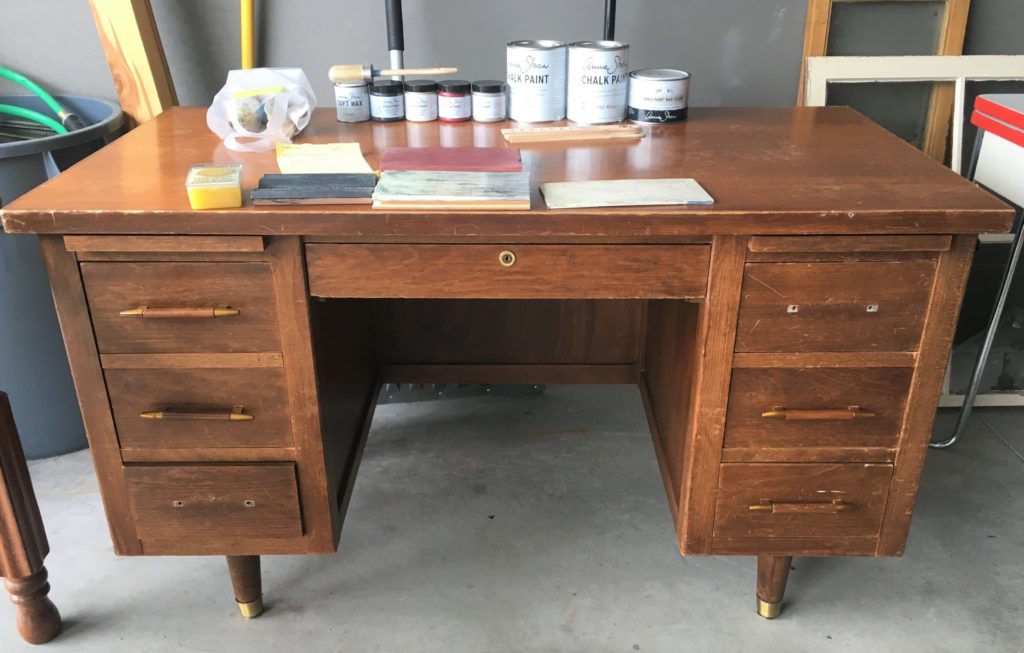
I used Annie Sloan Chalk Paint for this project and found the paint layered incredibly well. It also distressed easily. That’s good news when it comes to this technique because those are two key things in the process. Translation: it is easier to achieve than it looks (promise!) You can always add more paint or sand off extra depending on the look you are going for. I wanted this desk to be classic and have my accent color come through subtlely to create dimension and contrast. I’d say mission accomplished! What do you think?

Below I outlined all of the steps I took to create this look and a few takeaways from my experience. *This post contains affiliate links.
PROCESS + PRODUCTS + HELPFUL TIPS:
CLEAN & PREP:
- Vacuumed all corners/drawers with our handy-dandy shop vac
- Scrubbed down entire piece with Simple Green Cleaner
- Removed hardware
PAINT:
- Painted one coat of Annie Sloan Graphite Chalk Paint
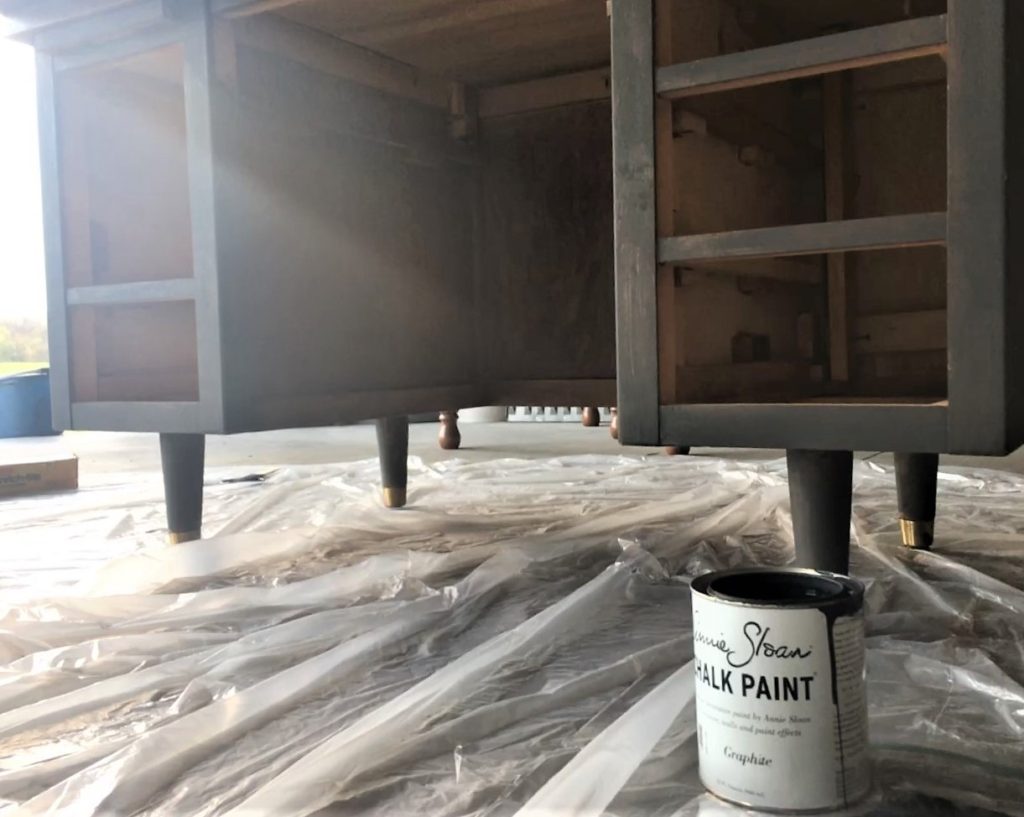
In all my excitment to get started, I totally forgot the tips we were taught in class for this technique:
- TIP #1: Only paint the accent color where you intend to distress! Why waste the extra paint (especially at $40+ a quart)
- TIP #2: Don’t forget to take a picture of where you painted, so you remember exactly where to distress it through
Genius right? SO while I got the painting practice I wanted by covering the entire base graphite, I could have been saving my paint & time. Lesson learned!
- Once I realized my mistake I made sure to only build up the areas I wanted to distress most, like the edges, with a little more paint
- Depending on how heavy you distress, you may want two coats of your accent color so you don’t cut right through to the wood
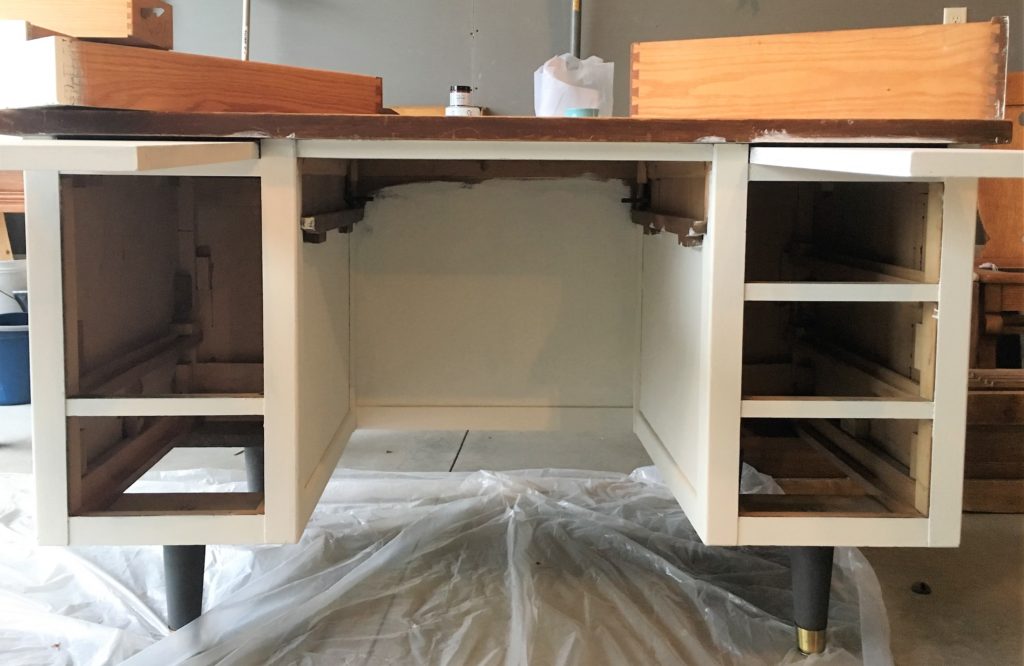
- Next, I painted two coats of Annie Sloan Old White Chalk Paint
DISTRESS:
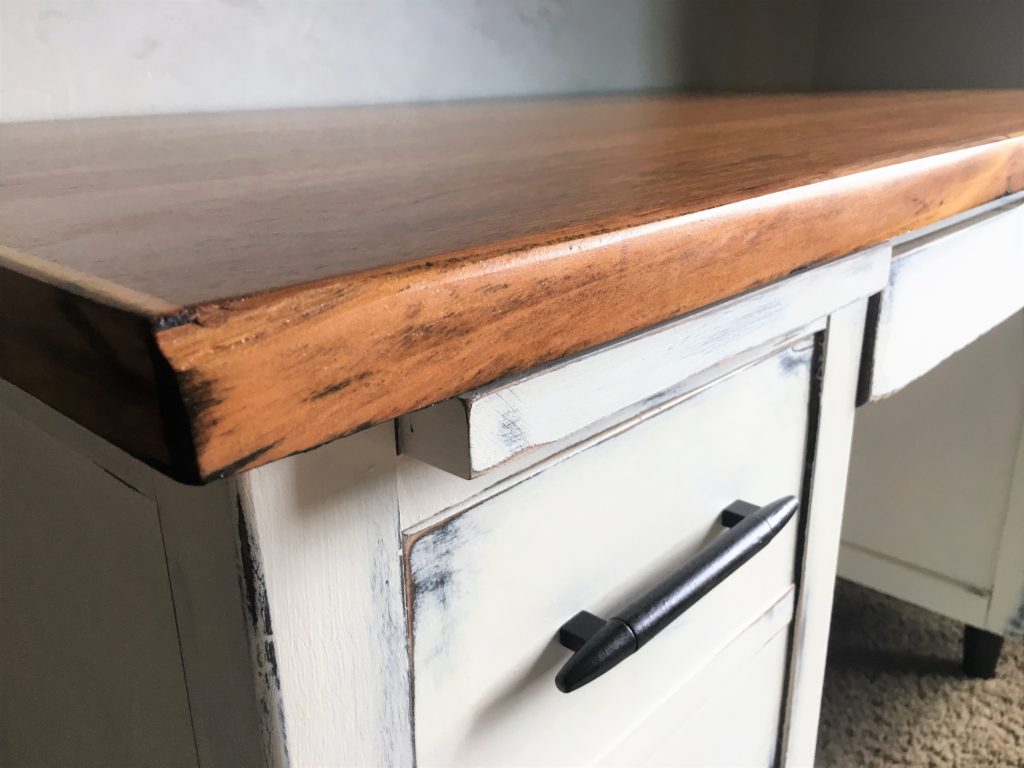
- Distressed with 150 grit sanding block. I really like using the 3M blocks with the edges. They are easy to grip onto and work well to get into the tight spots/edges when distressing
- I sanded the edges, the drawers, and under the handles until I revealed some of the graphite
- Some areas I distressed past the graphite to the wood, but I really liked the warmth and natural element this created
- Removed dust from distressing
FINISH
- Sealed with Annie Sloan Clear Soft Wax using her wax brush
- Let absorb for an hour or two (remember patience is a virtue I am working on, so you can leave it for up to a day)
- Buffed with a lint-free rag to a subtle sheen. I have a nice big box of these rags, which I find work well and make for easy cleanup – just toss when you’re done!
OTHER DETAILS:
For the hardware and the legs on the desk, I used Rust-Oleum’s oil rubbed bronze metallic spray paint. I loved the color and how this added a touch of an industrial look to the desk. I made sure to tape off the painted area to avoid any overspray. Then, I followed the application instructions on the can.
That my friends is how I achieved the transformation of this wood tankers desk and gave the base a beautiful two-color, distressed finish with chalk paint! This technique is a great option to explore if you want to use multiple colors, create some interest, and add dimension to a piece.
Stay tuned for Tankers Desk: Part 2, where I will explain how I stripped the top of this desk to achieve a gorgeous new finish!