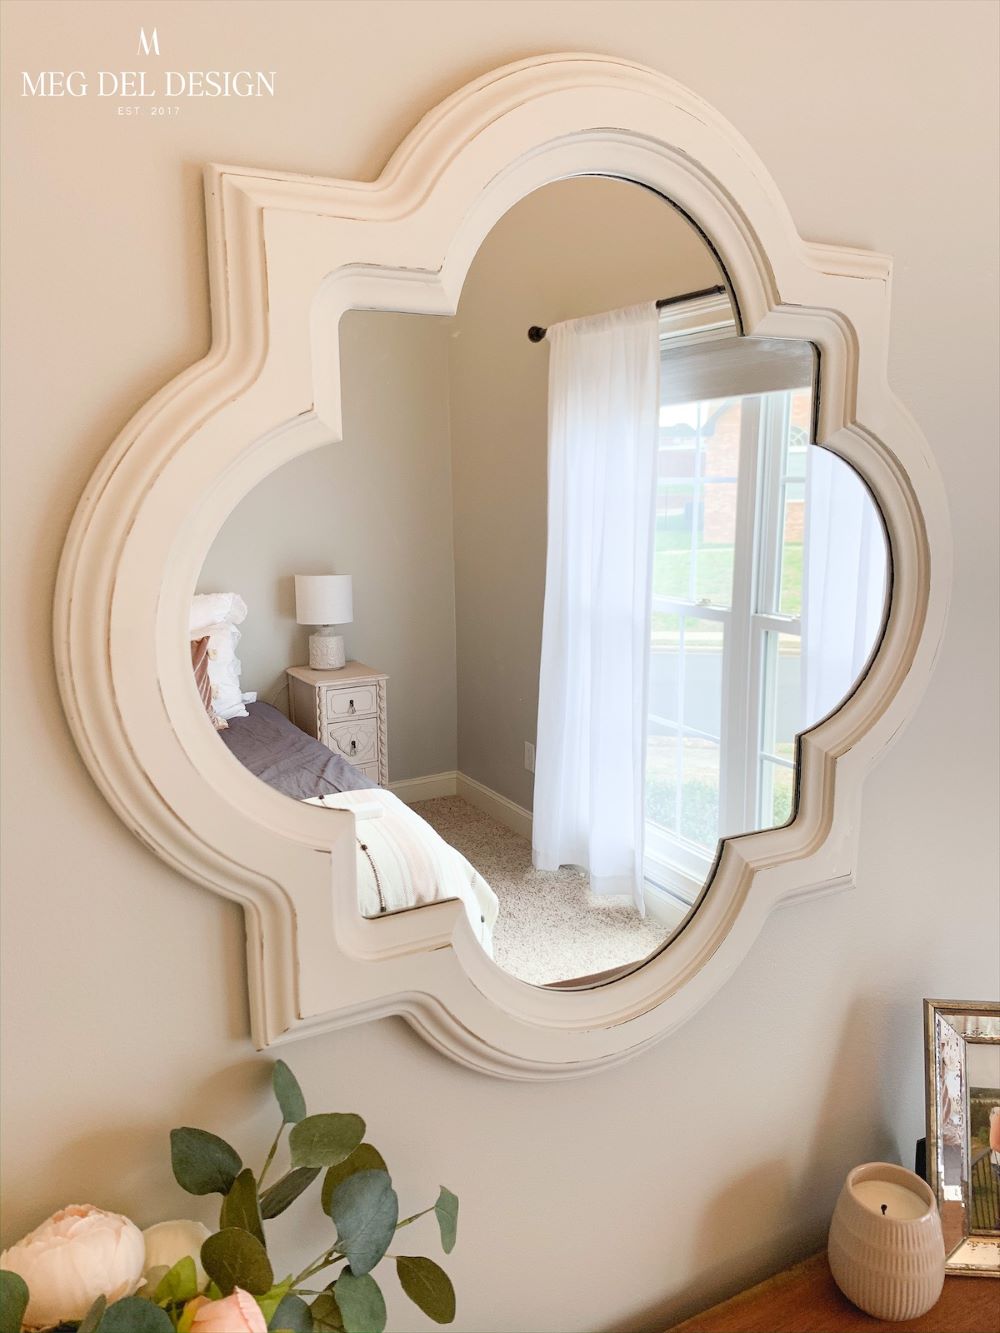
Our spare bedroom makeover & décor refresh continues! In this post, I am walking through how to paint a mirror the easy way; with a fantastic brush, without tape, and without removing the frame. This is a quick and simple DIY project you can accomplish in a few hours! Ready?
Grab a mirror!
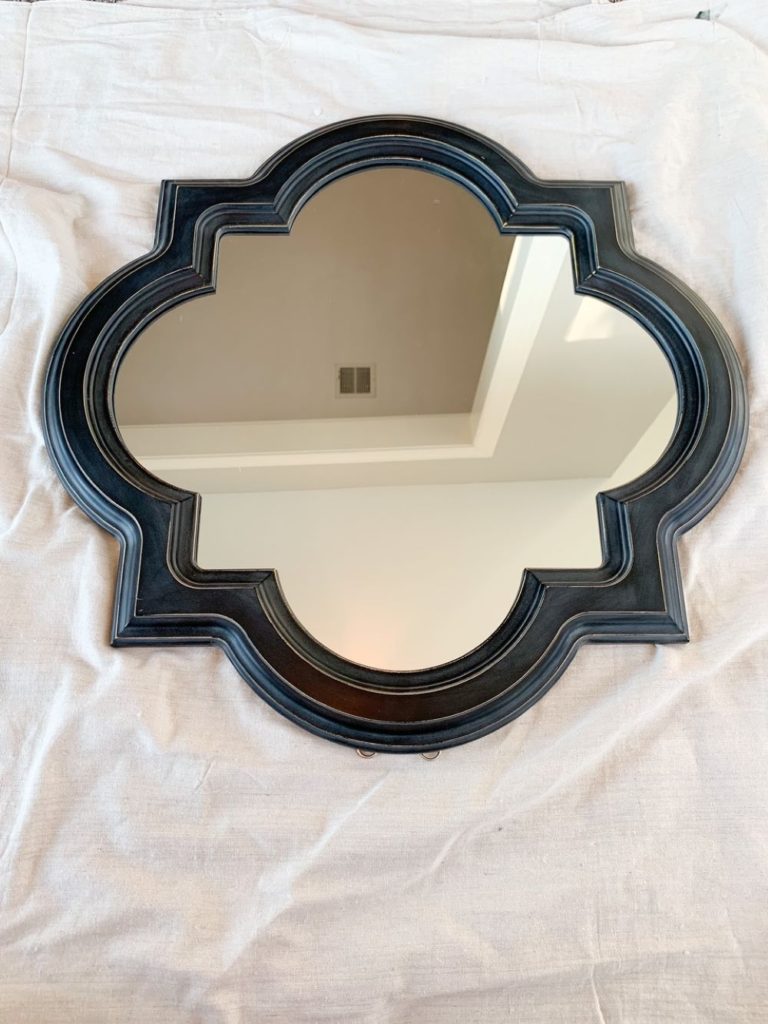
To begin, I had this awesome mirror Mike’s mom gave us years ago! It has made the move from every single home we’ve lived in; from our first rental to our now-third home. It’s one of those mirrors that always looks great no matter where you put it.
Come up with a vision!
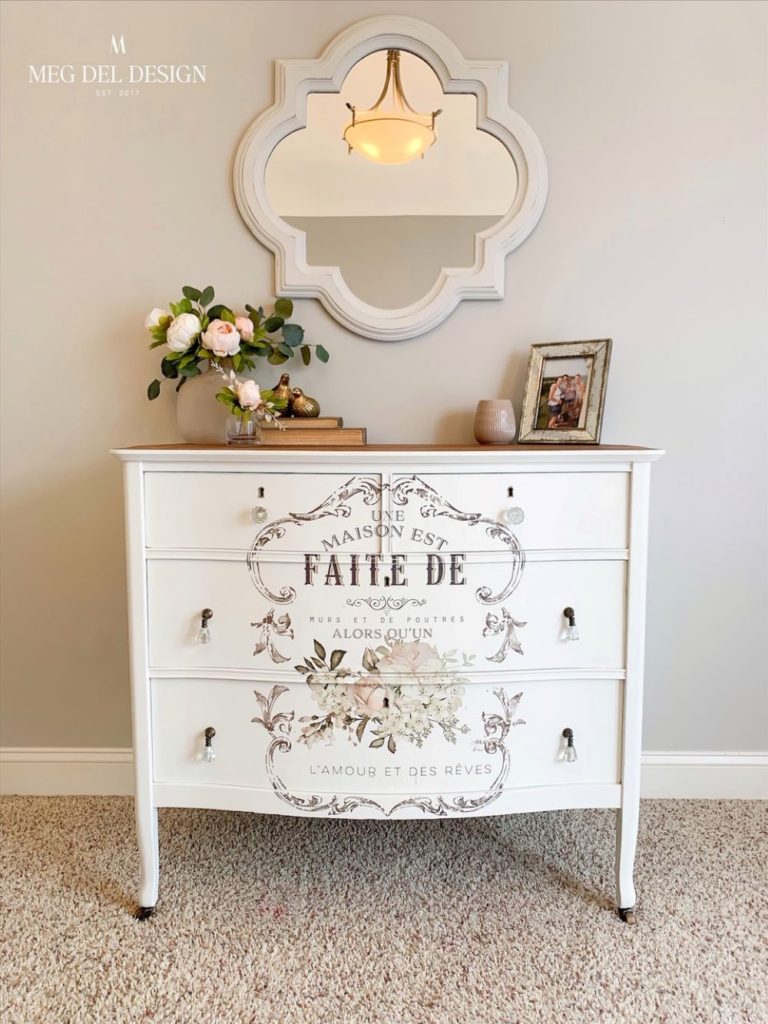
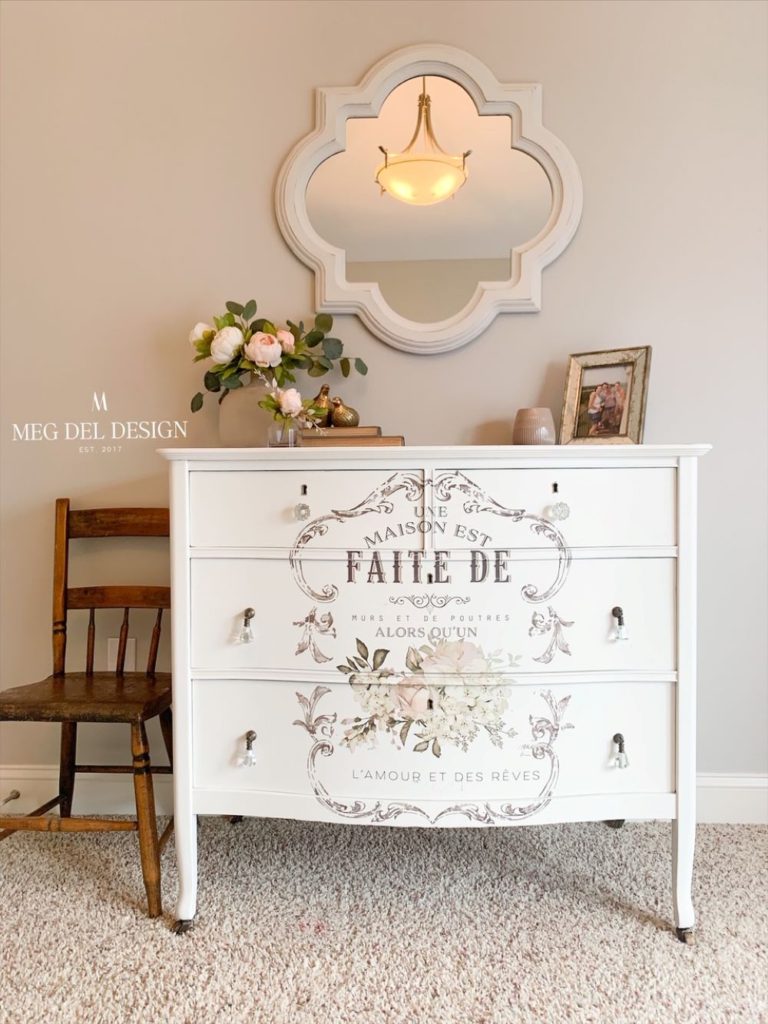
Now that we’re in our home in Tennessee, we surprisingly didn’t have a great place to put it where the color scheme was just right. However, I have been working on updating our spare bedroom to a French-country, feminine, farmhouse style, and I had a vision for it. That vision included a white-painted mirror above the dresser I recently completed with a gorgeous transfer on it.
As an Amazon Associate, I earn from qualifying purchases. This post contains affiliate links.
The color of the mirror before was a little too navy and dark for what I had in mind. But, the idea of painting it white to coordinate with the dresser and bedding was perfect. Naturally, it was time to paint!
How to Paint a Mirror FAQs:
Can I paint my mirror frame?
Absolutely! If you prep your mirror correctly and have the right tools, you can easily update a mirror frame with paint.
How do you paint a mirror frame without getting it on the mirror?
This is kind of a trick question because you CAN get paint on the mirror and “fix it!” You don’t have to worry about getting paint on your mirror because Windex and a razor blade can remove it.
How do you refinish a mirror frame?
The easiest way to refinish a mirror is by using a high-quality brush like a Zibra square brush that covers the mirror frame perfectly. Using a specialty brush like this will help you get a precise finish on your painted mirror.

Step-By-Step Guide: How to Paint a Mirror
How to paint a mirror materials:
- Cleaner
- Rag
- 220-grit sandpaper
- Tack cloth
- Zibra square brush
- Paint
- Windex
- Razor scraper
- Lint-free rag
- Topcoat
Painted white mirror steps:
- Clean mirror
- Lightly scuff sand if glossy
- Remove sanding dust
- Paint with Zibra square brush
- Use Windex and razor to remove paint
- Distress
- Seal
Step 1: Clean your mirror
Using a general cleaner, like simple green with a rag, clean your mirror to remove any dirt or dust. Focus on the mirror frame and edges you will be painting. Allow your cleaner to dry.
Step 2: Lightly scuff sand
If your mirror is glossy or has a high sheen to it, you may want to scuff sand it with 220-grit sandpaper. By doing this, you will create tooth for your paint to adhere to. It will help with a longer-lasting finish.
Step 3: Remove sanding dust
After scuff sanding your mirror, take a tack cloth to remove the dust. These work the best for removing the small particles so they don’t end up in your painted finish.
Step 4: Paint your mirror
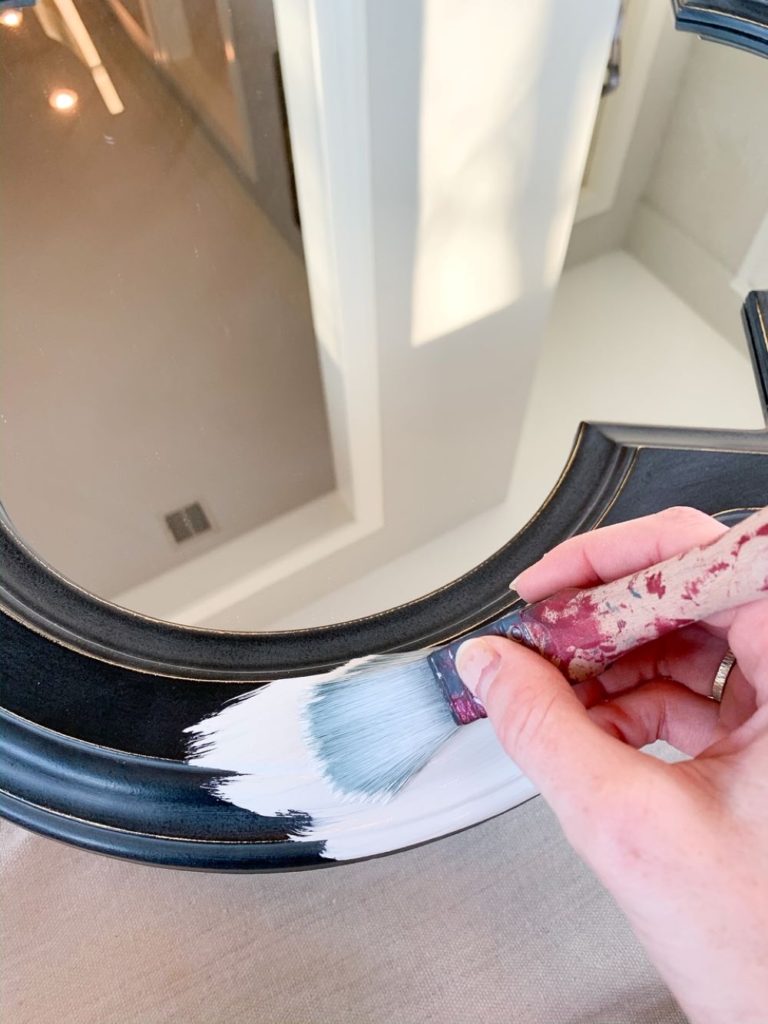
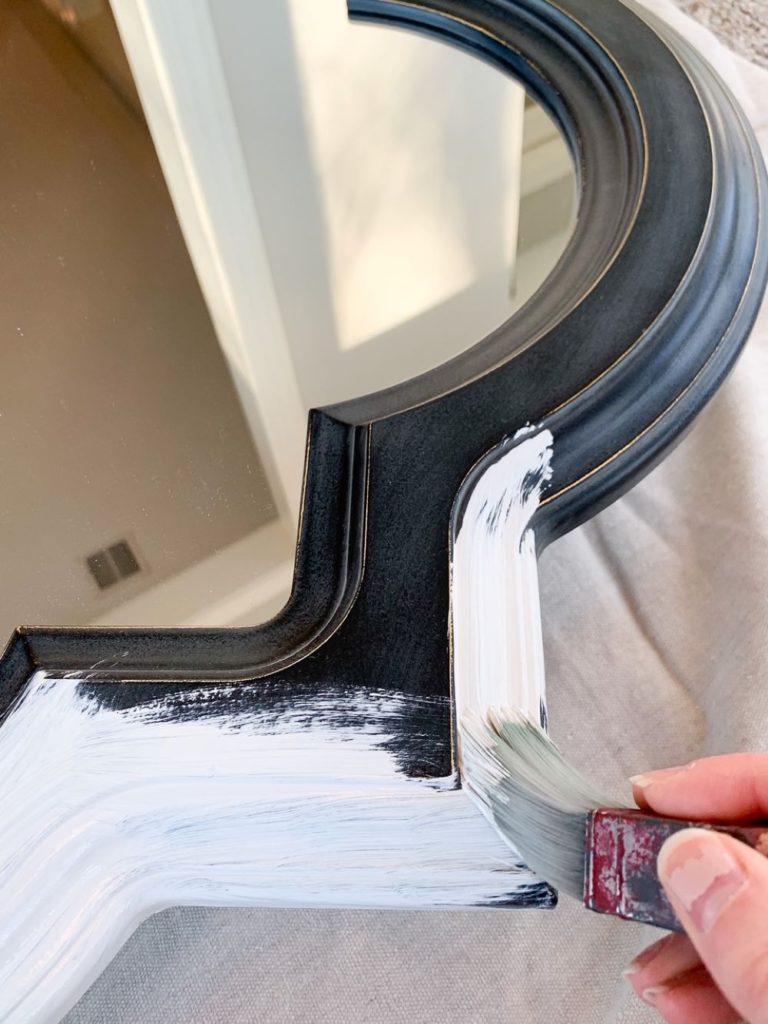
Here is the big step! Notice how we aren’t using painter’s tape. We aren’t removing the mirror frame. We aren’t covering the mirror with newspaper or using a deck of cards to shimmy underneath the frame’s edge.
The magic mirror painting tool:
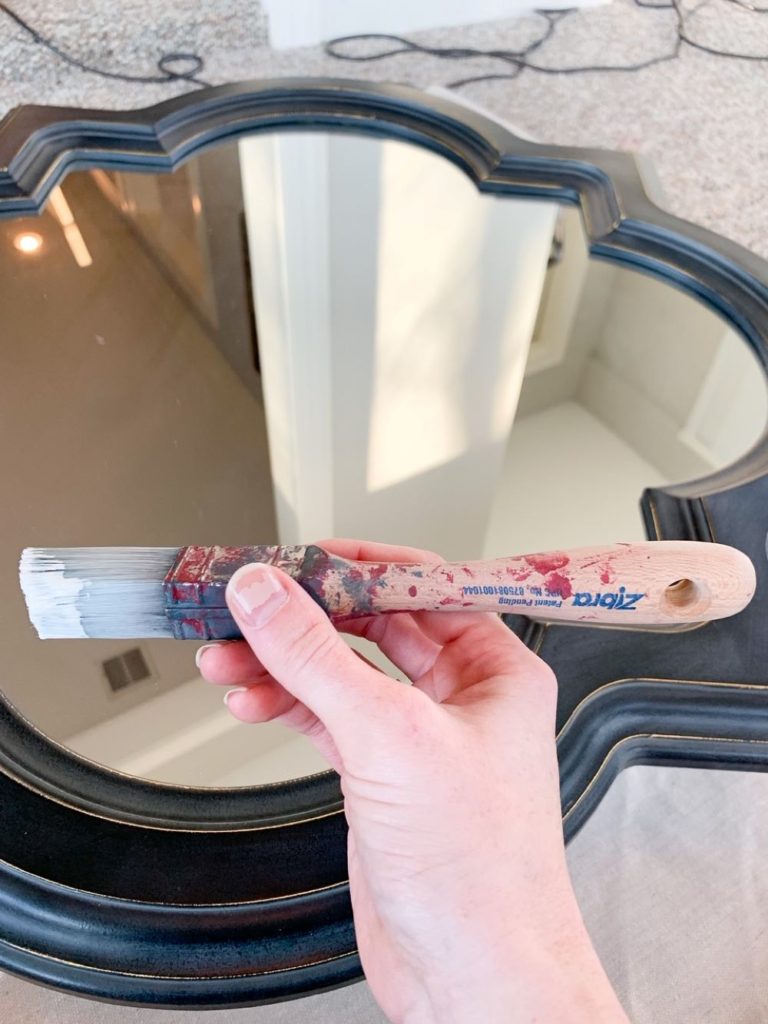
Using a Zibra square brush gives you all the precision you need! Some people might be skeptical, but our next steps also help ensure a crisp, clean finish, without paint remaining on your mirror.
Why is the square brush worth using?
The Zibra square brush is my favorite for projects like these because the size of the brush is perfect for narrow surfaces that have edges like our mirror. The shape and amount of bristles hold enough paint while letting you keep a very clean line on your painted project. It works amazing for DIY décor projects like mirrors and frames, to door or window grids too.
How to paint your mirror using the square brush:
Paint your mirror with your Zibra square brush and be as precise as you’d like. I wasn’t too worried about keeping it super clean to begin with, but you might be a little more particular than me. (I can be an excitedly-hasty painter sometimes!)
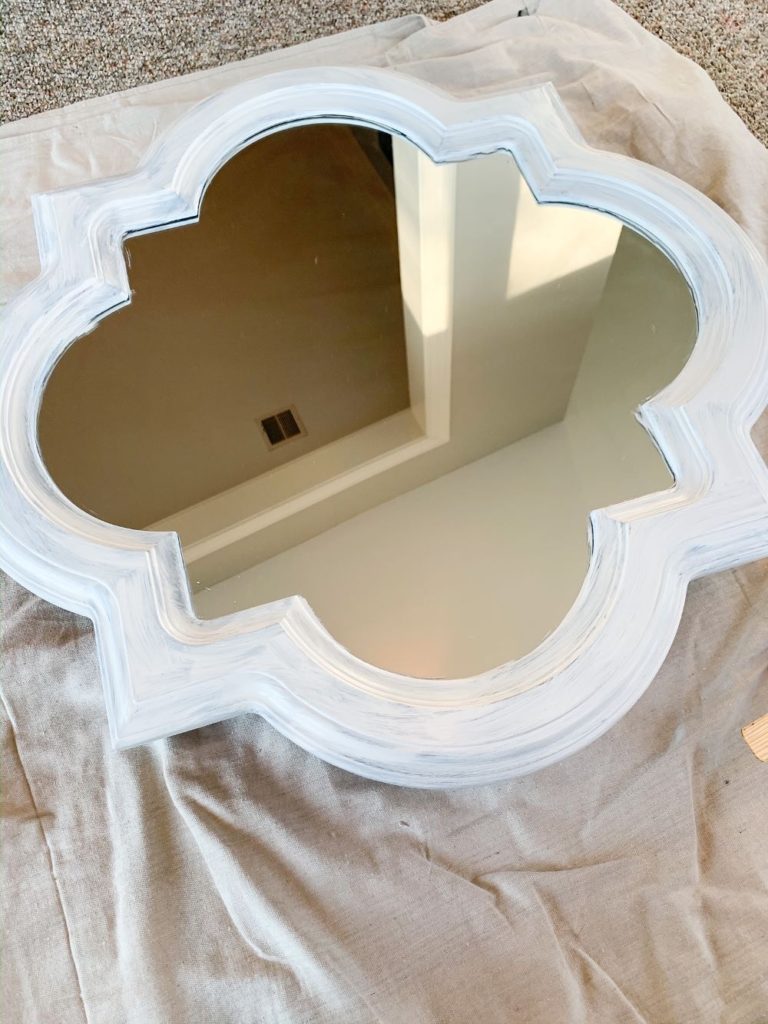
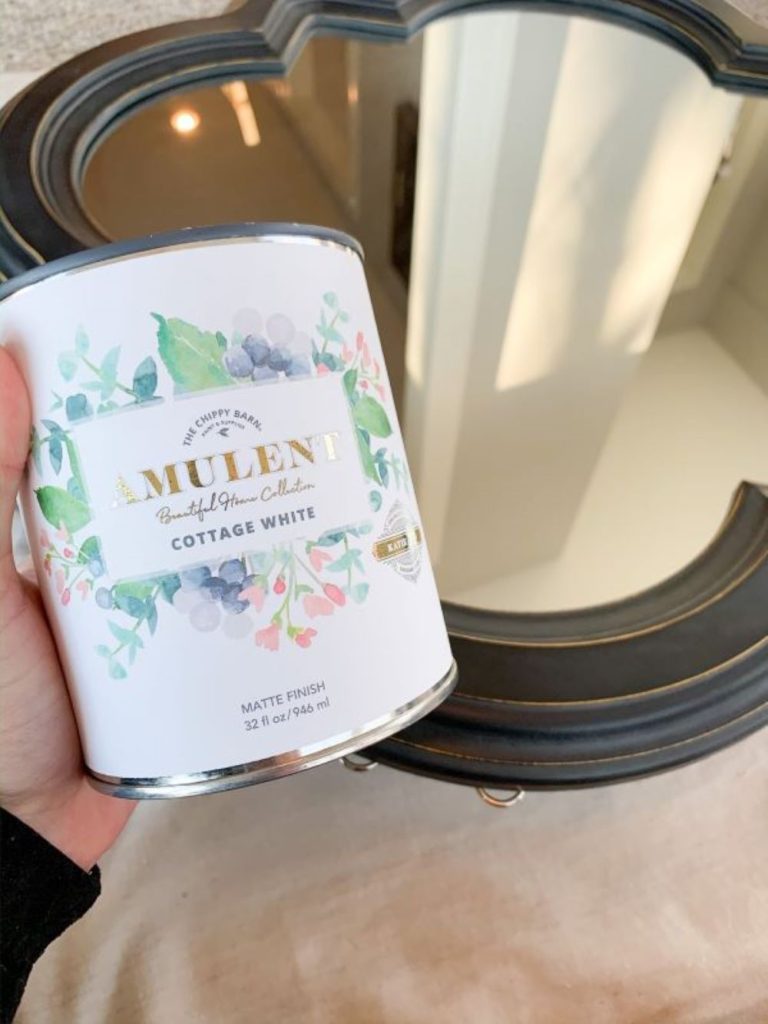
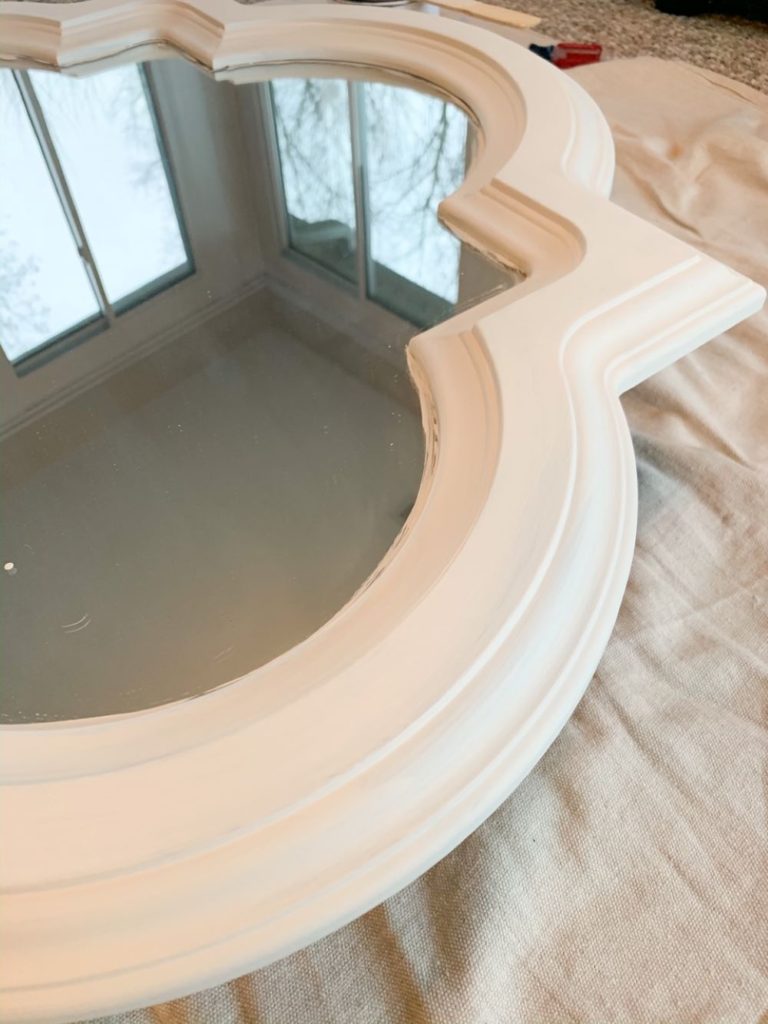
Let your paint dry and paint a second or third coat depending on your coverage and paint color choice. I used 3 coats of The Chippy Barn Paint in Cottage White.
Step 5: Remove excess paint on your mirror
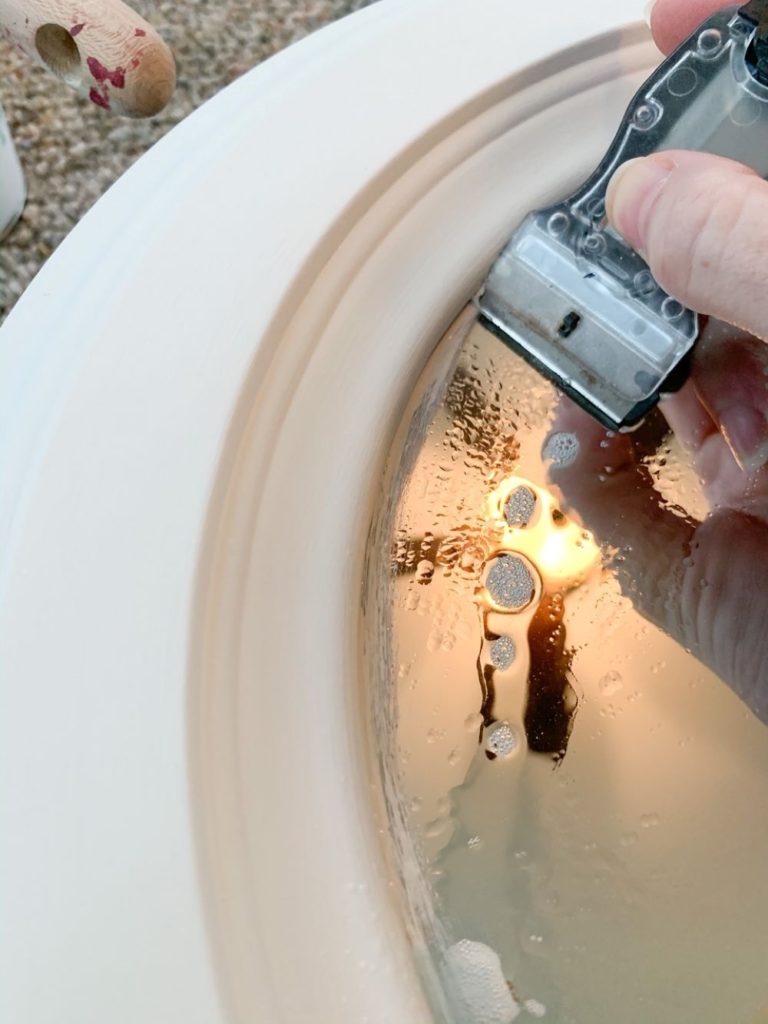
Next is cleaning up any areas you painted onto the mirror. You can easily remove this extra paint by spraying a little glass cleaner like Windex close to the painted edge and using a razor scraper to scrape it off.
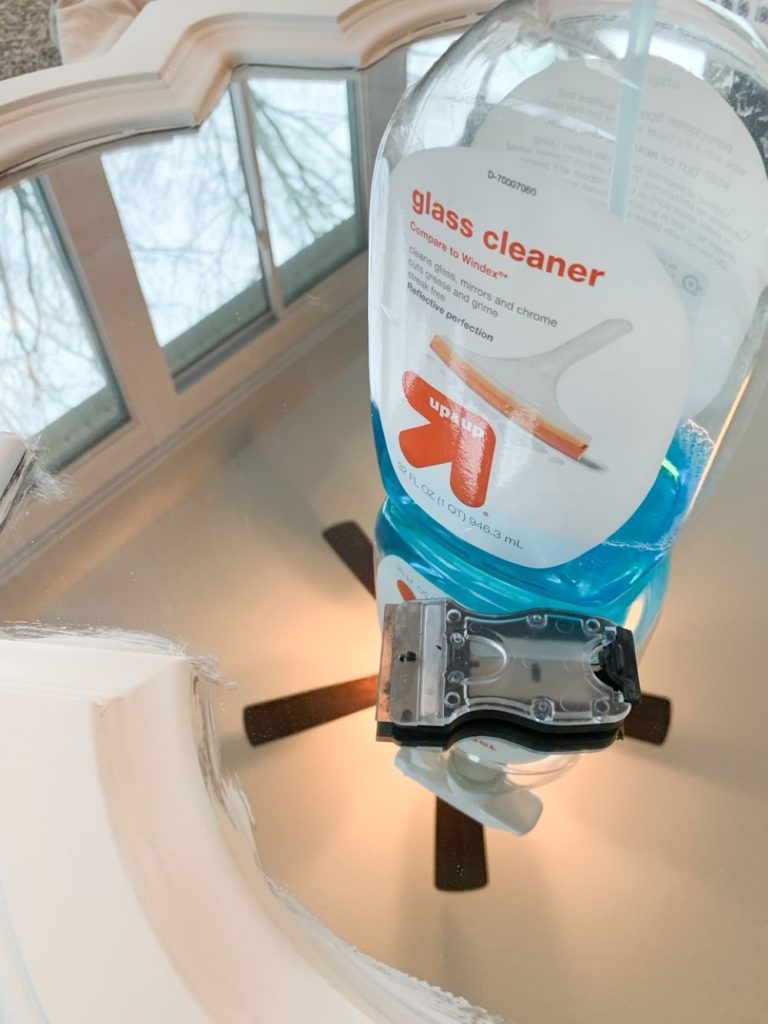
Position your razor blade so the corner is angled under the frame. Begin applying pressure at about 45 degrees and run your blade along the edge of the mirror frame. You may have to make a few passes, but you’ll notice how easily the paint comes right off! And, the razor does not scratch the mirror!
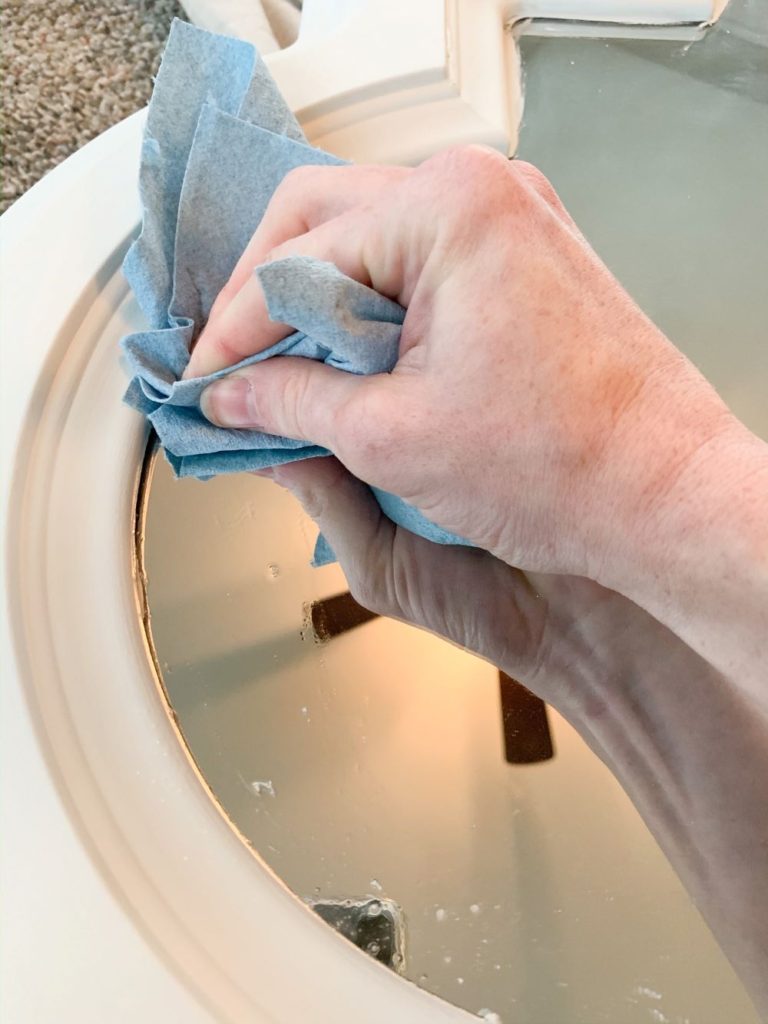
After making your passes with the razor, use a lint-free rag with Windex on it to remove any loose paint chips. I like to create a point with my rag and tuck it as close to the mirror frame to get any pieces that might have made their way under the frame.
TIPS for removing paint from your mirror:
TIP #1: I find it easiest to remove the extra paint a few hours after my paint has dried. This lets it cure, but it doesn’t make it difficult to pull up the excess paint on the mirror.
TIP #2: Be careful not to raise your razor onto the mirror frame edges. You don’t want to leave scrape marks or scratches. If this happens, just apply a little more paint and repeat the process.
TIP #3: Try to avoid saturating your painted frame with Windex. Spray it onto the mirror and use your razor to move it close to the edges.
Step 6: Distress your mirror
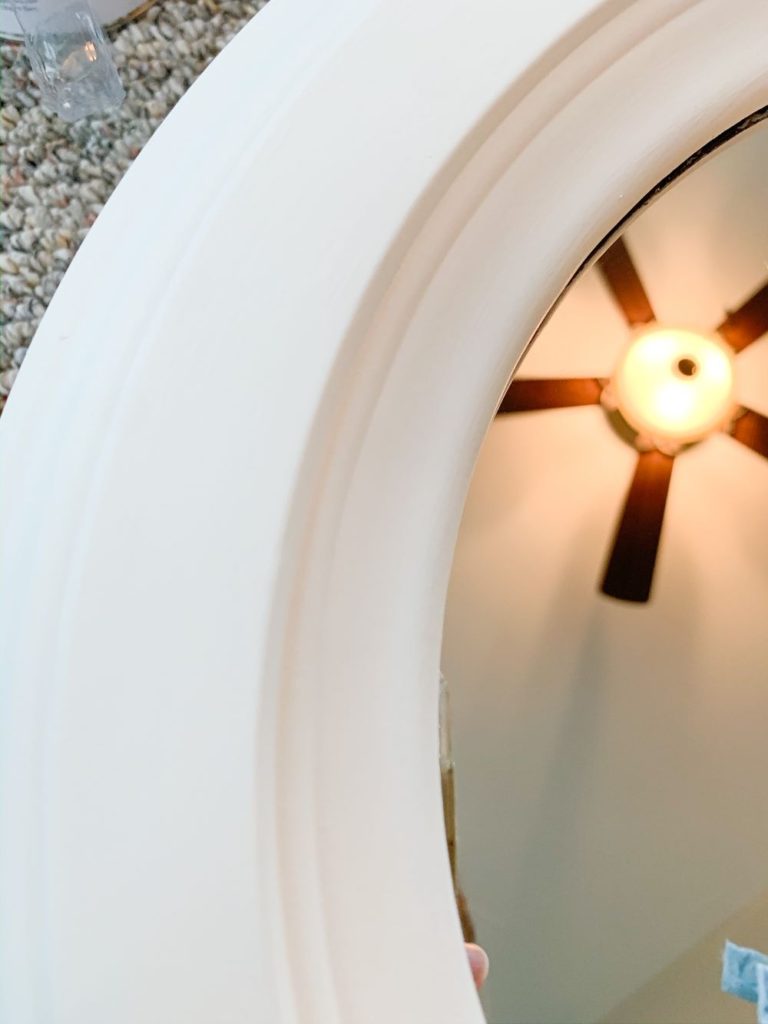
If you want to add some character to your mirror, you can choose to distress the edges with 220-grit sandpaper. I did this to ours and let some of the navy and natural wood from going past the original finish come through.
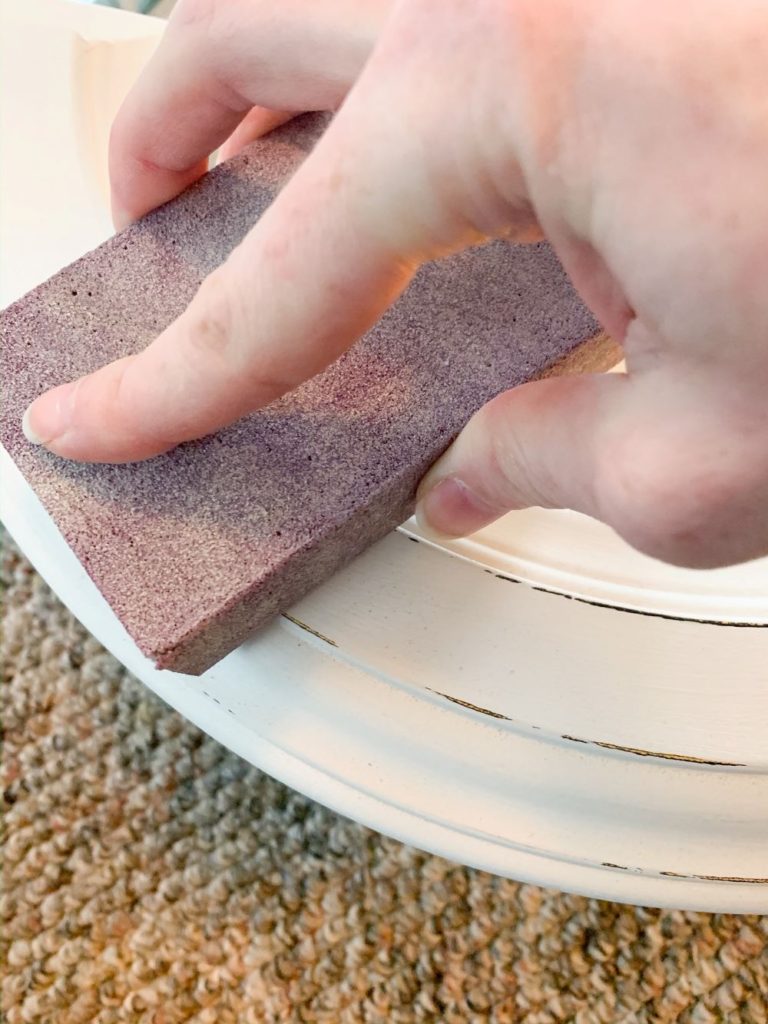
TIP: if you do not like the color you are covering up, paint the edges first with a brown or color you want to see pulled back, then distress.
Step 7: Seal your mirror
Once you have your mirror cleaned up, it is time to seal it for protection. If your mirror will get a lot of use, you can topcoat it with either a wax or a poly topcoat. You can also add fun accent wax if you have detailed areas you want to highlight.
White painted mirror recap:
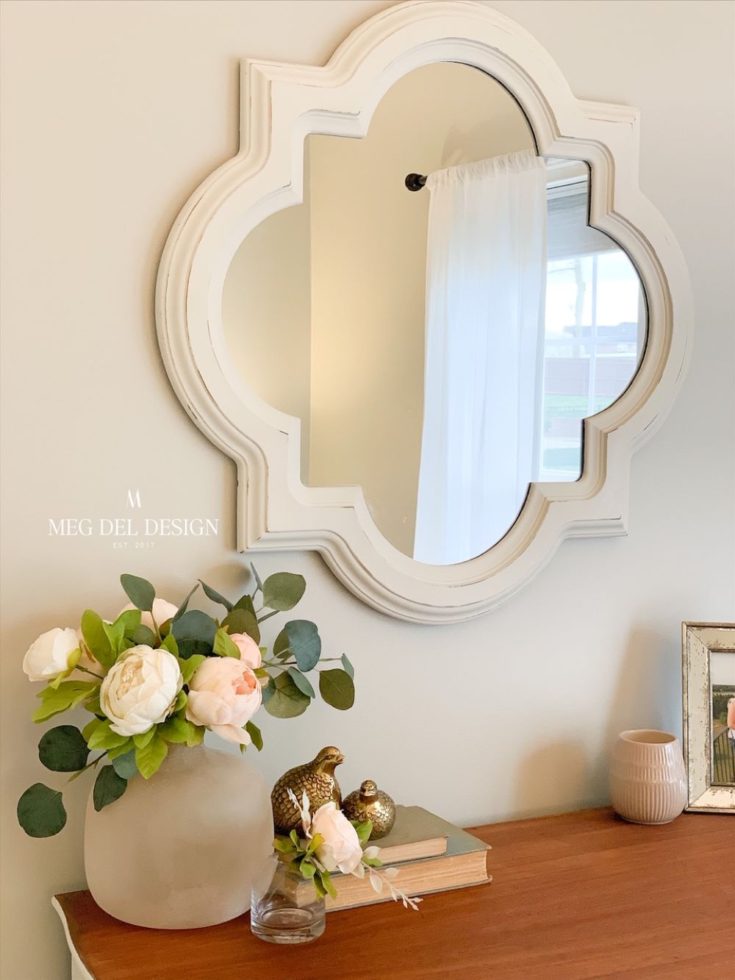
There you go! A simple how to paint a mirror refresh project! Now our mirror ties in perfectly with our new bedroom design. It is fresh, clean, and functional. Can’t go wrong with that!
I hope this tutorial helps you tackle a project like this without feeling the pressure of a long list of steps. With the right brush, a color of paint you love, and a vision, you can do a mirror makeover like this to make it a décor piece perfect for your space!
Do you have a mirror or frame like this you want to update? Tell me about it in the comments!
Thanks & happy painting!
Meg
Looking for more DIY tutorials?
If you want to learn more step-by-step processes to up your furniture or DIY game, then add these favorites to your list:
-Painted pink end tables – get the look!
-How to do a furniture transfer!
-How to plank a wall for a DIY shiplap look!
-Repair furniture using bondo filler
Want more furniture inspiration and refinishing tips? Subscribe to my newsletter and follow along on Facebook, Pinterest, and Instagram for the latest updates!
How to Paint a Mirror
Follow these steps to easily paint a mirror!
Materials
Initial Cleaning
Prep Sanding
Final Prep Cleaning
Paint and Topcoat
Paint Removal
Instructions
- Initial cleaning: Clean your mirror using a general cleaner like simple green with a rag.
- Scuff sand: Using 220-grit sandpaper, gently scuff sand the existing mirror frame to create tooth for your paint to adhere to.
- Remove sanding dust: Use a tack cloth to remove the sanding dust from your mirror before paint.
- Paint mirror: Using your Zibra square brush, begin painting your first coat of paint on the mirror frame. Allow paint to dry and paint a second and third coat as needed.
- Remove excess paint on your mirror: Spray a little glass cleaner onto the mirror and use the razor scraper to move it toward the frame edge. Position your razor blade so the corner is angled under the frame. Begin applying pressure at about 45 degrees and run your blade along the edge of the mirror frame. Use a lint-free cloth with glass cleaner on it to remove the excess paint chips and to clean the mirror completely.
- Distress & seal: Using a 220-grit sanding block, distress the edges until the wood grain comes through. Remove the sanding dust with a tack cloth.
- Seal your mirror: Next, apply The Chippy Barn lavender-scented wax using a lint-free rag. Buff away the excess for a beautiful sheen.
