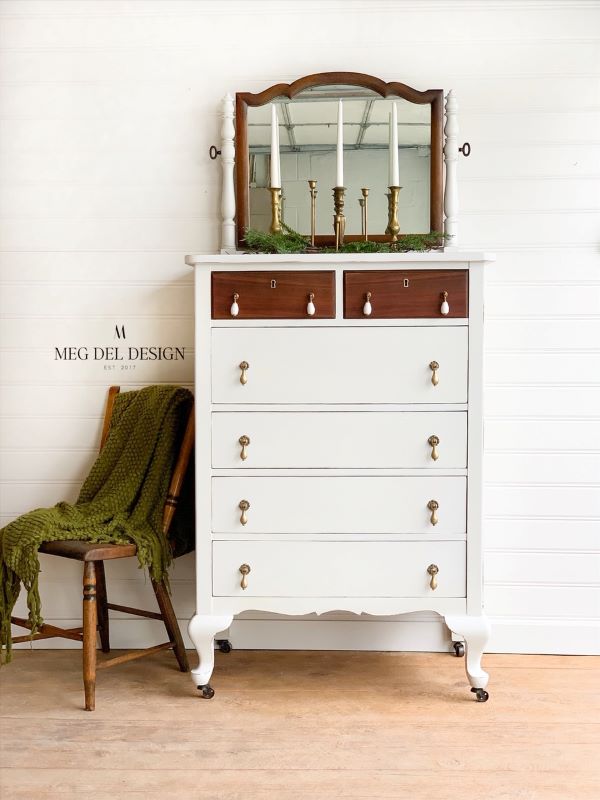
Raise your hand if you have heard about paint lines that promote “no prep needed”– Well, I am here to burst your bubble a little bit and tell you, that’s kinda a lie. Sorry! But hear me out…
Don’t get me wrong, you can absolutely paint a piece of furniture with little-to-no prep, but the finish you get is a direct result of the prep you do.
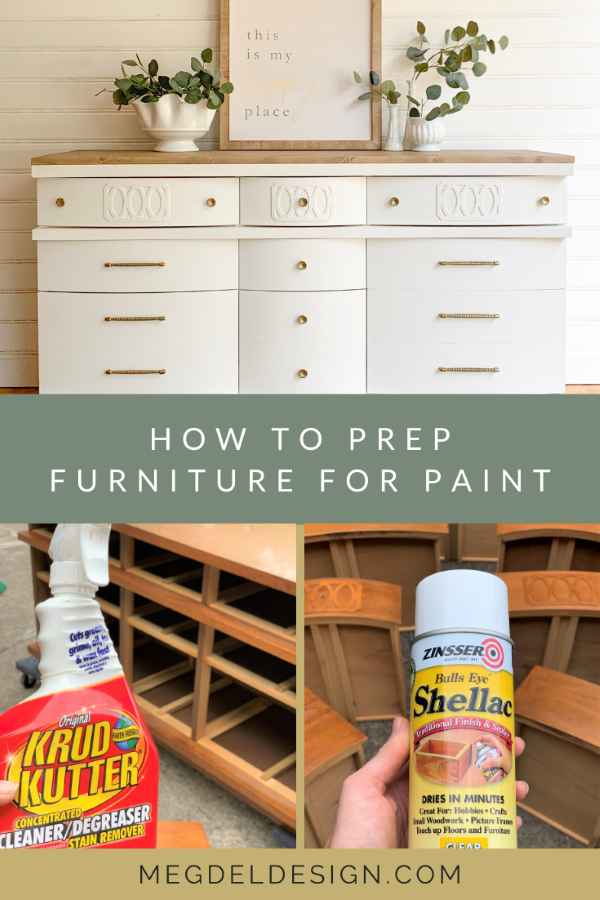
Let me repeat that for ya again – your finish is only as good as your prep. That’s why I put this guide together on how to prepare furniture for paint.
Prepare Furniture for Paint Guide:
This post is all about how to prepare your furniture for paint so you can rest assured the hard work you put into creating a gorgeous, painted finish will last for years to come.
This guide outlines why prepping your furniture is so important, what level of prep is required based on your project’s current state, and how to ultimately prep your piece for a long-lasting finish.
The best part is it really is a conclusive guide to help you prepare furniture for all types of paint like chalk paint, mineral paint, milk paint, latex, etc. These steps will guide you for a great finish no matter what medium you use.
As an Amazon Associate, I earn from qualifying purchases. This post contains affiliate links.
Why is furniture prep before paint SO important?
Think about it like building a house on a terrible foundation. You can have top-of-the-line finishes and from the outside, it looks like a million bucks. However, if the foundation is poor the house will not stand up to time. In the end, it will need to be repaired for safety.
Poor foundation, poor finish
A lot like your finish, if you build it over a poor foundation with no prep, it is very likely your finish will not last. It will chip, scratch easily, and even completely flake off in time (and not the cute, intentional, chippy-look.)
If you are refinishing furniture for your personal use, this might not be a big deal to you to refinish the piece as the finish wears.
BUT, if you are selling furniture to clients preparing your piece before paint is critical! You have a duty to provide them with a finish they can trust will last for years. It’s really the integrity of your business!
When do you need to prepare furniture for paint?
Always! Every piece will require SOME level of prep!
How much prep will you need to do before you can paint?
Because each piece will require some prep, I have provided examples of how much work you will need to do based on three categories: low, medium, and high prep pieces.
Low Prep: great piece, the existing finish is in pristine condition.
Requires cleaning. May require de-glossing or scuff-sanding to remove the sheen and add tooth for your paint to adhere to.

Medium Prep: Some imperfections, small chipping or flaking of the old finish, but can be smoothed out for an even finish.
Requires cleaning. Requires sanding to even out the surface, and may require some fill and repair.
High Prep: Ultra chipping or flaking finish, many built-up or uneven layers, huge gouges, many repairs.
Requires cleaning. May require full stripping to avoid burning through tons of sandpaper to get an even finish. Can require many repairs, fills, and even molds to be created.
So what is furniture prep?
Furniture prep for painting can be multifaceted. Each piece will require different levels of prep like mentioned above, but generally, there are a few key components you should be aware of and regularly do before you paint.
Some quick, first steps to prepare furniture for paint include removing drawers and hardware from your piece. (Make sure to bag hardware pieces and label if necessary so you don’t lose any). You may also choose to take off cabinet doors.
After these steps, it boils down to a few big prep buckets:
1. Cleaning, 2. Repairs, 3. Sanding
You may choose to rearrange these steps depending on the piece and prep needed!
1. CLEANING
Every single piece should be cleaned before painting. I promise you. Even the ones that look “clean” will still amaze you after a good scrubbing.
Think about some of the pieces you are picking up. If you are anything like me, those with age and character pull on your heart. This can mean a serious amount of build-up from over the years.
Cleaning your furniture piece includes the inside, outside and underneath. Don’t forget about this! The last thing you want to do is help a client load up a gorgeous new piece, just to show them ALL the cobwebs, etc. on the underside.
How to clean your furniture step 1:
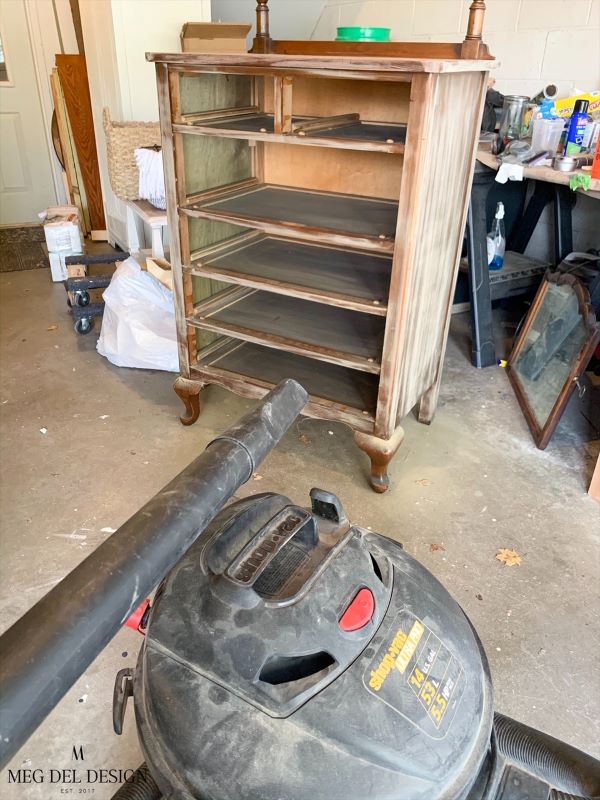
Take your shop vac and vacuum all the dust, cobwebs, and whatever else you got going on inside and outside of your piece.
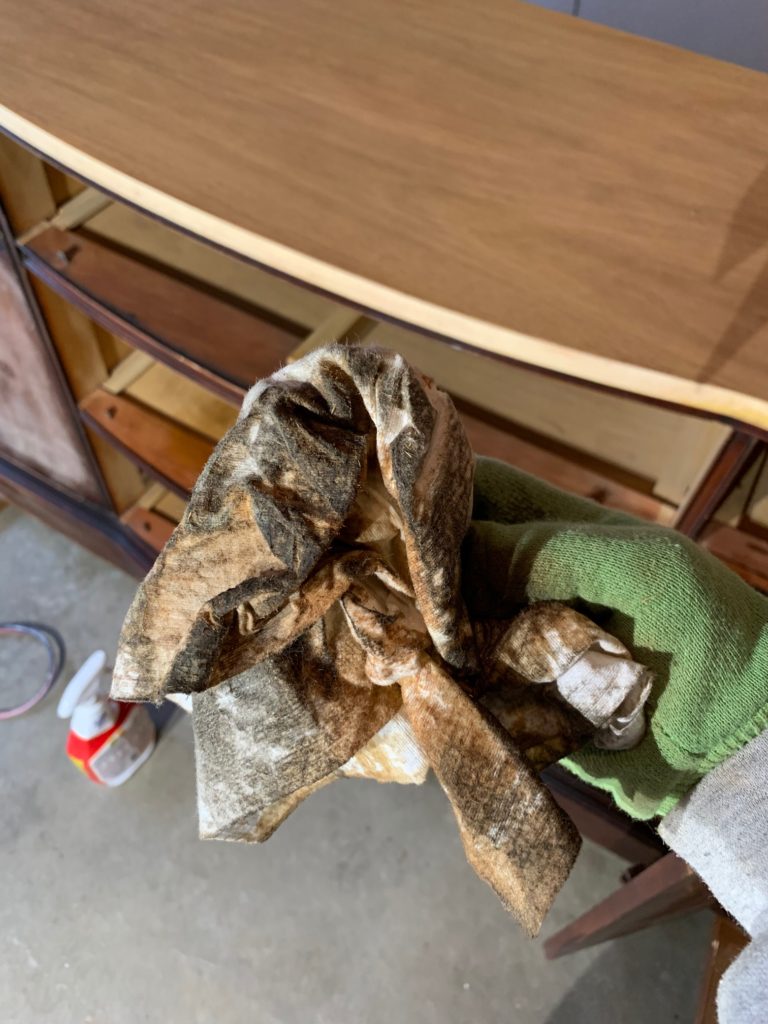
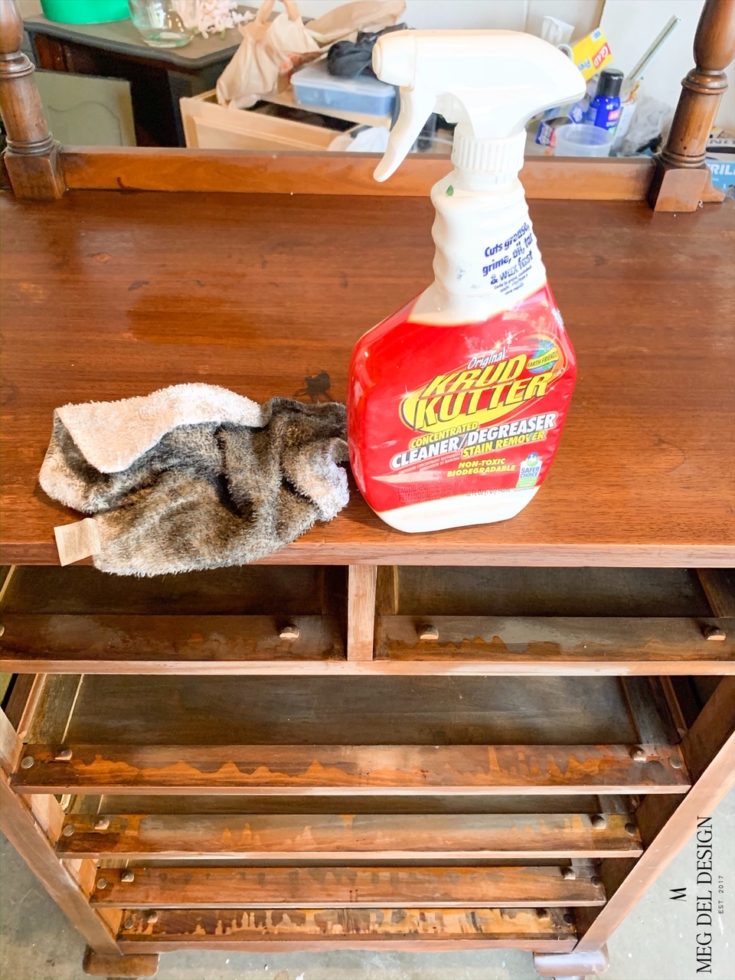
How to clean your furniture step 2:
Grab your favorite cleaner. Mine is Simple Green or Krud Kutter because they both cut through the grime and built on gunk lingering on pieces.
There are a few ways you can use these depending on the grime-level of your piece.
Super grimy: mix your cleaning concentrate into a bucket of HOT water and use a Scotch Brite pad or hand scrubber to deep clean the piece. Rinse and remove any excess cleaner. Dry your piece.
Low-to-medium grime: Use a pre-mixed concentrate in a spray bottle to spray and scrub the piece from the top down with a rag.

*TIP: when cleaning, don’t completely saturate your piece to the point where you have standing water on it. Make sure to wipe the excess away or put it out in the sun to dry quickly. Sitting water can create warping and even lift up veneered areas.
Why clean your furniture piece first?
I typically like to clean before I prep-sand if the piece is rather dirty because I don’t want to have sticky residue and the other krud on my surface build up on my sander. When this happens, your sanding pads get nasty, aren’t as effective, and you end up tossing a lot of sanding pads out in the process.
By cleaning the gunk off as best you can with your cleaner first, you can start sanding with a clean surface. This can help with a more effective sanding process and save material costs.
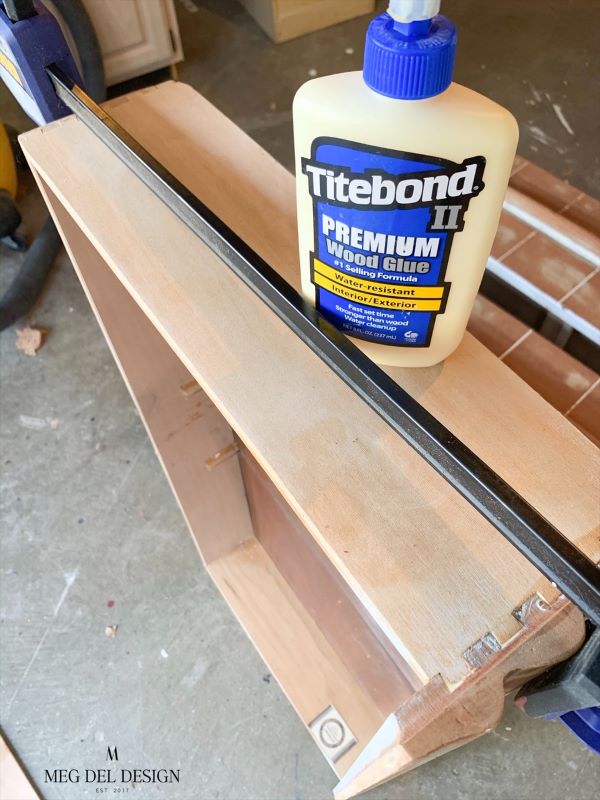
2. REPAIRS & HARDWARE RELOCATION
Once you have your piece cleaned, it may require repairs or hardware to be relocated.
Why do repairs or relocate hardware before sanding?
I like to do this step before sanding because the solution to repair these things often requires you to have a clean surface, followed by sanding. Might as well do your fill sanding and prep sanding at the same time so you don’t have to make a mess twice.
What are common furniture repairs to do before painting?
Some common repairs your piece may need before painting include chipping or missing veneer, scratches that won’t sand out, or gouges that require filling. You might also choose to move your hardware, swap out handles for knobs or vice versa, and need to fill old hardware holes.
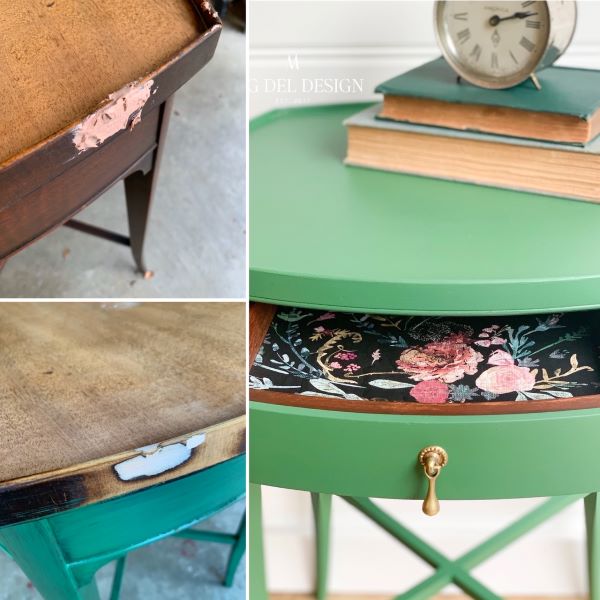
How do you fix furniture flaws before painting?
My favorite filler to use for furniture flaws like those listed above is bondo. I have my complete bondo process outlining how you can use this amazing filler!
Other common repairs might include fixing furniture drawers or sliders. My friend Natalie at A Ray of Sunlight has an amazing blog post on a ton of different repairs you can do on your drawers I highly recommend! Click here to check it out!
Should you repair all furniture flaws?
Just know each piece will require different levels of repair and as the artist, it is up to you how much you want to fix. Now, the piece should absolutely be functional, but sometimes keeping a little character is a good thing too!
Find your sweet spot, and let the piece speak to you. If it has incredible age, don’t be afraid to leave some of that character. I personally think that’s what makes your piece one-of-a-kind.
What if you can’t repair part of your furniture piece?
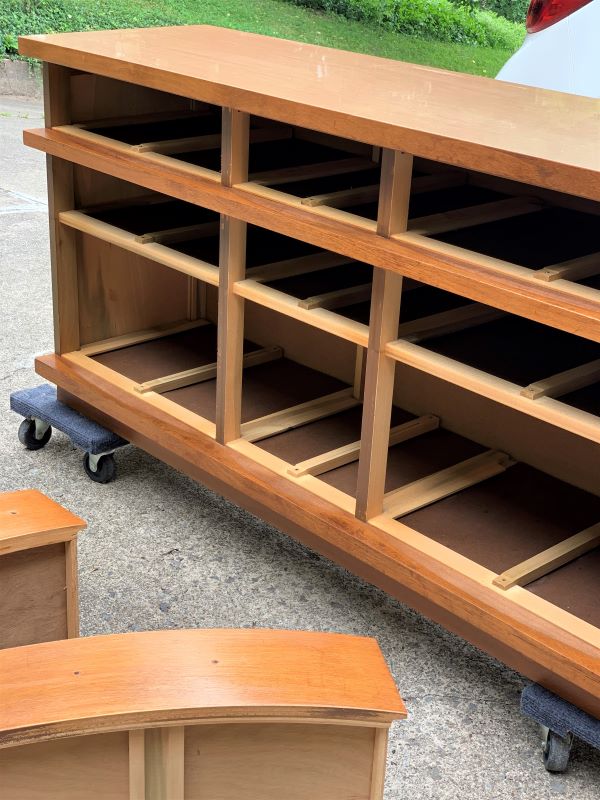
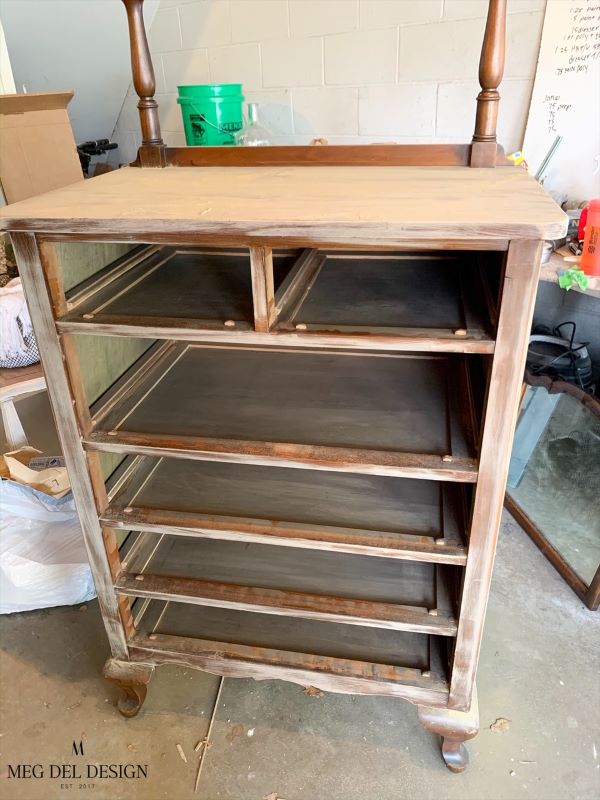
You may also need to get creative with your repair solutions. For instance, sometimes drawers will be completely warped beyond repair, but that can give you a chance to repurpose the whole function. Like this armoire – which now features open shelving!
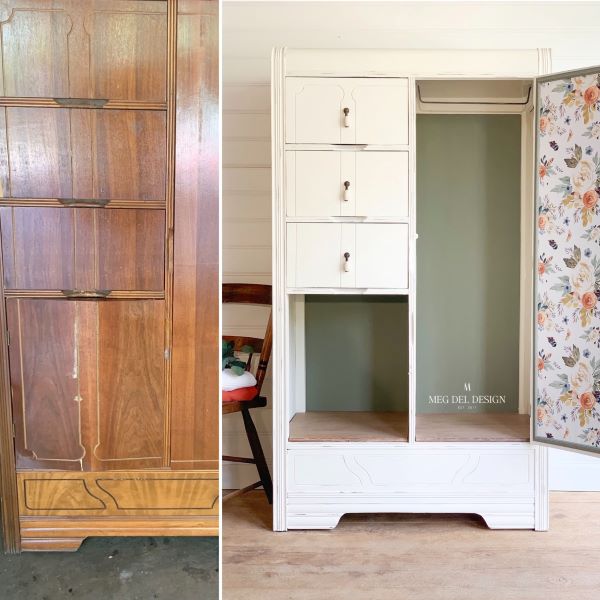
Don’t be afraid to think outside-the-box on how you can take a furniture flaw and make it a design feature. It can sometimes be the most fun part!
3. SANDING
This is the step that so many people skip with their “no-prep paint” and the one that is so critical. Before you freak out, I am NOT telling you you have to sand your piece down to bare wood. It will be needed occasionally, but I would say 85% of my pieces simply require a scuff sanding.
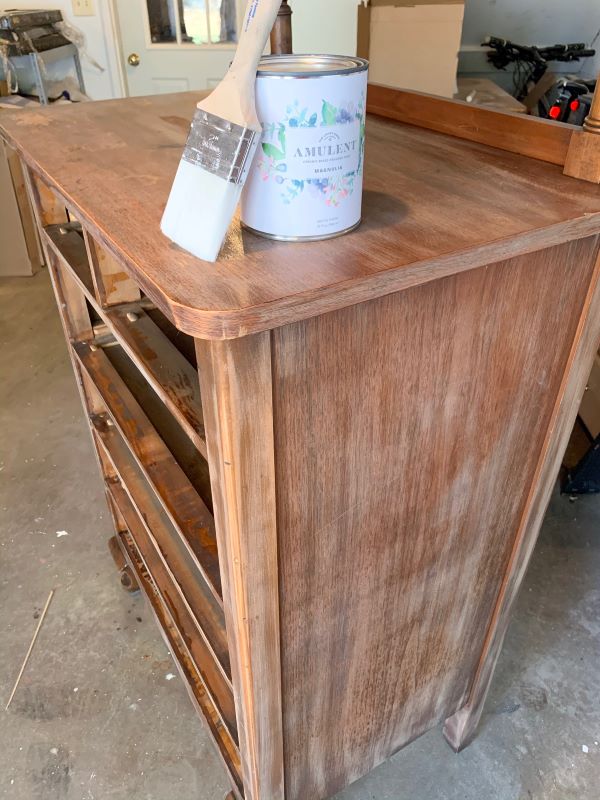
What the heck is scuff sanding?
Scuff sanding is taking fine-grit sandpaper to your piece in order to de-gloss or scuff up the current finish. This opens the surface so your paint can adhere to it better. Know what that means? Better adherence = longer-lasting finish!
How do you scuff sand furniture?
My favorite way to scuff sand is using my Ryobi orbital sander with 180 – 220-grit sandpaper over the main surfaces (sides, top, drawer fronts etc.) Then, I will follow up with a sanding block, my zip sander (love this little tool!), or a soft sanding sponge on the detail areas.

Sanding sponges are great because they will morph around the details. You don’t want to use a power sander over these because you will knock down the edges.
Other recommended sanding tools:
Some of my refinishing friends have these sanders and swear by them! Once I save up, my dream is to upgrade to one (or both) of these.

The Festool sander is incredibly efficient (be warned, that is why the price-tag is so high), but it has a dust collection system and is truly a professional-grade sander!

The other is a Surf-Prep which has foam pad attachments. Do you know what that means? Power sanding pads AKA you can crank through the detail portions in a fraction of the time with incredible precision.
For now, I will stick it out with my Ryobi sander which hasn’t let me down. But, someday I will upgrade. Okay – now, let’s talk about the next level of sanding.
What if your finish has tons of chips or flakes in it?
It may require more than scuff sanding before you can paint. You may need to remove the majority or even all the previous finish to ensure an even and long-lasting finish.
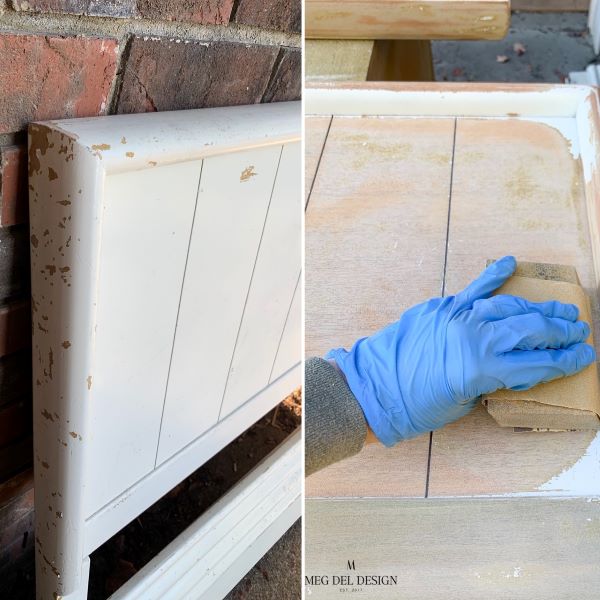
If you can smooth out the problem areas to an even finish, you may be able to paint after this step. However, if the finish is completely flaking off, it is very unlikely a new layer of paint will last over this base and will require a full sanding.
How do you fully sand off an existing finish?
For this level of sanding, I will typically start with 80-100 grit sandpaper if the previous finish is thick and inconsistent. The lower grit will cut through the old finish relatively quickly. After this, you should move up to 120 grit to 150 to 180 grit, then 220 grit sandpaper to smooth it out for paint.

*TIP: It is important to not skip this progression of going up in grits for a few reasons. 1. If you stop at the low grit, you will leave your piece very porous from the large grits that scratch the surface. This means you will have inconsistencies in the finish and go through more paint. 2. You will also get sanding rings on your surface which will be visible if you plan to stain your piece.
When should you strip the finish instead?
Sometimes you will get a piece that has a super thick finish or one that would be easier to strip off. Some good indicators that it may be time to strip your piece include the following:
1. LOTS of layers of paint on the piece
2. Huge drips or build up that won’t sand out easily or evenly
3. Sanding is extremely difficult and ineffective
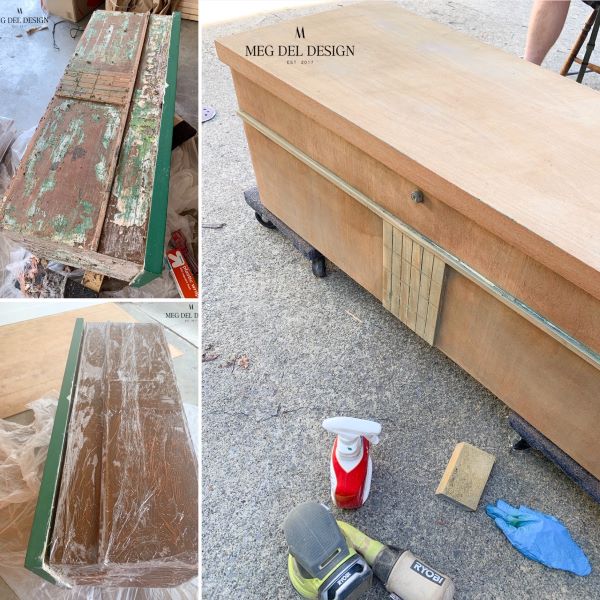
When I run into these things, my go-to stripper I use is Citristrip. I have a good example of using Citristrip stripper you can reference. Forewarning: stripping can be messy and a fair amount of work but can be absolutely worth the smooth finish you can achieve in the end.
What do you do after you sand your piece?
Whether you just need to scuff sand your piece or strip it completely and then sand it, you will want to make sure your piece is free from sanding dust and debris before painting.
Use your shop vac again to remove as much dust as you can, then follow it up with a tack cloth. These are a must-have to help ensure the dust doesn’t get in your final finish.
EXTRA PREP (Really??)
Yes, really! It isn’t always needed, but a few extra steps in your process to prepare furniture for paint may include using Shellac or priming your piece.
When do you need to use Shellac?
Shellac can be a great way to seal in potential stains, bleed-though, and stinky furniture pieces. The spray version is my favorite because it is so easy to apply.
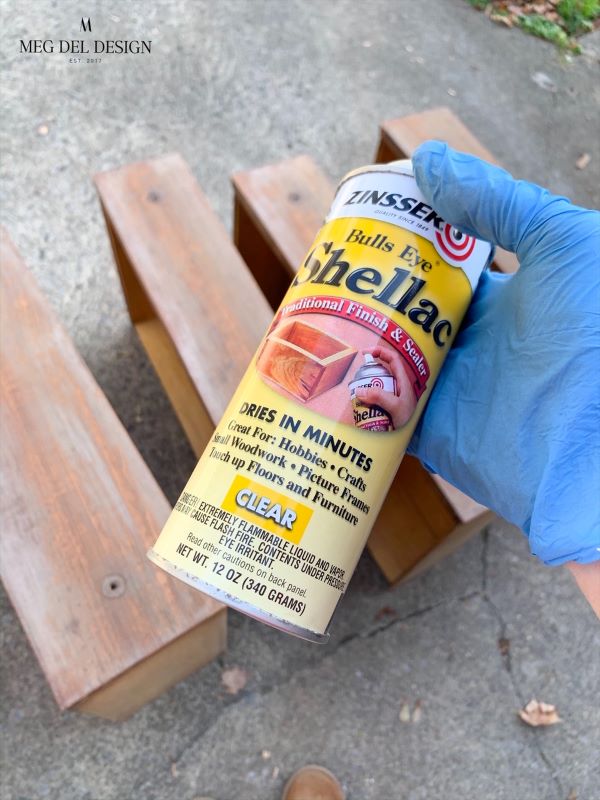
Applying shellac to your piece before painting can help prevent you from needing extra coats of paint. This can be the case with mahogany pieces, or those being painted light colors, like white.
*TIP: There will be times you don’t think a piece will bleed, so you paint the first coat. If you experience bleed through after your first coat of paint, you CAN apply shellac over it to stop the tannins/stains from coming through your second coat.
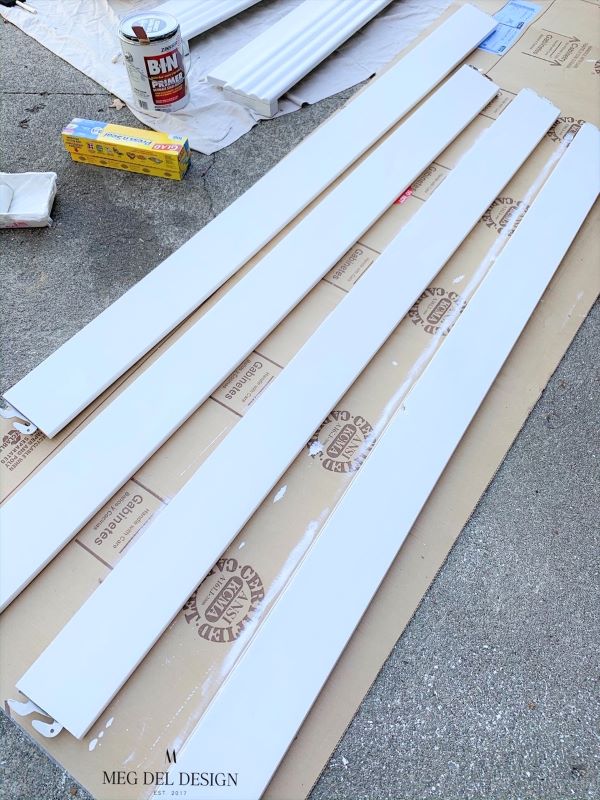
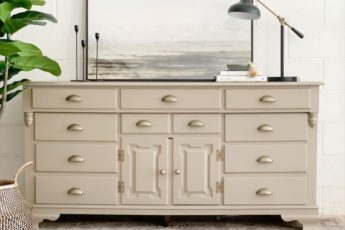
When do you need to prime your piece?
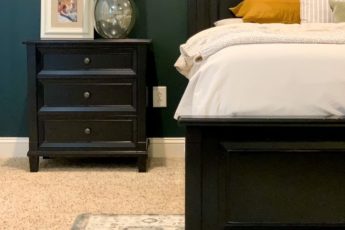
If you plan to paint a piece in a high contrast color to the piece’s original finish, like white over a dark finish, or maybe you have a lot of variability in a finish, it is often a good idea to prime. Why? So, you don’t have to do as many coats of your paint.
BIN primer is my favorite and costs less than specialty paint. By using this before you paint you can save on material costs, while also preventing bleed-through. This will also save you time!
*TIP: Make sure to lightly sand your piece after and in between coats to smooth the surface for paint.
PSA: Both Shellac and BIN Primer that has Shellac in it are super stinky. Make sure to wear a respirator and have good ventilation!
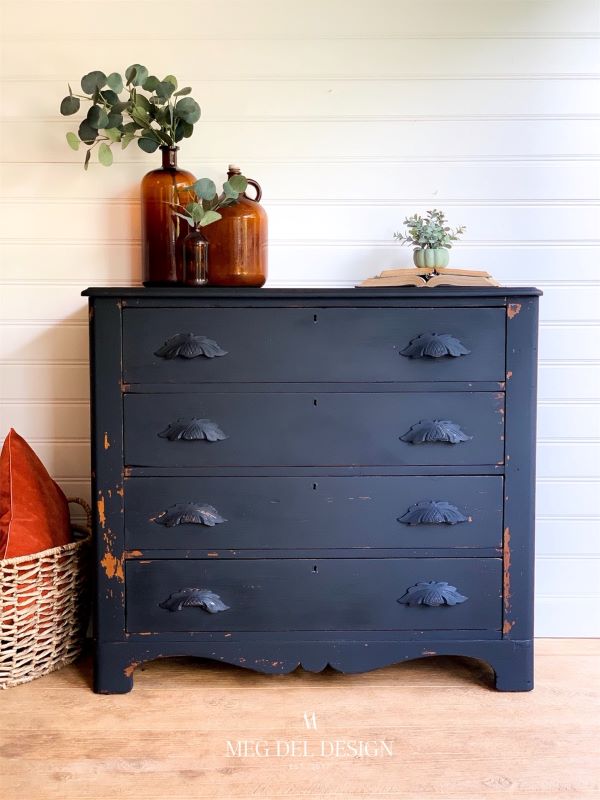
TIME TO PAINT!
Woof! Ok, so I know that seems like A LOT, but remember not every piece will require all of this work. These steps to prepare furniture for paint are intended to be GUIDELINES.
Each piece will vary in the amount of prep required to achieve a flawless finish. The more pieces you work with, the more you will find the process that works for you!
Take your time & love your finish!
I highly suggest taking your time preparing your piece even though I KNOW how exciting it is to jump into painting. Trust me, I dread the prep work as much as the next refinisher but, I understand how important it truly is.
Just for good measure – remember, your finish is only as good as your prep!
I really hope this guide leaves you feeling confident about how to prepare furniture for paint so all the hard work you put into your furniture finish is long-lasting & is something you are proud of!
I’d love to hear any of your tried-and-true prep steps or tricks! Let me know in the comments & as always, if you have questions just let me know!
Thanks & happy refinishing!
Meg
Looking for more furniture tutorials?
If you want to learn more step-by-step processes to up your furniture game, then add these favorites to your list:
– Repair furniture using bondo filler
-Create a two-toned, distressed finish
-Learn how to dry brush furniture
Want more furniture inspiration and refinishing tips? Subscribe to my newsletter and follow along on Facebook, Pinterest, and Instagram for the latest updates!
How to Prepare Furniture for Paint
Follow these general steps to prepare furniture for paint! Note: these steps may vary from piece to piece so adjust appropriately based on your project. Reference the blog post for detailed steps based on the level of prep required.
Materials
Initial Cleaning
Repair and Hardware Relocation
Prep Sanding
Final Prep Cleaning
Extra Prep
Instructions
Notes
The total prep process will vary from piece to piece. Take your time to assess the total prep required based on your piece's existing condition. Adjust prep order steps as needed.


NatalieDecember 18, 2019 2:22 pm
Holy moly! This post covered literally everything about prepping furniture for paint! It really is so important, so thanks for sharing!
Megan DeLongDecember 18, 2019 9:04 pm
Thanks so much, Natalie! It isn’t the most fun part, right? But totally worth it!